Maggie May moved to Austin during the pandemic. The management consultant had been living in Connecticut and wanted a change of pace, taking the opportunity to move like many now-remote workers. She found a 1960s home in the capital’s University Hills neighborhood, an in-tact time capsule with a big yard. “I loved the layout and size,” she adds.
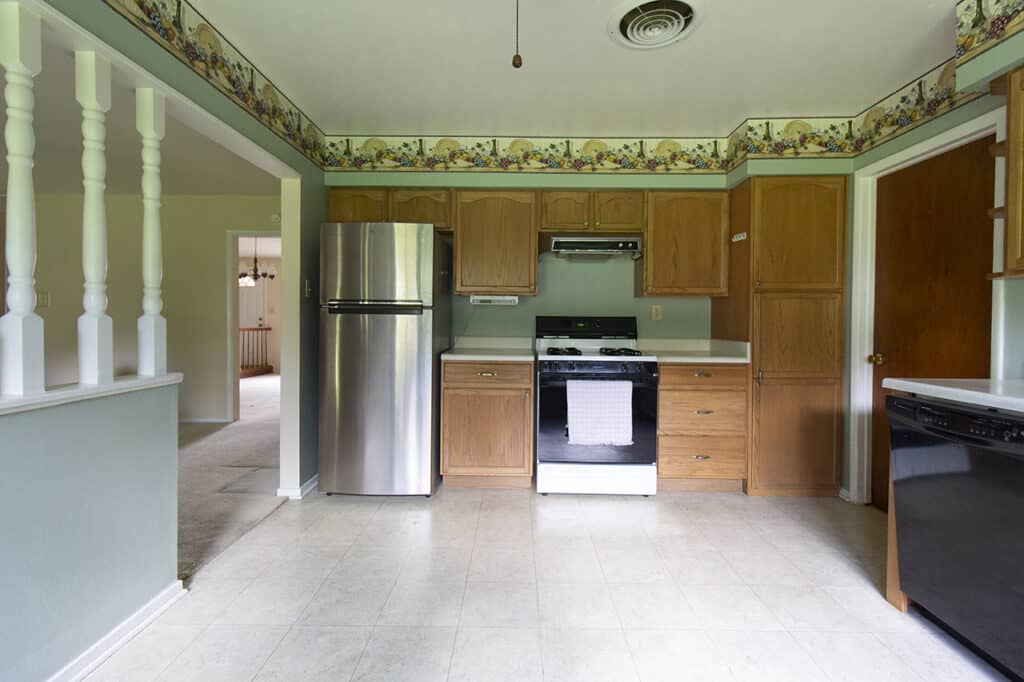
The kitchen had honey oak cabinets, laminate floors, multiple soffits, and cabinetry on only two of the three walls, recalls May. Furthermore, it had a tight and dysfunctional U-shaped design. While she had never completed a kitchen renovation, she was ready to tackle the project, and planned to complete it in just three months.
Be Patient
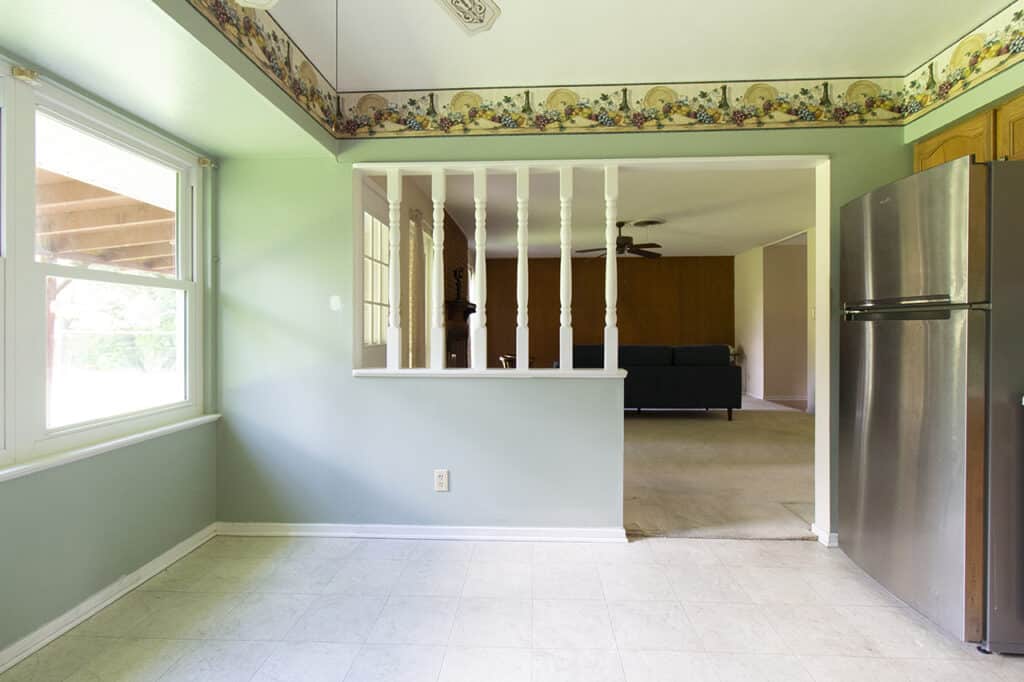
She began the renovation in September 2021, enthusiastic and positive she could finish quickly. Instead of three months, it took nearly eight. “I underestimated the amount of work. There was a lot of custom stuff involved, plus tiling and the trim added onto the timeline,” she says. There were also changes to the kitchen’s original layout, new flooring, and leveling, which May, and her partner, did themselves.
“Because I had planned for it to only take three months, I felt that I needed to rush thing,” she says. “Masterpieces take time.”
Consider the Work Triangle
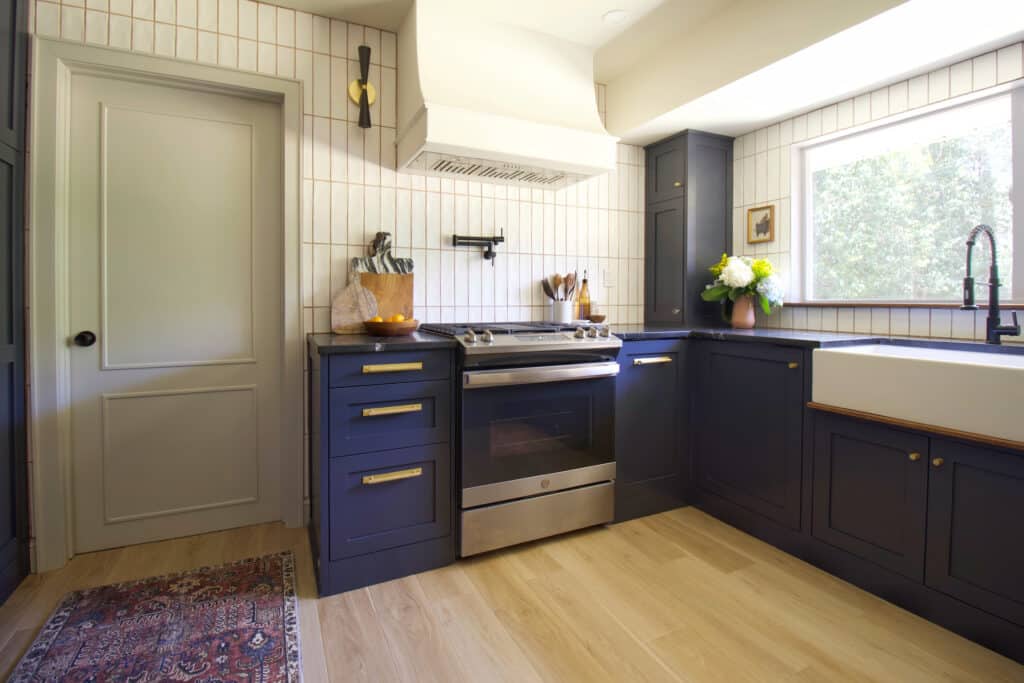
The general rule of kitchen design is planning around the work triangle, a concept created at the University of Illinois School of Architecture in the 1940s around kitchen prep/cooking, storing, and cleaning.
“The original kitchen had the stove and fridge on one wall, while the sink on the other.” she says. “Everytime I tried to cook something, I had nowhere to store things.” She moved the sink to the location of the range, while the fridge’s location stayed the same.
Utilize Design Services
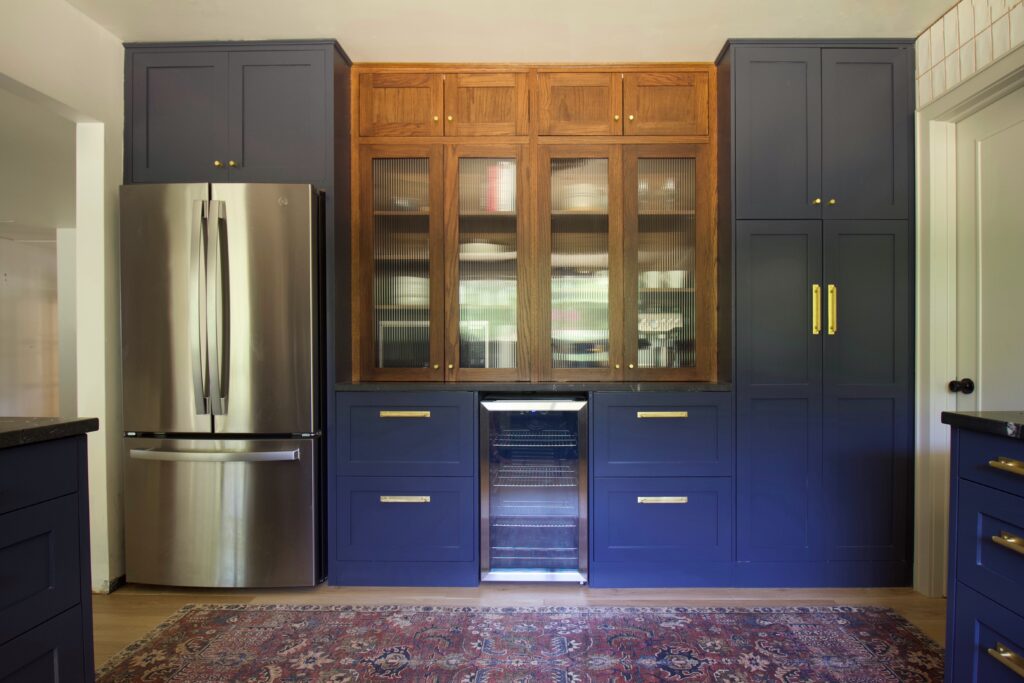
May used IKEA’s kitchen planning software to see how many cabinets she could fit, as well as which size of cabinets would be most appropriate. Furthermore, May’s own design skills helped her immensely. “I do a lot of CAD on my own time and drew up the plan on SketchUp,” she says. Her plan made sure everything had a place, including her espresso machine. “When I design something, I plan it out to the very last detail,” she says.
Find the Perfect Paint
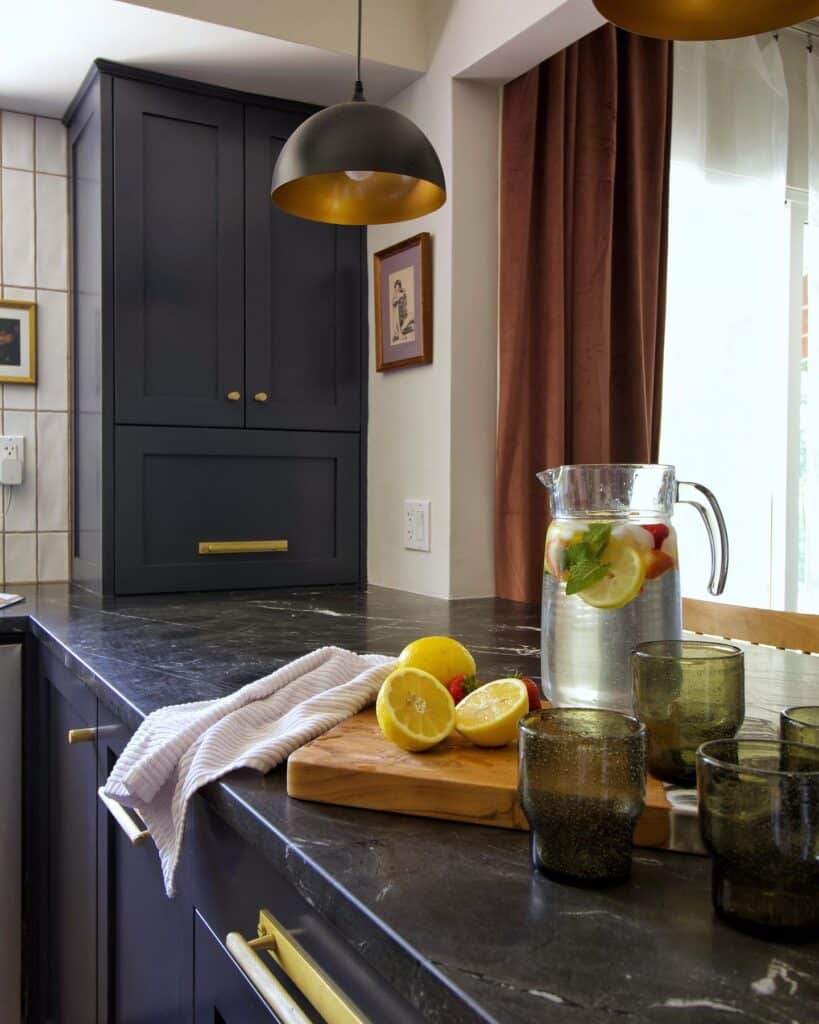
When it came to cabinetry, May went for luxe-on-a-budget fronts. “I heard about Semihandmade through influencer projects, specifically the Chris Loves Julia collection,” she says. “I knew when I got my first place, I defintiely wanted to use Semihandmade fronts.”
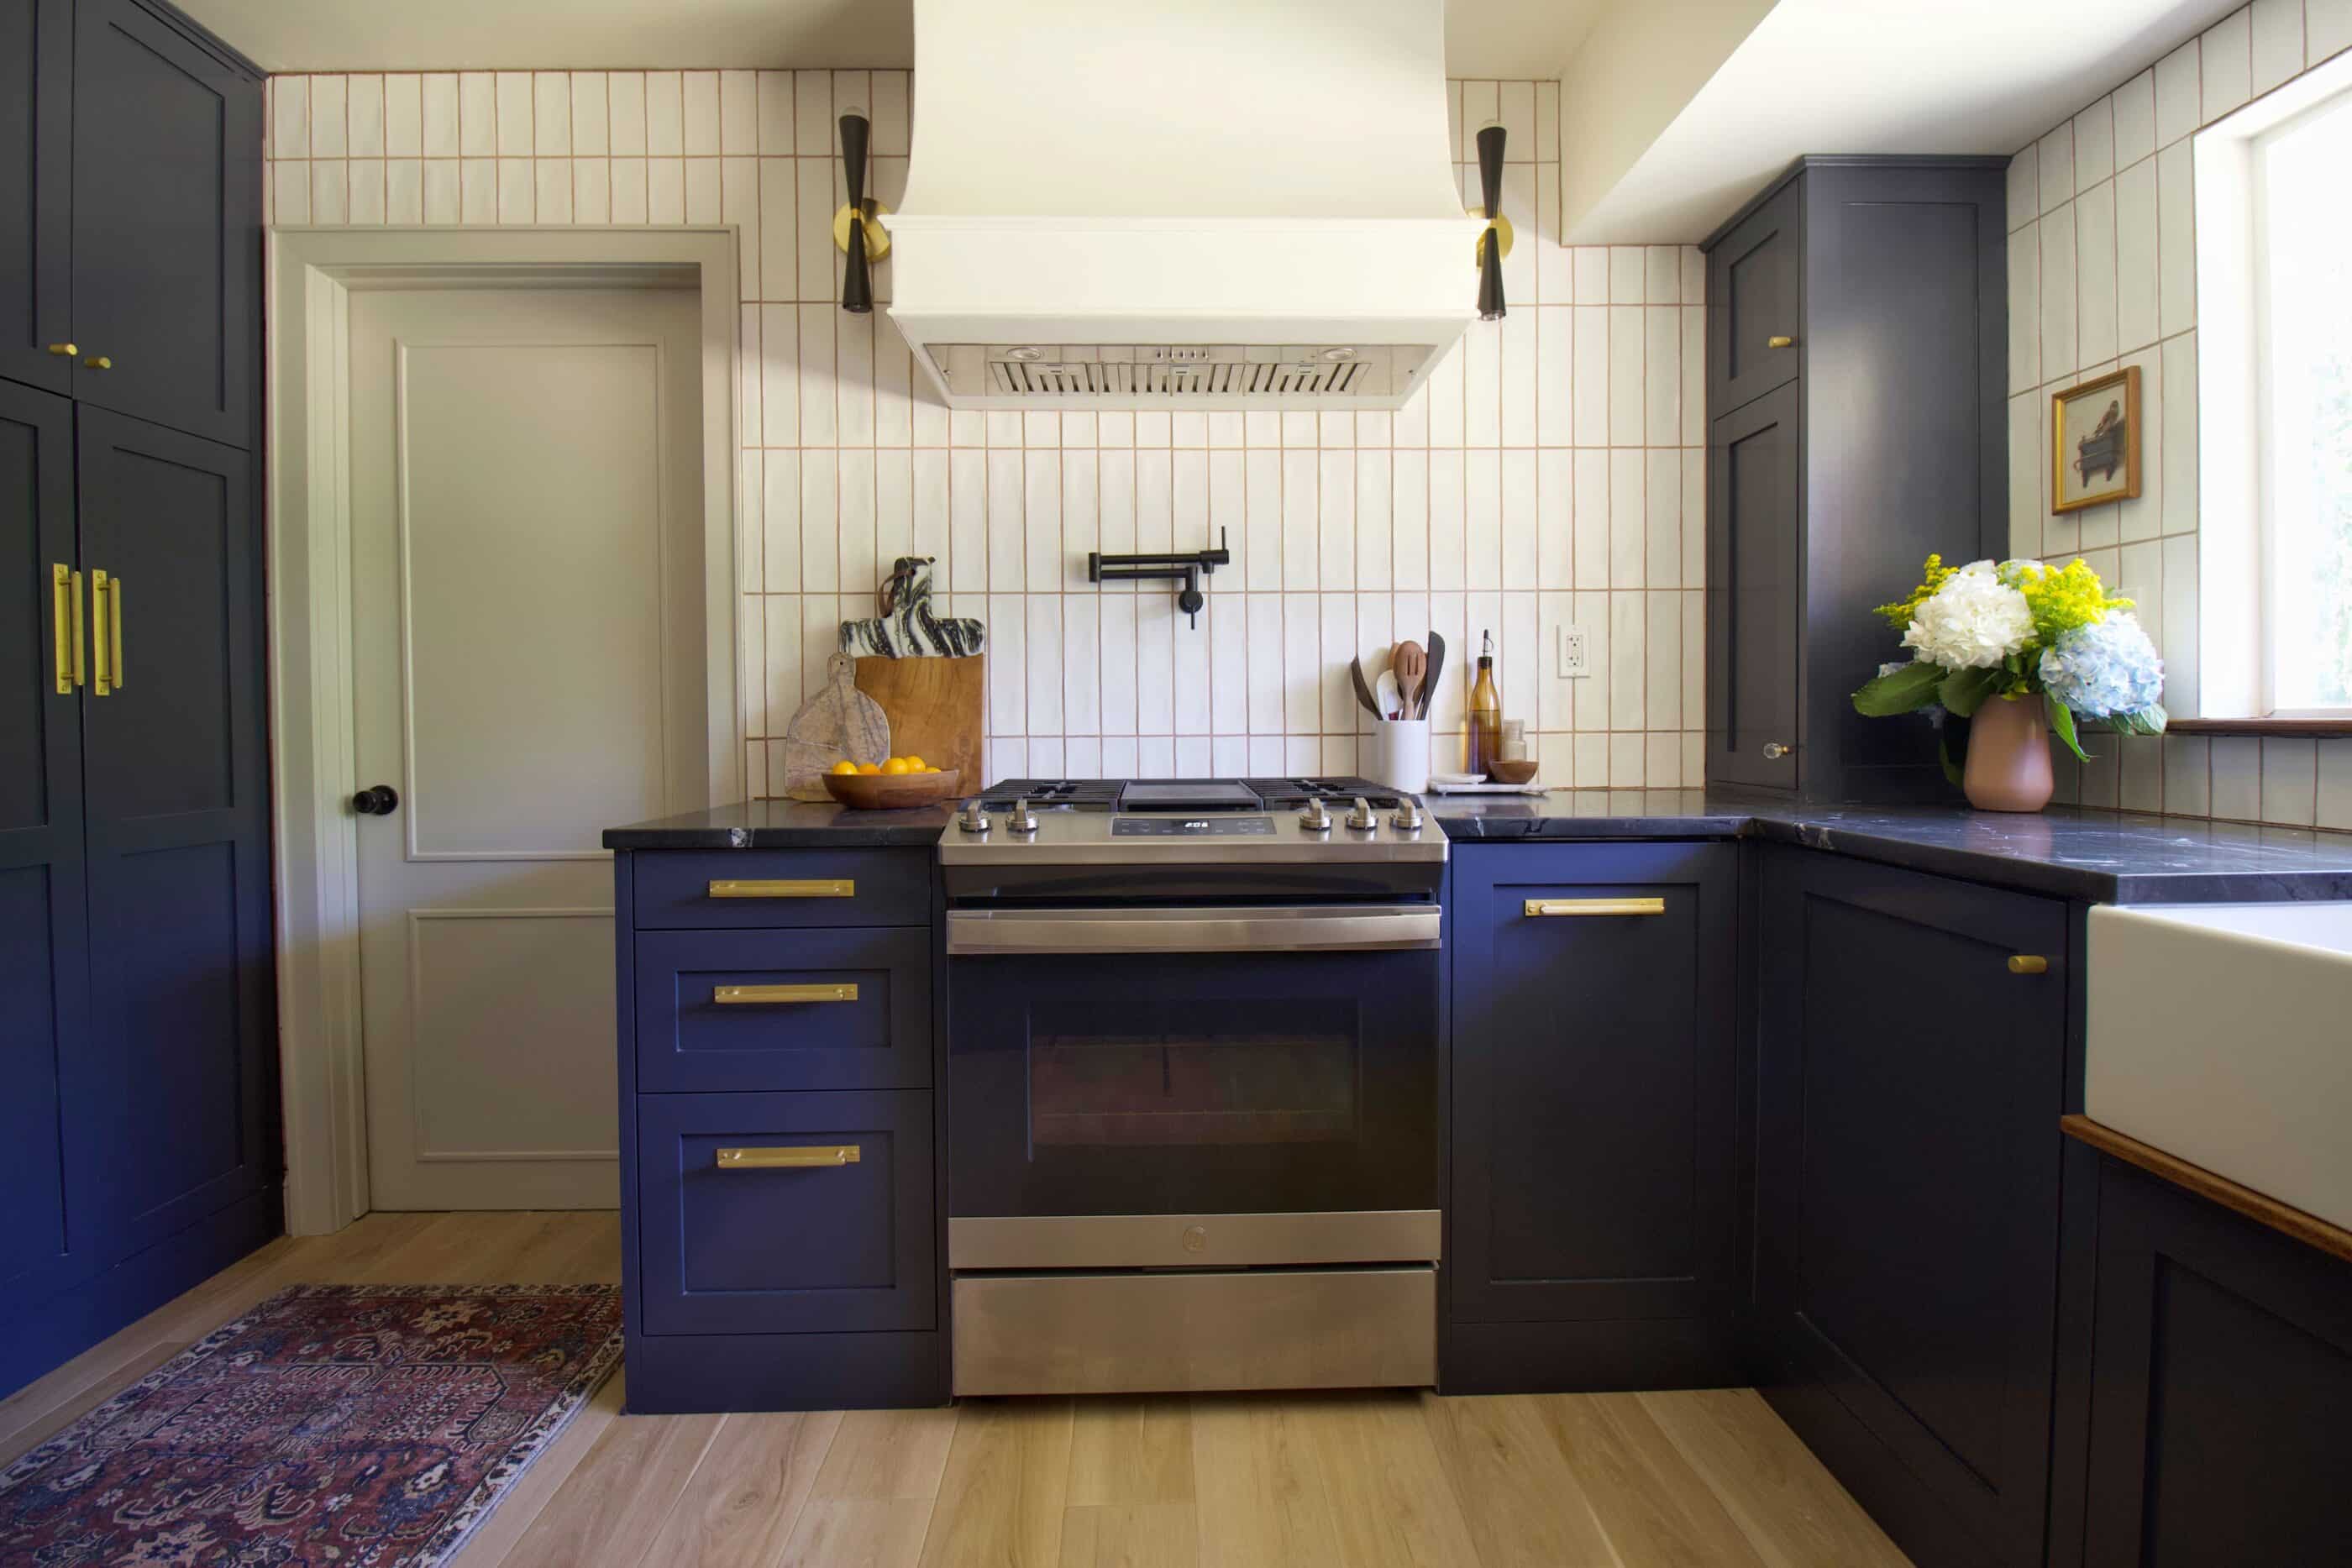
“I always wanted dark cabinets and dark countertops,” she says. Green was her top pick, but she chose the equally trendy blue, going through 15 shades before landing on Benjamin Moore’s Hale Navy to complement Semihandmade’s DIY Shaker fronts.
When selecting paint, she cautions DIYers to choose the right finish for your space. “I felt like I needed to rush, so I selected a semigloss finish,” she says. Due to a paint storage, she was unable to get satin paint, which is ideal for cabinets as it doesn’t show dents or scratches. “Imperfections show in some light with satin paint,” she says. “The lower the sheen, the more things it hides,” she adds.
Include an Appliance Garage
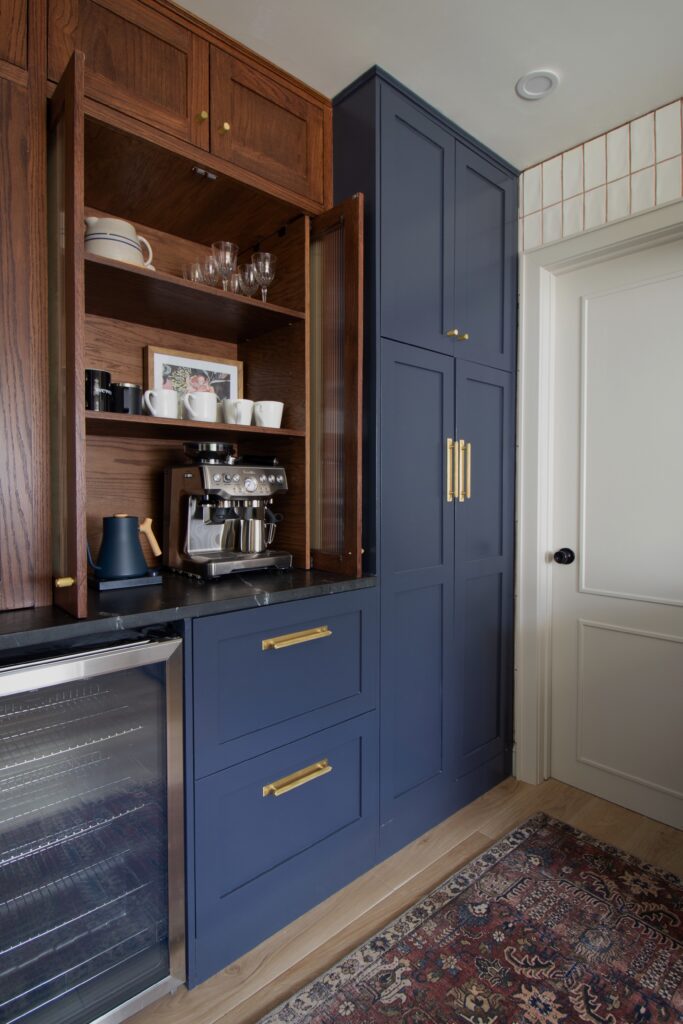
“I’m the type of person that loves clean countertops,” she says. “When I designed the kitchen, I wanted something to hide major appliances.” In lieu of floating shelves, which can be difficult to keep tidy, she chose custom wooden cabinetry to stand out from the rest of the navy fronts and add a touch of warmth. Reeded glass conceals kitchen items, while the shelves were built to fit her microwave and coffee bar.
Make Basics Bold
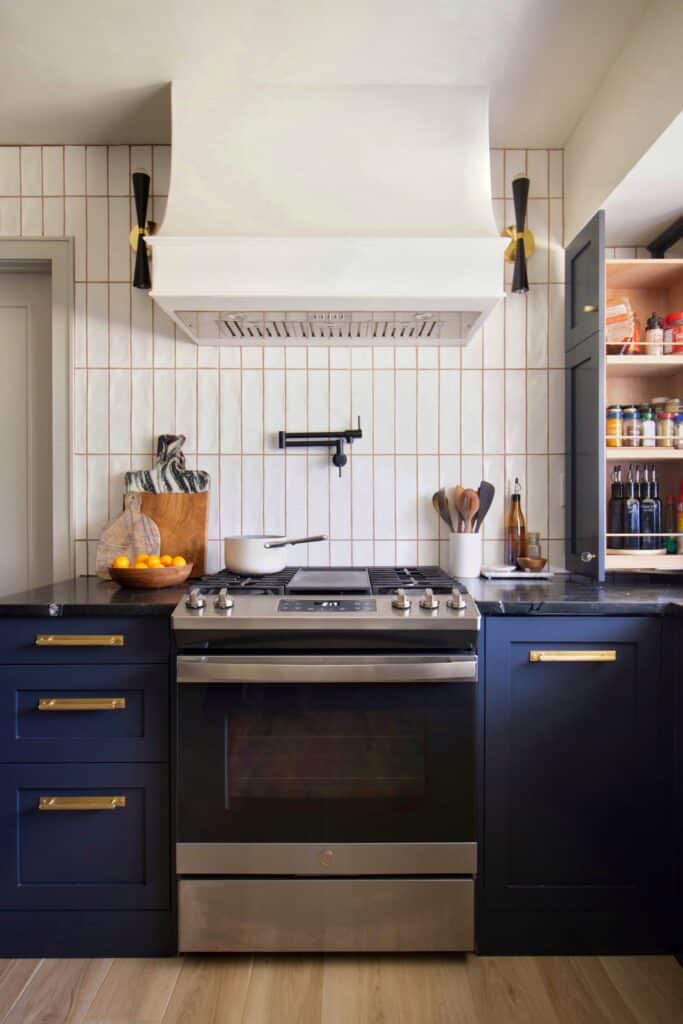
To finish the kitchen, May chose locally sourced black quartzite countertops, hardware from Amazon, and Etsy sconces. “Lighting took forever,” she says. “It’s one of the design aspects I’m not great at. I did a Photoshop mock-up with screenshots of different fixtures to see which looked best.” The black pendants pair with a black pot filler and black faucet. “I knew I wanted them to stand out,” she adds.
One element, pink-beige grout, is quite unexpected. Instead of traditional white grout, May chose the hue as it would “go nicely with the blue cabinets.” Planning a renovation? Try colored grout, installing an appliance garage, or two-tone cabinetry.


