Just as jewelry can elevate a simple outfit, cabinet hardware can polish off a kitchen with personality and panache.
Sure, it’s one of the smaller items you’ll find in a kitchen, but the shape, size, and finish of decorative hardware can have a large impact on the space. Want to add a modern touch? Try matte black knobs. Love a traditional style? Switch to polished chrome cup pulls.
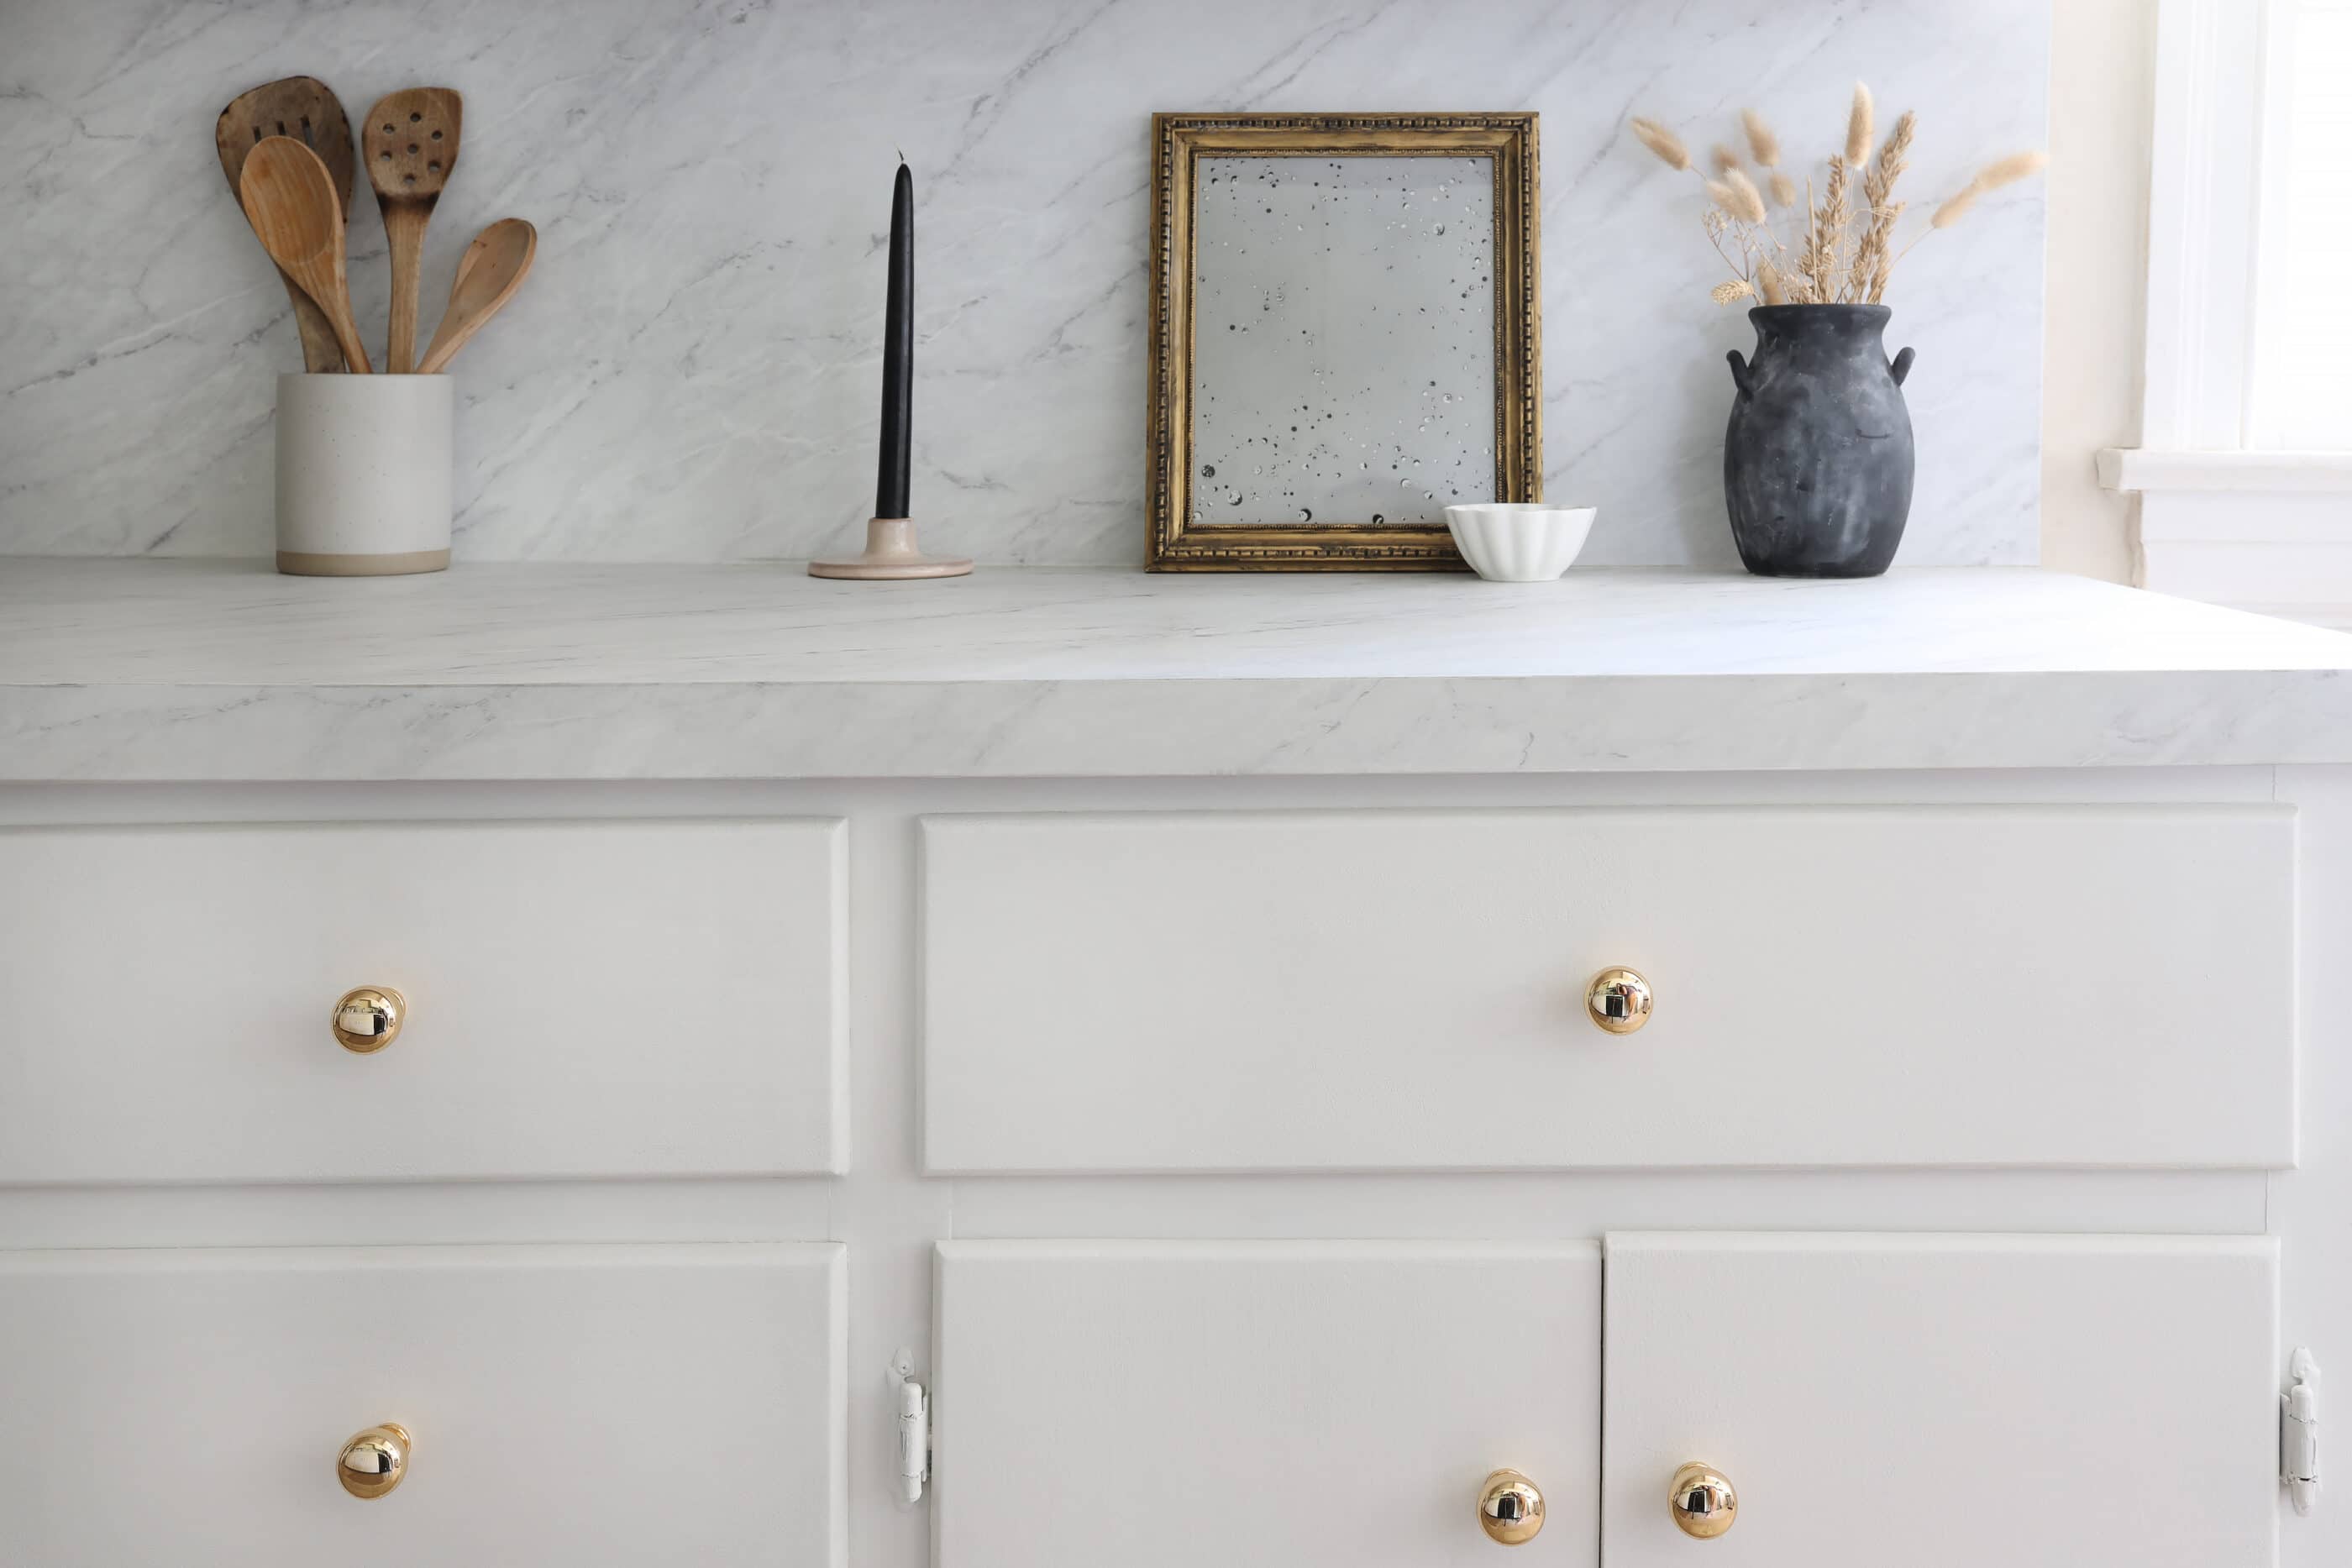
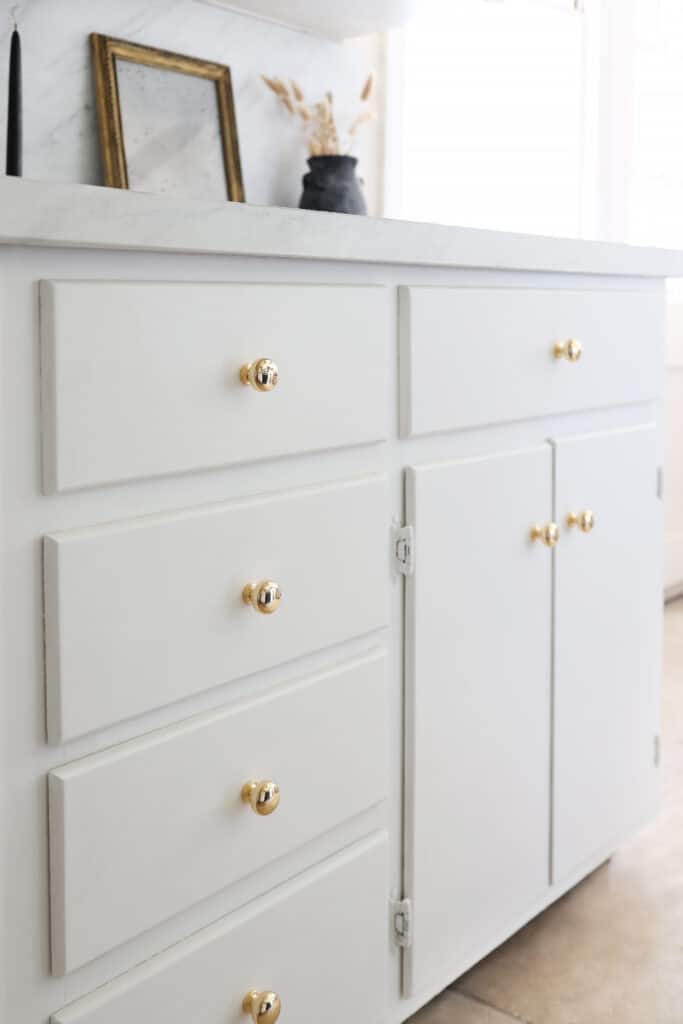
In my own 1940s kitchen, I’d been wanting to swap out white ceramic knobs and silver pulls for something warmer and more contemporary. I opted for unlacquered brass and decided to replace all of the pulls with knobs for a more cohesive look.
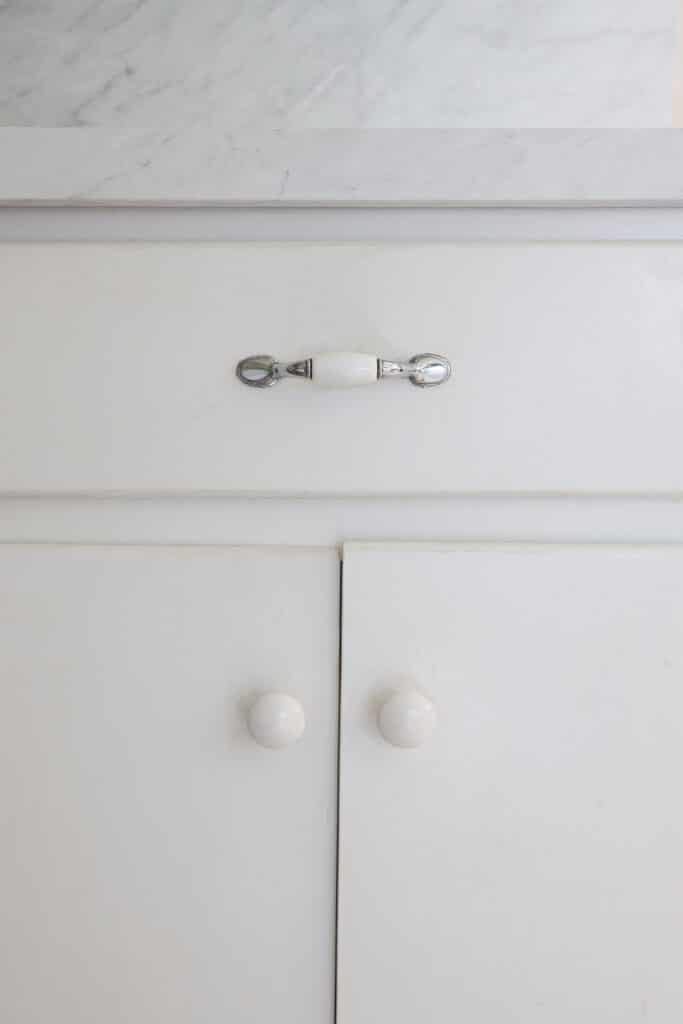
It was an easy switch, but there were a few steps I needed to take. Ready to change up the hardware in your kitchen? I’m sharing all of the how-to details, but first here’s a peek at what my kitchen looked like before.
Steps
Step
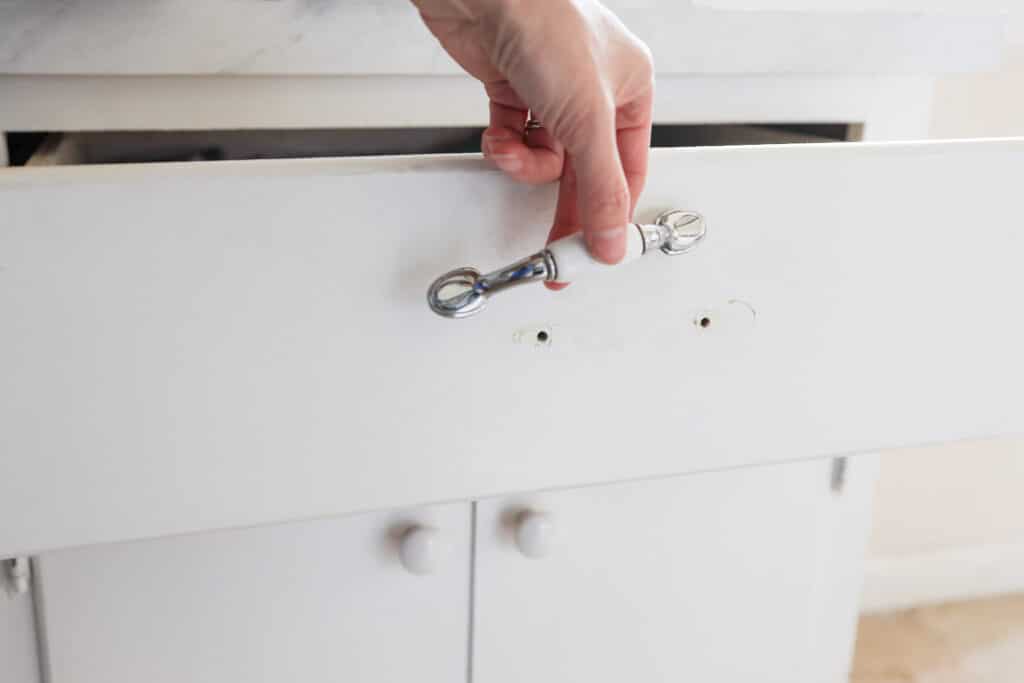
1
Use a screwdriver to remove the existing hardware. There should be screws located on the inside of the cabinet door or drawer that are holding the pulls or knobs in place.
Step
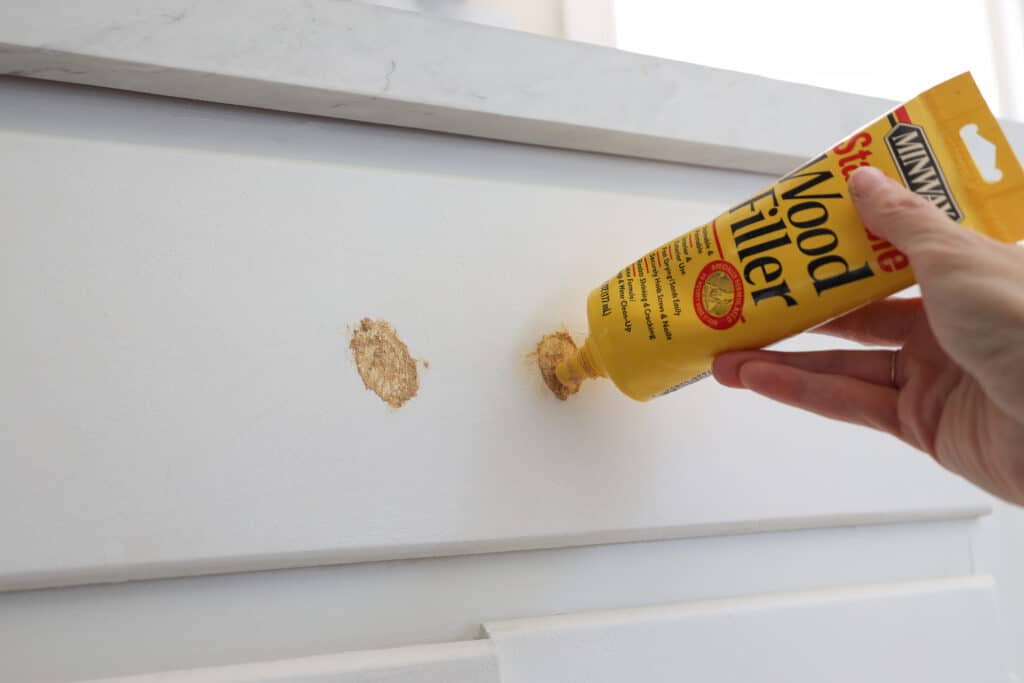
2
Apply wood filler to cover the holes of the original hardware. Use your finger to push it inside the holes, and then a putty knife to smooth it out. It’s better to use more than not enough, since you can always sand it down. Allow the putty to dry fully for several hours or overnight.
Step
3
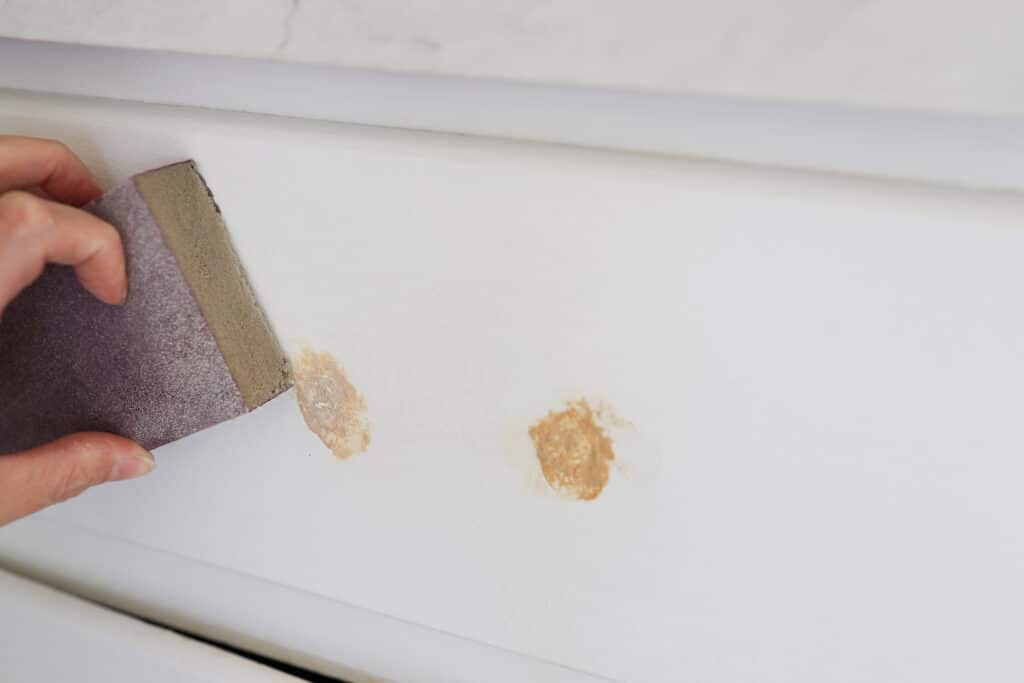
Sand the wood putty with a 220-grit sanding block until it’s completely smooth and blends in seamlessly with the cabinet surface. Wipe away any sanding dust.
Step
4
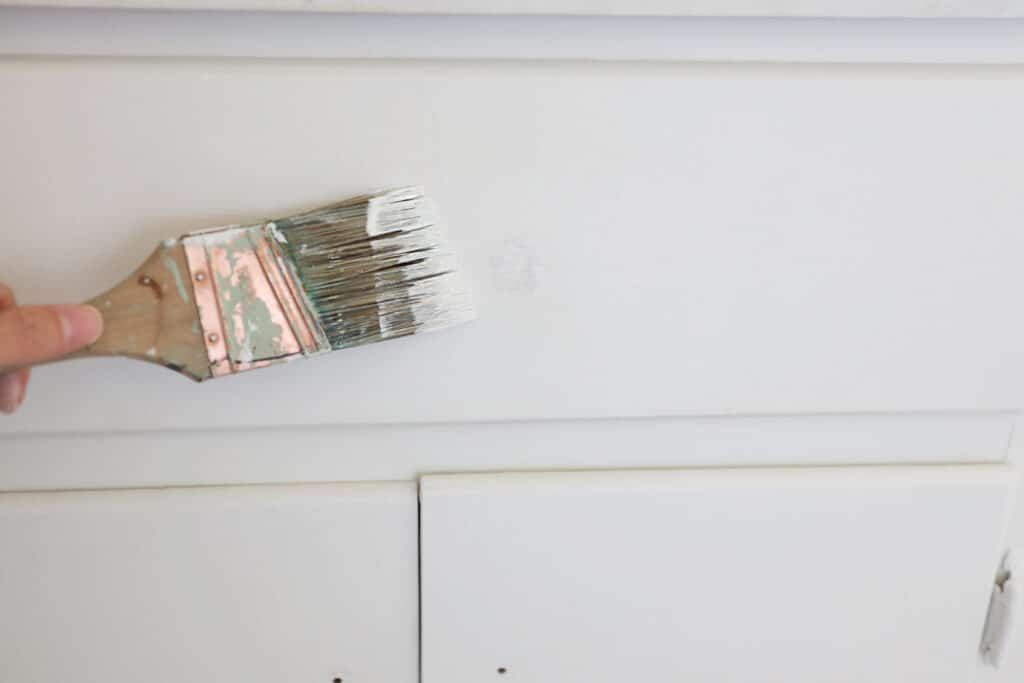
Paint a coat of primer over the areas you filled with wood putty. It’s important not to skip priming—especially if you’re using a light paint color— because you don’t want the color of the wood putty to bleed through the paint. This will also ensure a smoother paint adhesion and avoid any potential flashing (where areas of the paint can take on a different sheen). Allow the primer to dry for one hour.
Step
5
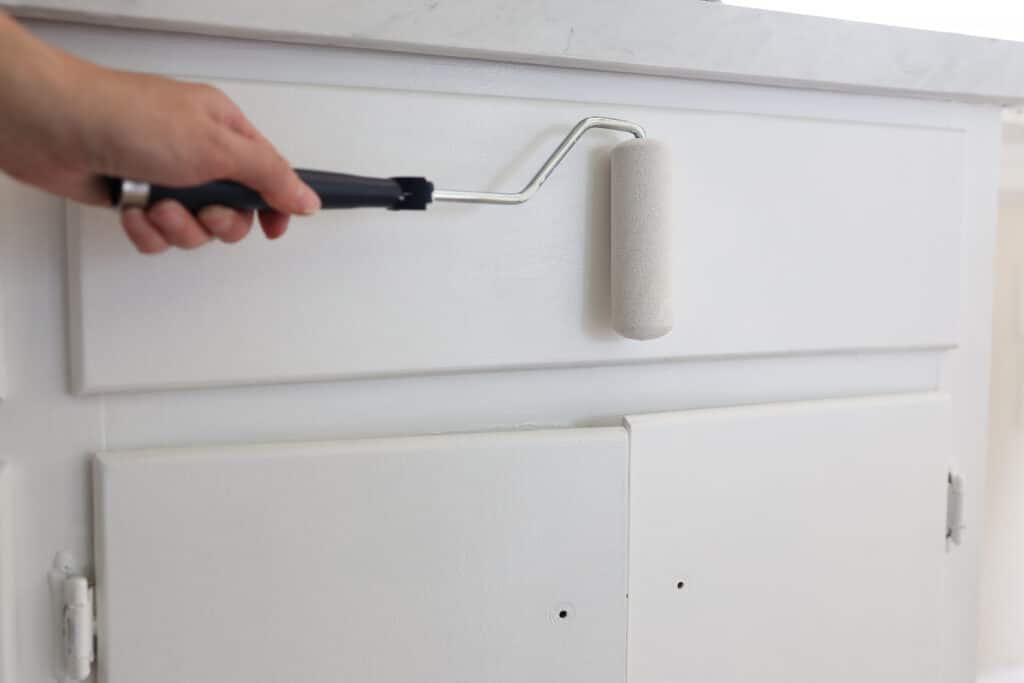
Use a high-density foam roller to apply a coat of paint to the areas you filled. You could use a paintbrush if you like, but a foam roller will give you the smoothest coverage. Allow the first coat to dry for two hours, and apply a second coat, if needed. Allow the paint to dry at least 24 hours.
Step
6
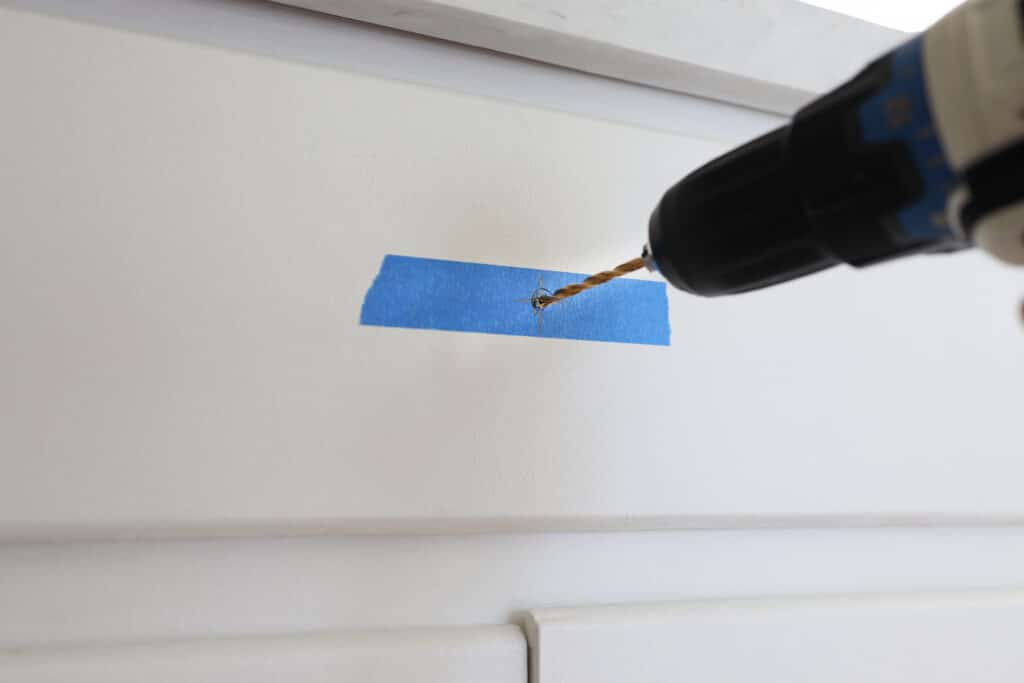
Place a piece of painter’s tape in the approximate area where you’d like to install the new hardware. Then use a measuring tape or a handy cabinet hardware jig and pencil to mark where you need to drill holes. Use a drill bit that’s the same size as the screws you’ll be using to attach your new hardware.
Tip: Knobs are generally placed 2 to 3 inches from the corner of doors or centered on drawers that are 24 inches or smaller. For drawers that are larger than 24 inches, you might consider placing two knobs that are centered in the outer thirds. Pulls are generally placed vertically on doors 2 to 3 inches from the corner or centered horizontally on drawers.
Step
7
Peel off the painter’s tape, install the new hardware, and enjoy the updated look of your kitchen cabinets.
*If you purchase something using one of the links in this article, we may earn a commission (at no cost to you). Rest assured we only recommend products we’ve vetted and loved.
More Stories...

The space is decked out in Semihandmade Moss Quarterline and Tahoe.

House flippers and mom-daughter duo Lacey and Audrey Soslow created the kitchen of their (buyers’) dreams.

Malene Barnett teamed up with designer Leyden Lewis to create a space representative of her work.