If ever there was a year to send some good cheer through the mail, 2020 is surely the one.
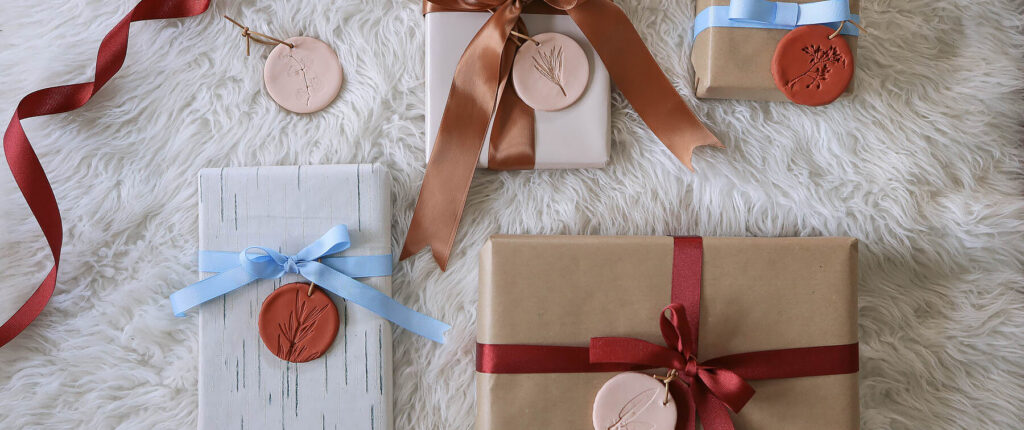
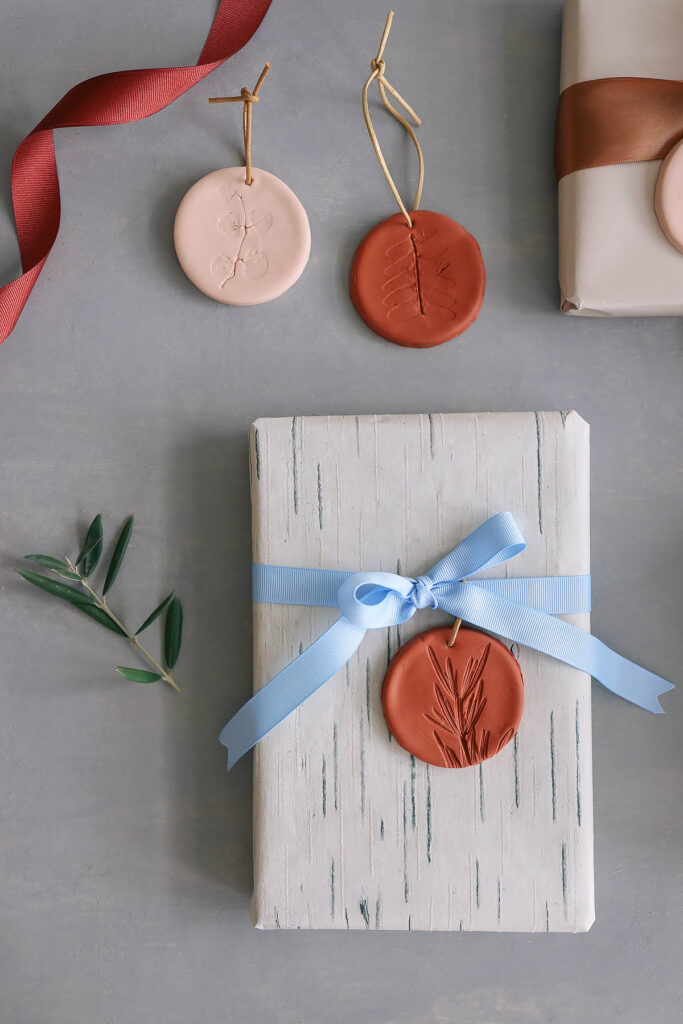
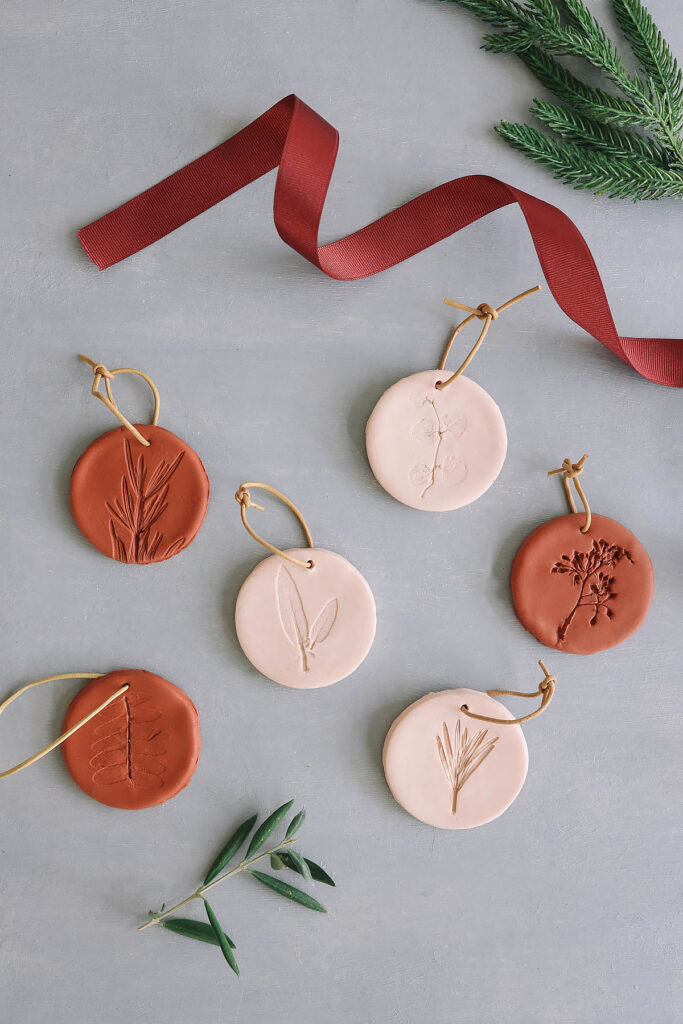
The prettier the package, the more exciting it is to open it. While ribbons and bows are surefire staples of gift wrapping, DIY tags offer an unexpected twist. Simply press botanical silhouettes into clay and cut into round discs that double as ornament keepsakes. You can even monogram them by stamping or carving names or initials into the flip side.
The best part? This extra bespoke touch is so easy—it’s not unlike baking and decorating cookies. Just add the clay to your cart and head outdoors to forage for leaves or other bits of nature (you might even have leftover herbs from your Thanksgiving menu).
Steps
Step
1
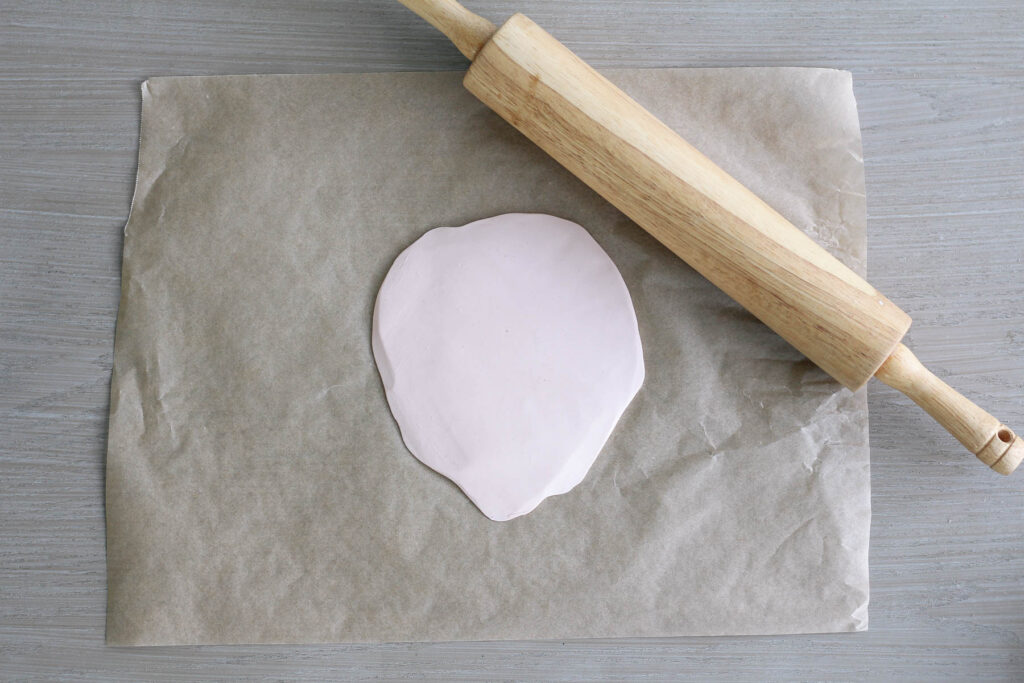
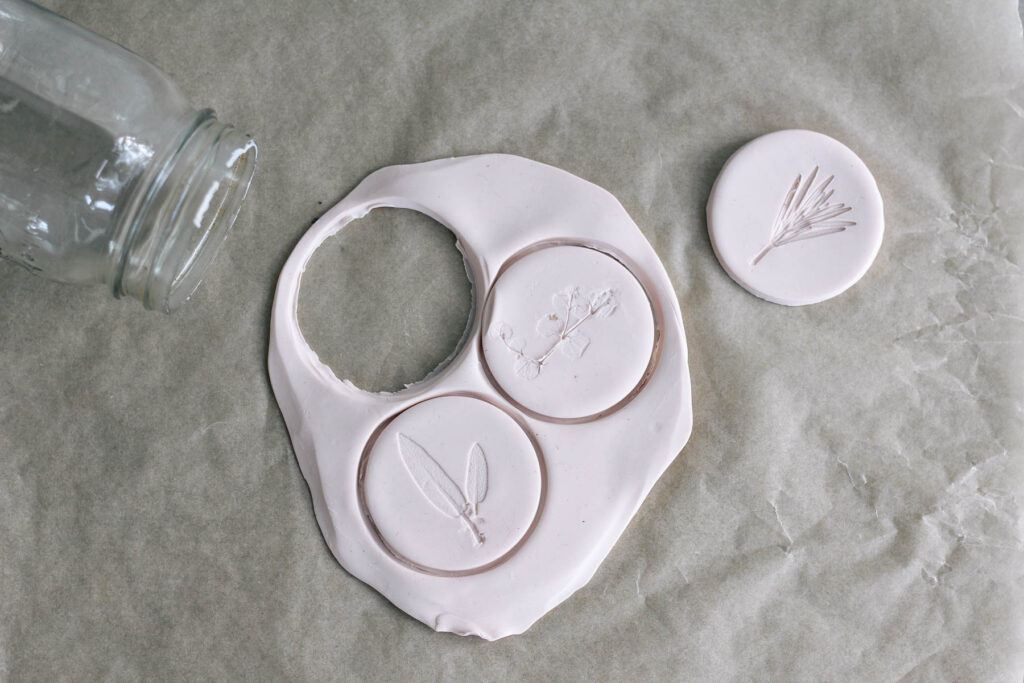
Place the clay on top of parchment paper and use a rolling pin to roll it out to ¼-inch thick.
Step
2
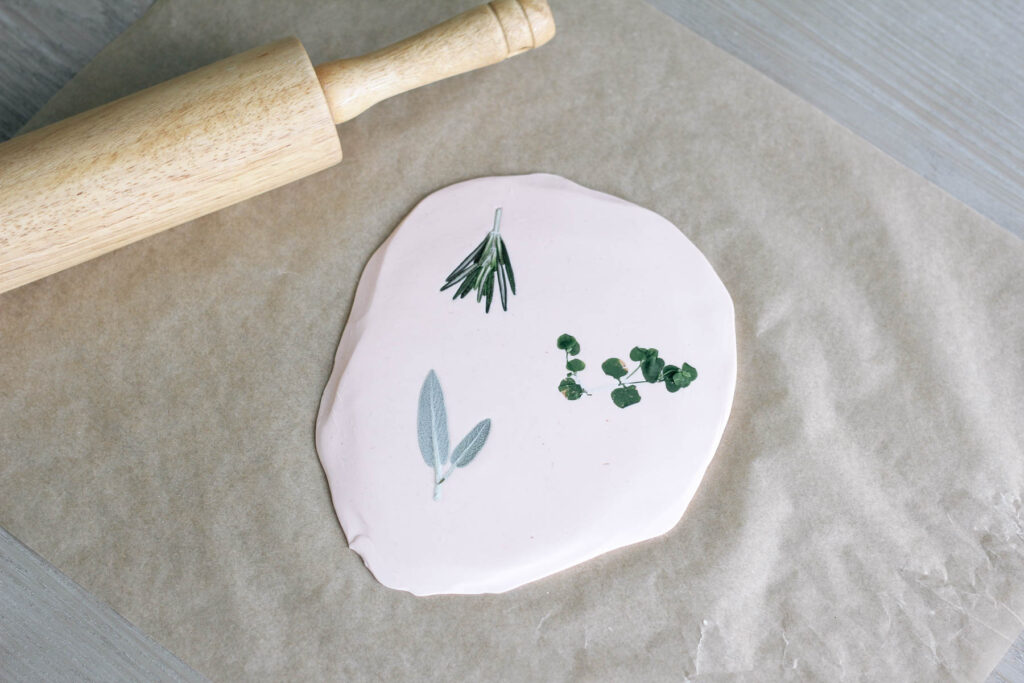
Arrange your botanicals face down on the clay, leaving a couple of inches of space between them. Gently roll over them to press their shapes into the clay.
Step
3
Carefully peel the botanicals out of the clay (use tweezers if necessary), and cut out circle shapes around them with a cookie cutter or the rim of a cup or jar.
Step
4
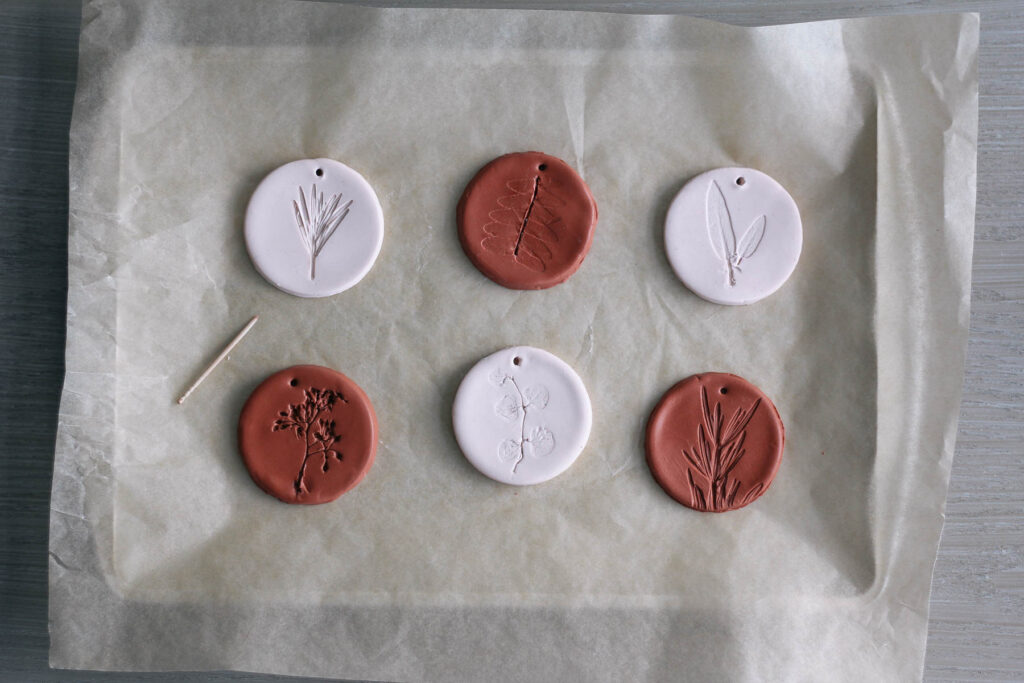
Transfer the clay gift tags to a parchment-lined baking tray and use a toothpick to create a hole for hanging at the top of each tag. Bake for 30 minutes at 275°.
Allow the tags to cool, and then simply tie them to your gifts with a leather cord or ribbon.
More Stories...

The space is decked out in Semihandmade Moss Quarterline and Tahoe.

House flippers and mom-daughter duo Lacey and Audrey Soslow created the kitchen of their (buyers’) dreams.

Malene Barnett teamed up with designer Leyden Lewis to create a space representative of her work.