My grandfather always had the most beautiful gardens, and he took care to show me the way around them long before I was able to plant vegetables on my own.
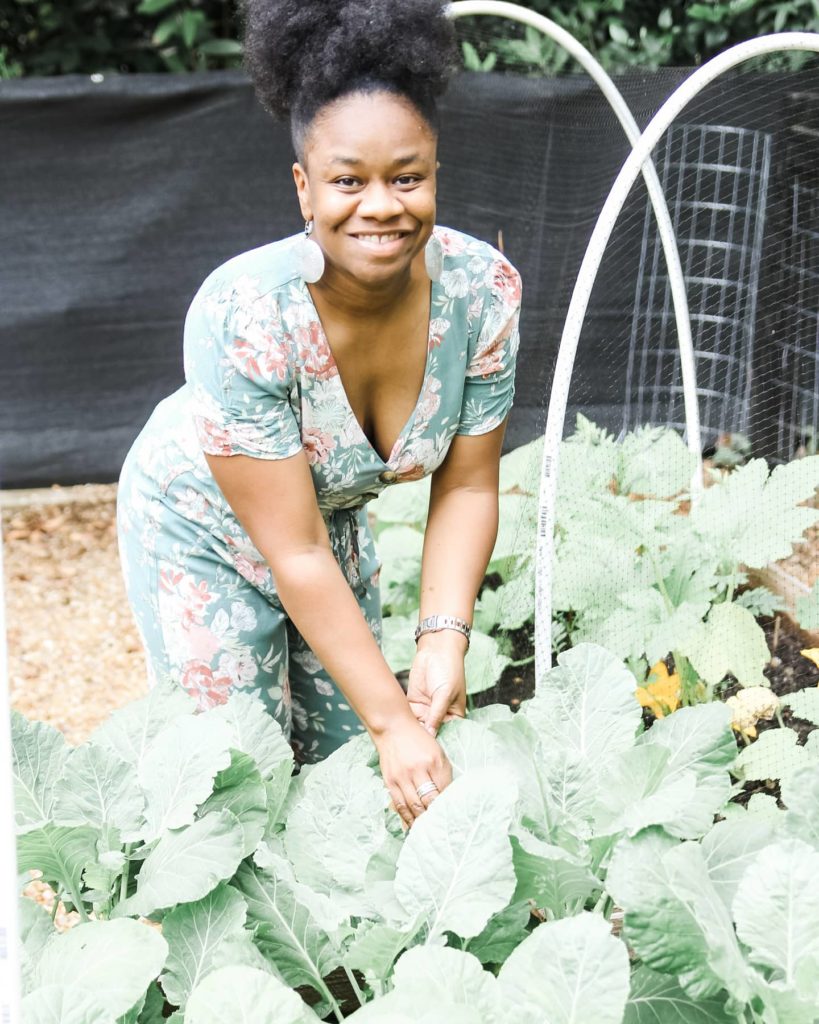
It’s something I could talk about for hours, so I was delighted to meet a fellow gardener, Stacie Abdallah, the blogger behind Stacie’s Spaces. Like me, Abdallah learned how to garden from one of the most important figures in her life: her grandmother. “One summer, my grandmother stayed with us in Georgia. We planted sunflowers that overtook the whole house,” she says. “Those memories instilled the significance of gardening to me. And, of course, the joy of watching things grow.”
Over the years, Abdallah has graduated from small containers of herbs on a windowsill to a full outdoor setup, complete with a variety of raised beds and even a greenhouse. It’s everything I covet, so I had to know how she did it. Abdallah’s magnificent greenhouse is really the pièce de résistance in her garden, but it does require a backyard with ample space. Plus, it’s a little more complex than your average DIY project. (Check out her tutorial to learn more.)
For most novice gardeners, Abdallah recommends honing your skills with raised beds—and it’s not too late to see results before summer’s end. If you’re ready to get started, Abdallah shares the five steps you need to follow.
Sketch a Design
First, survey your yard. How much room do you have to dedicate to a garden? Remember that this area should get full sun, and you should be able to get to every corner. Once you have an idea of its future location and size, sketch out a plan. This will help you catalog how much material you need, Abdallah says.
Stake Out Space
Next, clearly designate where your garden will grow. Abdallah opted for cedar fence pickets as a budget-friendly frame to her greenery. “They are safe for growing food and durable for weather, but are more cost effective than other options,” she says.
Based on measurements taken in the initial design phase, Abdallah determined that she needed approximately six fence pickets for her space. The fence pickets, which can be found at hardware stores, came with “dog ear tops.” “Using a miter saw, we cut those off first, then we cut the fence pickets according to the original measurements,” she explains. Abdallah and her husband then used clamps to hold all of the pieces together before drilling in nails to secure the bed together permanently.
Protect Your Future Saplings
Before putting soil in your brand new garden bed, it’s important to take the time to prep the ground below it. First, line the ground with landscape fabric to help protect your future plants from critters and weeds. Then, spread a layer of pea gravel down to help with drainage. It may seem like a lot of extra work in the moment, but it’ll be worth it when your plants flourish.
Get Tips About Topsoil
And speaking of soil, Abdallah has an important tip: Check with your local nursery about the type of soil that’s best to use in your area. The nursery’s landscape experts will be experienced in this topic, and they can likely deliver in bulk. So not only will you get the inside scoop, but you’ll probably also save yourself from making multiple trips to the store.
Once the right soil is covering your garden bed, consider adding an extra layer of compost or fertilizer, too. Abdallah selected mushroom compost to provide extra nutrients to her greenery. After you’re finished, go ahead and plant your selection—it’s time!
Stay Selectively Hydrated
When your plants are basking in your carefully-selected sunlight, take care to water them only when needed. “I want to love on my plants extra, but most of these plants don’t need water every day,” she advises. “Learn what your plants need and want for your area. Don’t just go with your gut. I’ve unwittingly drowned out plenty of plants.”
Cucumbers are a great choice for beginners, Abdallah says. “They’re really easy to grow and interesting to watch grow, since they climb.” Plus, the harvest is abundant. Tomatoes are another great starting point for beginners, too. “They are relatively easy and don’t have to be watered all the time—in fact, they shouldn’t be watered too much,” she adds.
If you buy something through these links, we’ll probably earn an affiliate commission—don’t worry, it won’t cost extra. We promise to only recommend items we’d buy ourselves!
More Stories...

The space is decked out in Semihandmade Moss Quarterline and Tahoe.

House flippers and mom-daughter duo Lacey and Audrey Soslow created the kitchen of their (buyers’) dreams.

Malene Barnett teamed up with designer Leyden Lewis to create a space representative of her work.