Now that the world is starting to reopen, one thing I’m very much looking forward to is entertaining at home again.
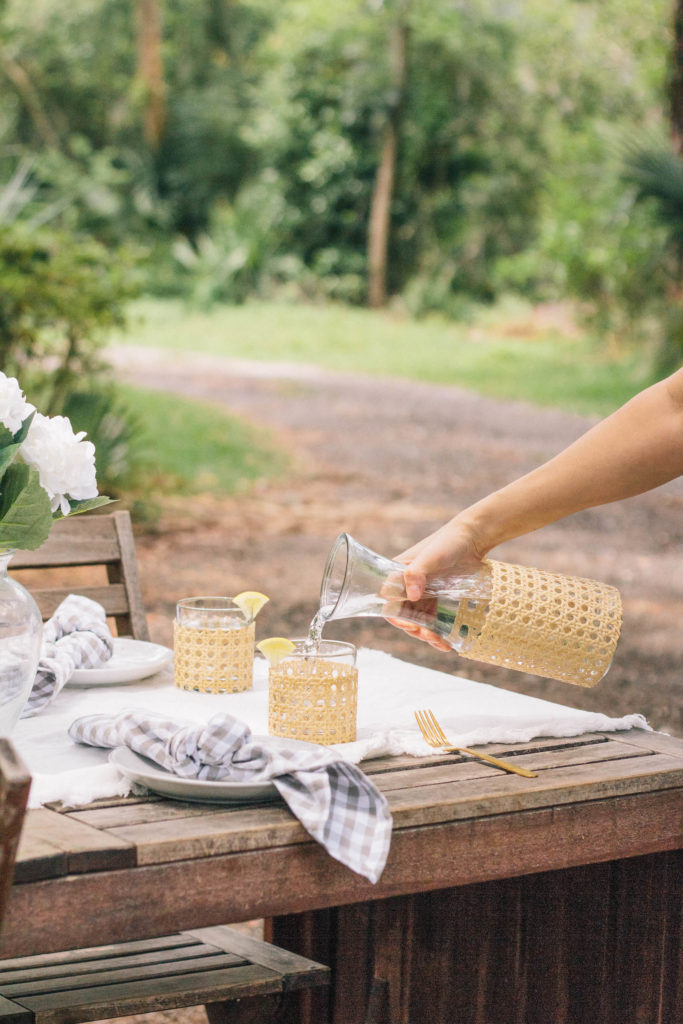
Gathering around a table for al fresco meals is always one of my summertime highlights, and when those occasions involve cocktails, then even better.
I enjoy setting a pretty table, from choosing the linens to lighting the candles. One element I particularly love in a tablescape is texture, which is why I gravitate toward cane webbing when the weather warms. It’s simultaneously modern yet retro, and it matches almost any outdoor theme. So for this month’s project, I thought I’d elevate a plain glass carafe and matching tumblers by wrapping them in cane. I have to say, they transform humble drinkware into showstoppers.
If you’re aiming to bring breezy vibes to your summer entertaining, I guarantee this rattan picnicware will do just that. It’s incredibly fast and easy to do, and will make any refreshment look party-ready.
Steps
Step
1
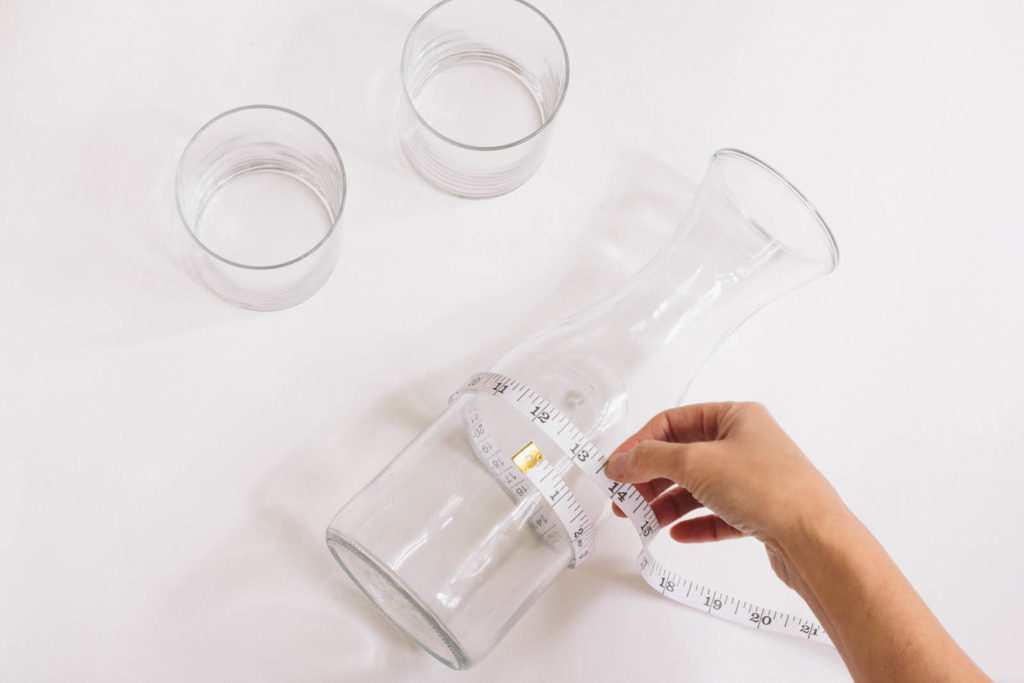
Use a measuring tape to determine the diameter and height of the carafe and tumblers. Add a half-inch to the diameter of each vessel to ensure you have enough material. If your carafe has a tapered shape (like mine), only measure the height of the non-tapered portion. For the height of the tumblers, subtract at least an inch or two, since the cane webbing won’t go all the way to the rim.
Step
2
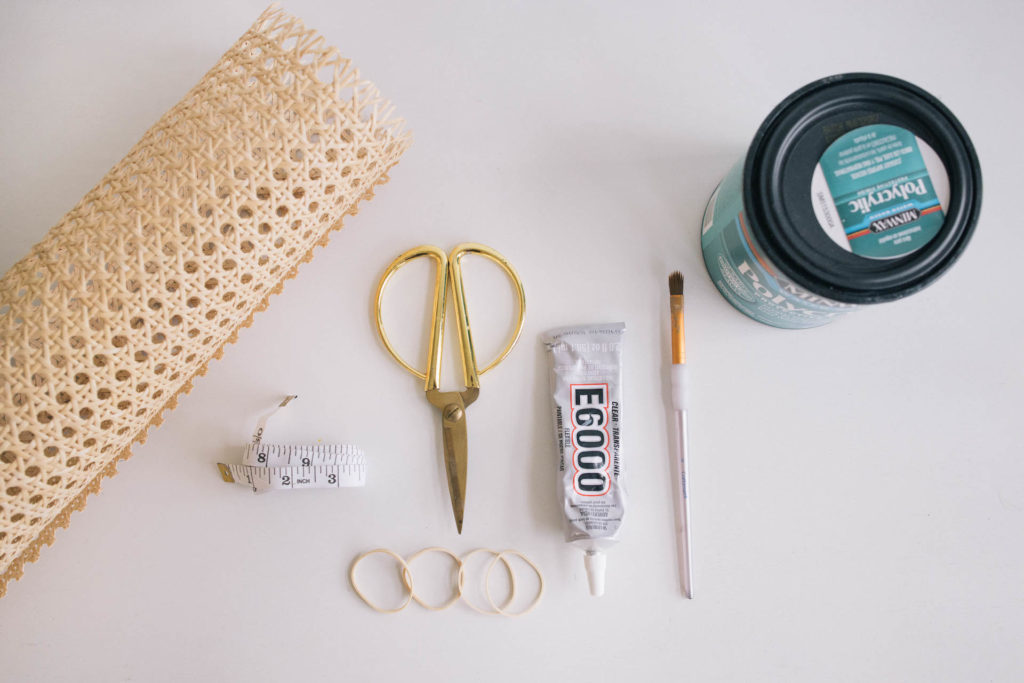
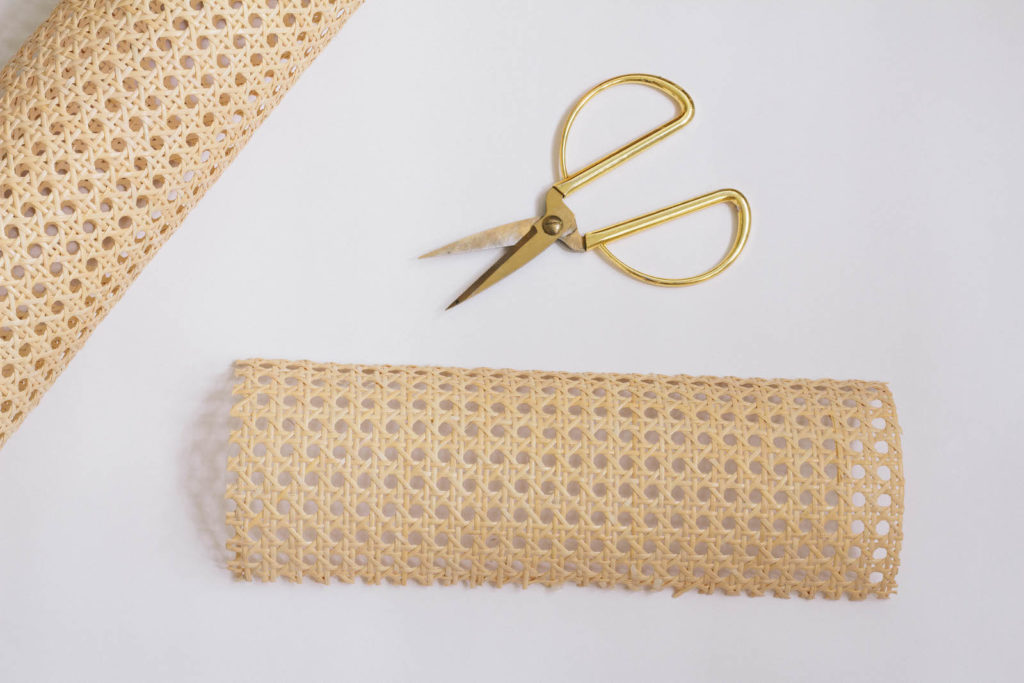
Cut the cane webbing to size, according to the measurements of your carafe and tumblers. If your cane webbing is particularly brittle, you can soak it in warm water for 20 minutes to soften it—it’ll make it easier to cut.
Step
3
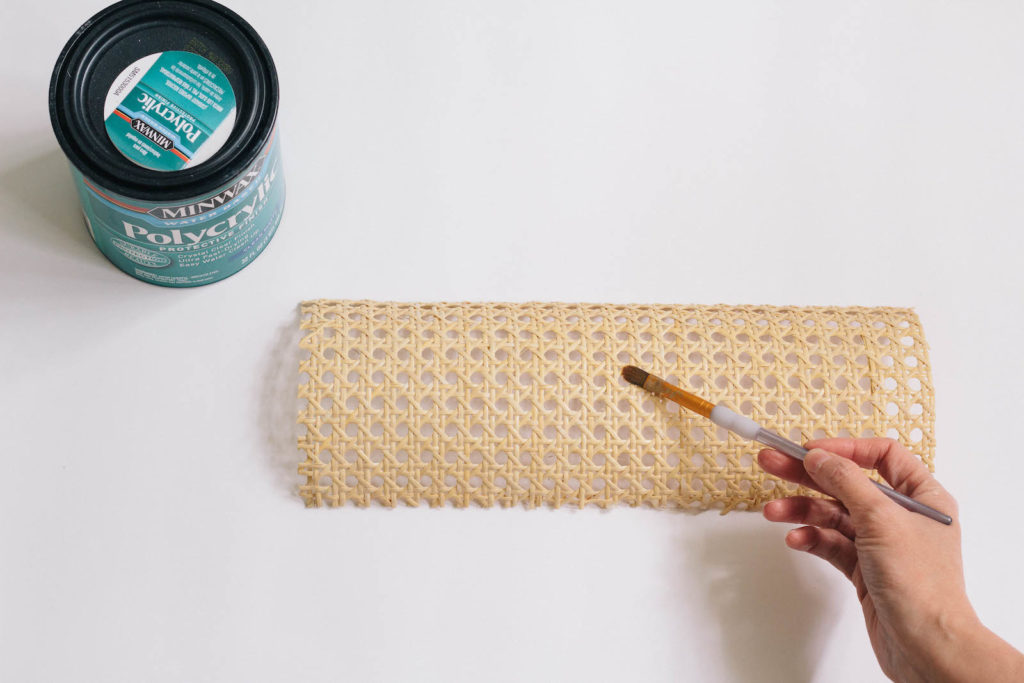
Brush on two coats of clear, matte polycrylic finish on each side of the cane webbing pieces, allowing adequate drying time in between coats. Let dry completely. This will protect your cane webbing when it gets wet from condensation, or when you’re washing your glassware.
Step
4
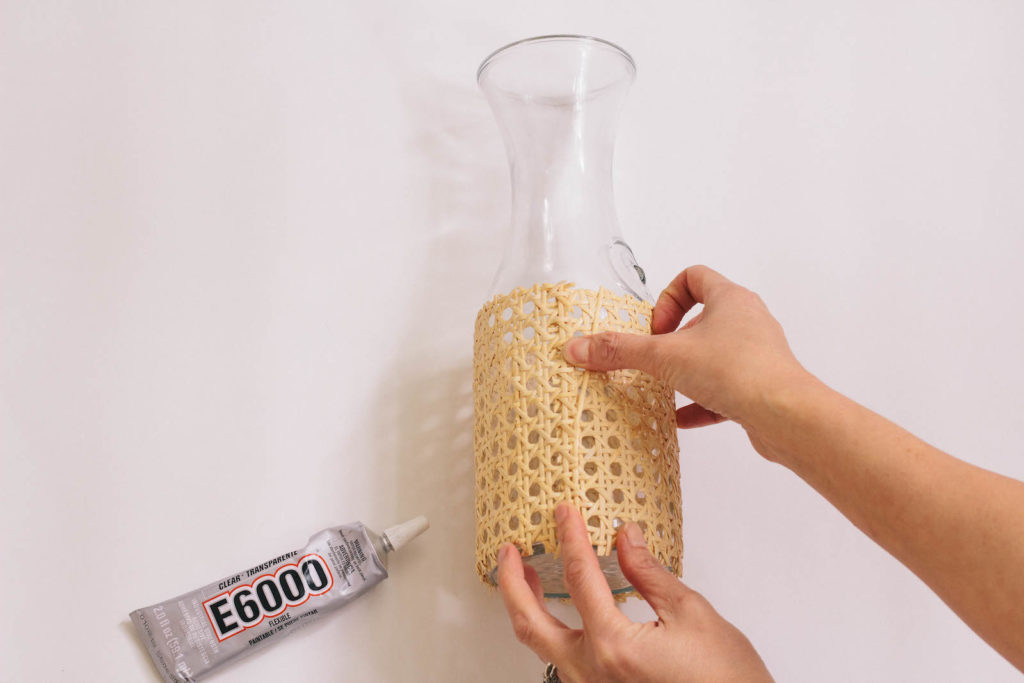
Wrap the cane webbing pieces around your carafe and tumblers, lining it up at the bottom. Secure the overlap with E6000 adhesive, which is waterproof once it cures.
Step
5
Wrap several rubber bands around each vessel until the glue dries completely for 24 hours.
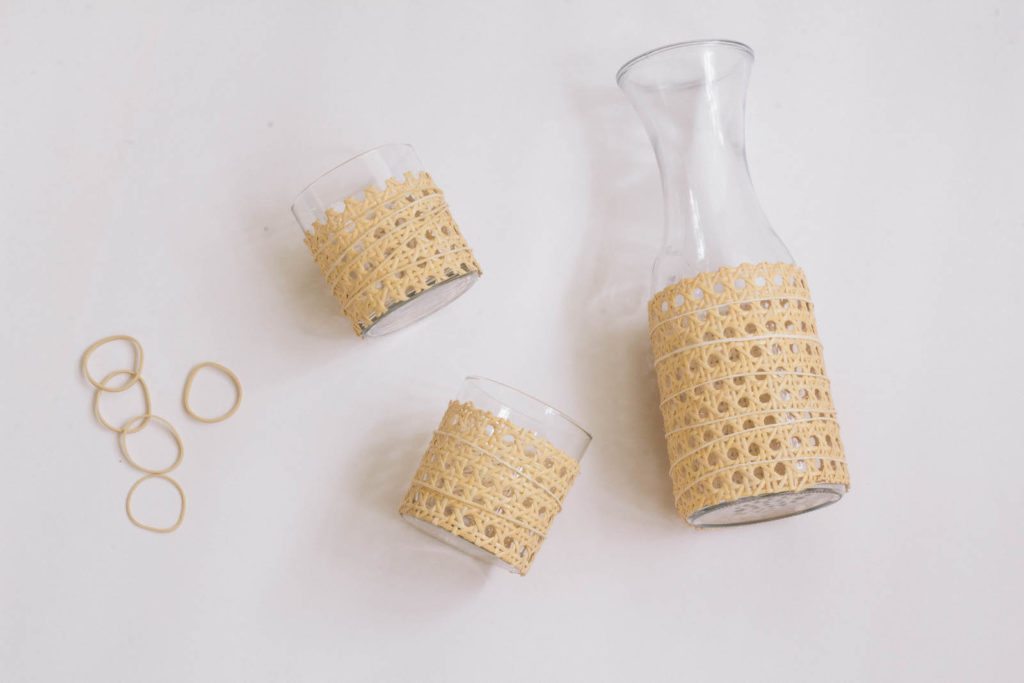
See what I mean? Both easy and breezy. Now, that’s what I call a win. Just be sure to hand-wash your pretty picnicware when the party’s over.
If you buy something through these links, we’ll probably earn an affiliate commission—don’t worry, it won’t cost extra. We promise to only recommend items we’d buy ourselves!
More Stories...

The space is decked out in Semihandmade Moss Quarterline and Tahoe.

House flippers and mom-daughter duo Lacey and Audrey Soslow created the kitchen of their (buyers’) dreams.

Malene Barnett teamed up with designer Leyden Lewis to create a space representative of her work.