They say the key to good organization is to make sure you have a place for everything.
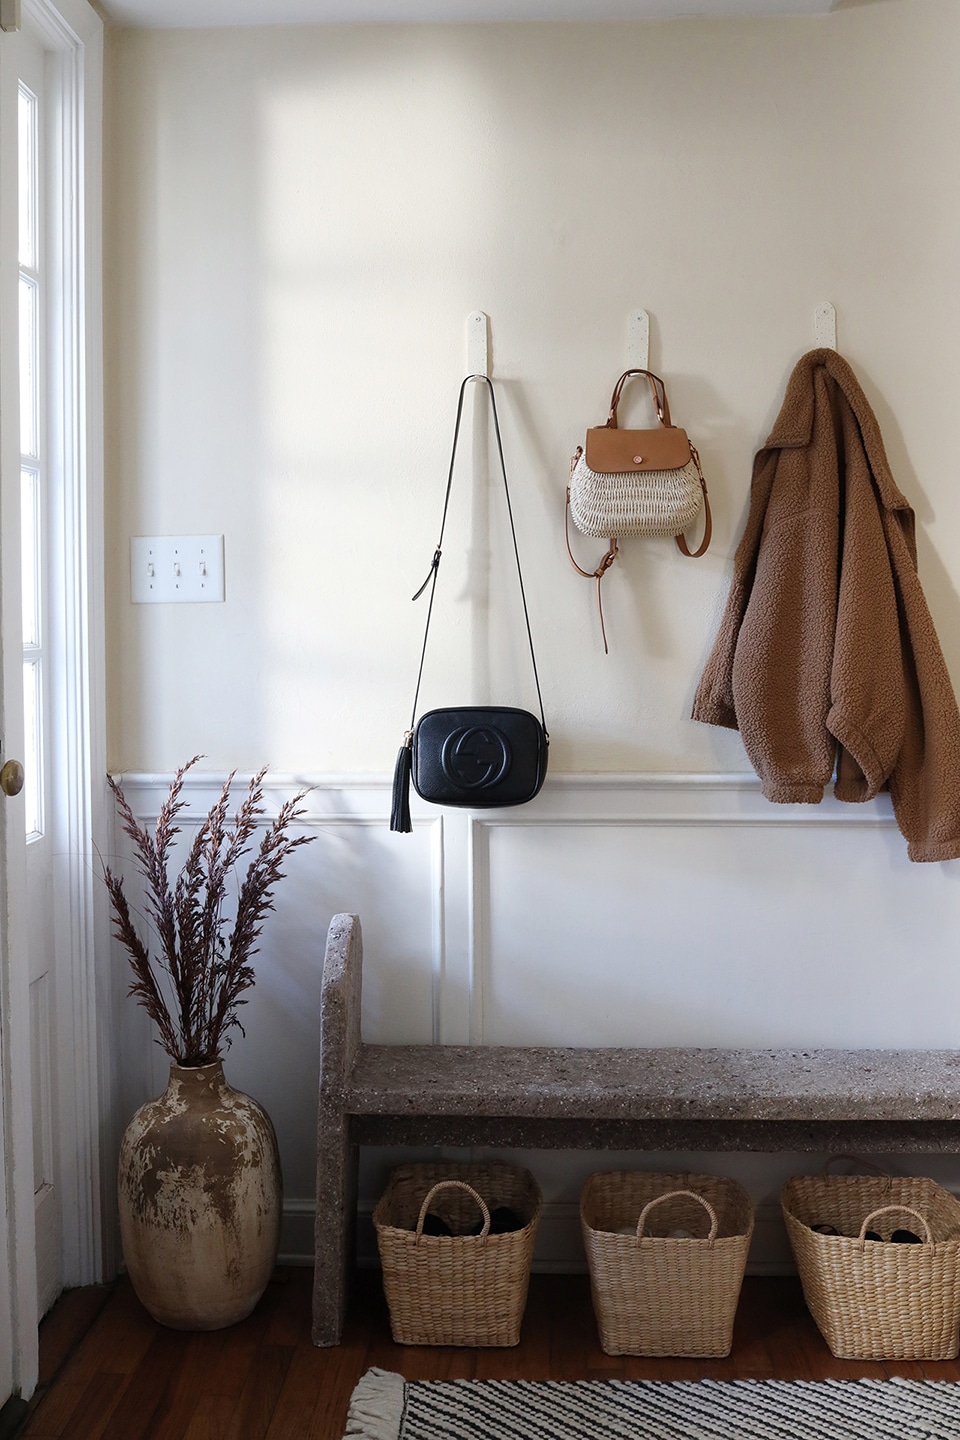
But my home’s entryway was definitely lacking in this strategy. If it wasn’t shoes piled up around the door, it was keys, bags, and coats strewn about. To state the whole area was an eyesore (and source of daily stress) is certainly an understatement.
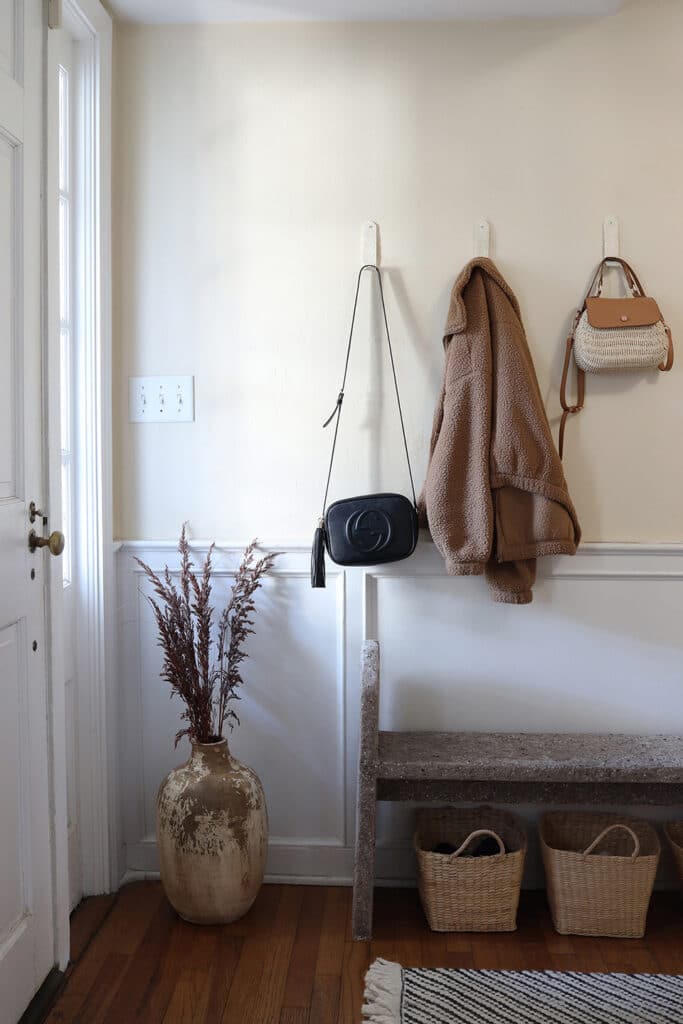
With the start of a new year, I decided to prioritize getting organized. Baskets placed under the bench were an easy solve for the shoe dilemma, but I also wanted to utilize the wall space. The only catch? I wanted it to be both functional and beautiful.
So I decided to create wall hooks out of clay and used paint to give them a speckled look. For $10 in supplies and only an hour’s time, I can now keep my mélange of personal items stored in style.
Steps
Step
1
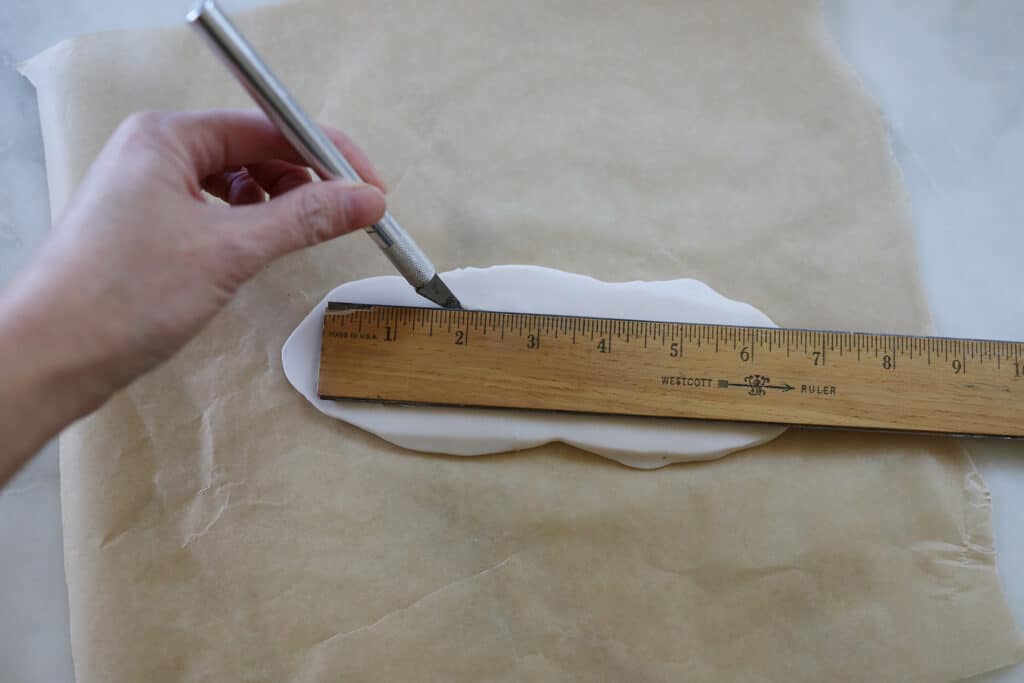
Preheat the oven to 275º Fahrenheit. Pinch off about an ounce of clay and work it in your hands to warm it up and make it more malleable. Then, place it on a piece of parchment paper and roll it into a long strip about 7 inches long and 1 1/2 inches wide.

Step
2
Place a ruler on top of the clay, and use a utility knife to cut around a 6-inch perimeter of the ruler. When you peel the clay away, you’ll be left with a 6-inch rectangular strip.
Step
3
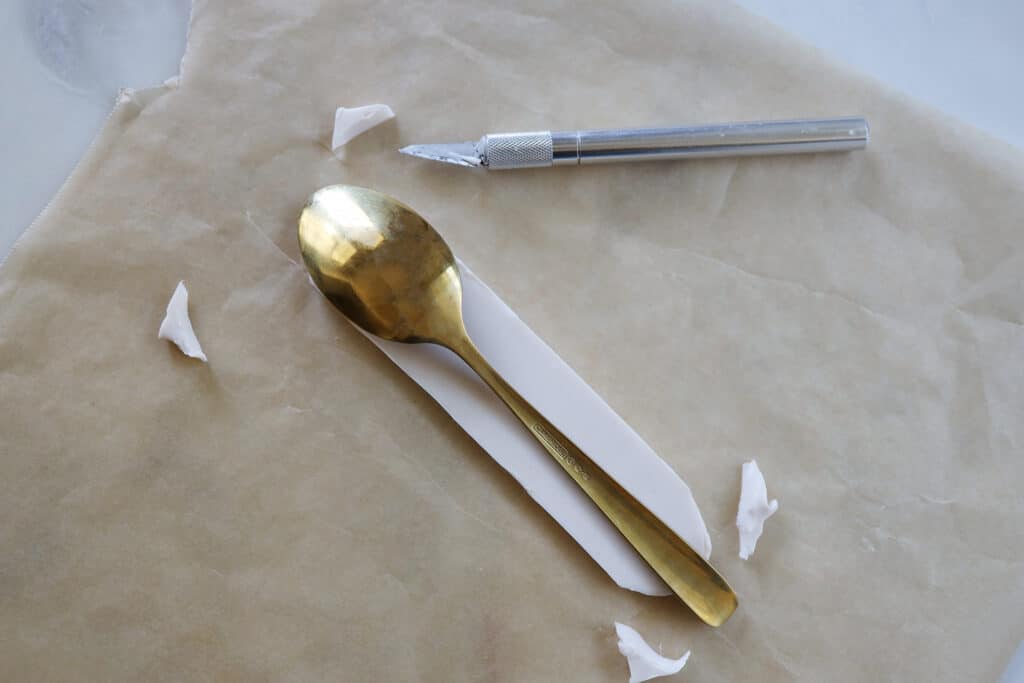
Place a soup spoon on top of the strip of clay. Cut around the curve of the spoon to create a rounded edge on each end of the clay. Smooth out any rough edges, but don’t worry too much about getting it perfect. These are meant to have an artisanal look.
Step
4
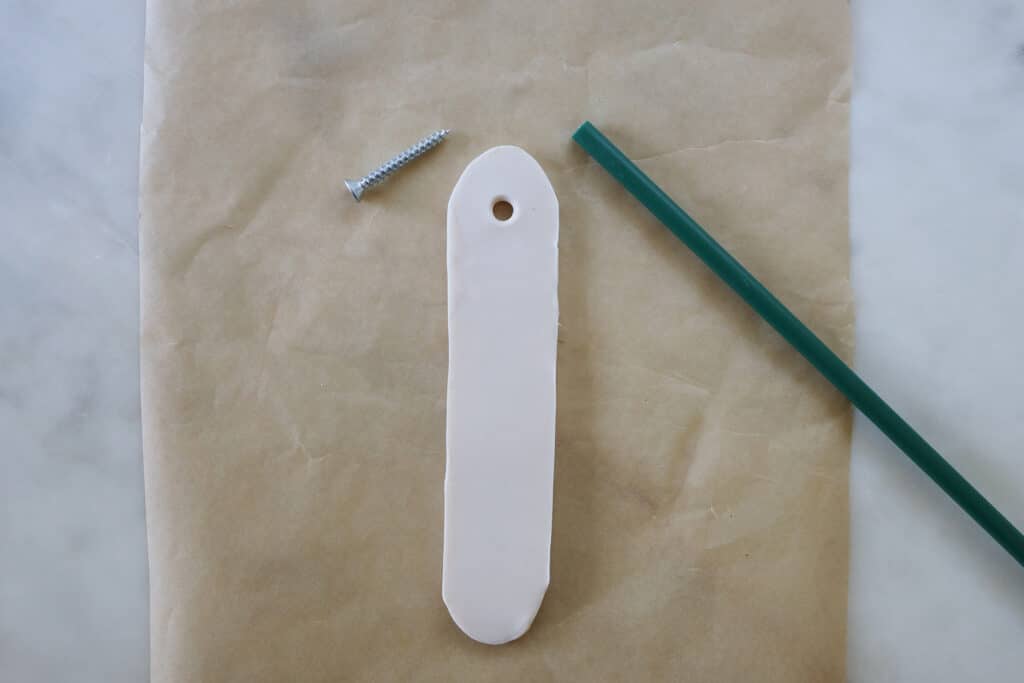
On one end of the clay strip, use a drinking straw to cut out a hole about 1 inch down from the top. The key is to make sure the hole is large enough for your wall screw to fit through, but not so big that the head of the screw will slip through.
Step
5
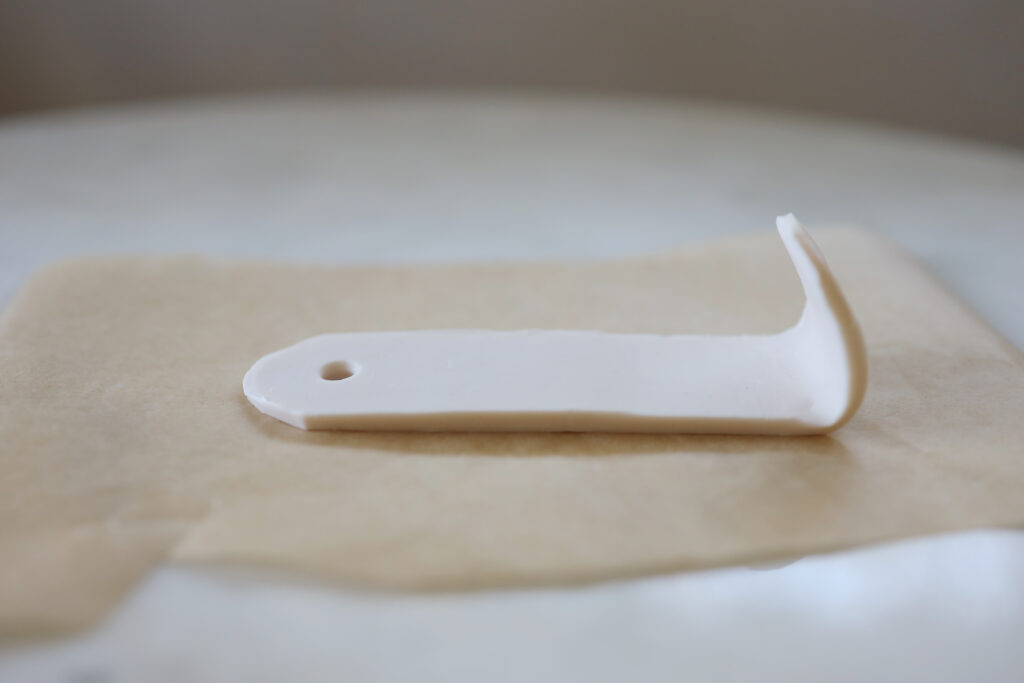
Fold up the end that’s opposite from the hole so that it forms the clay into a J shape. Make sure the end is curved enough so that items can hang securely.
Step
6
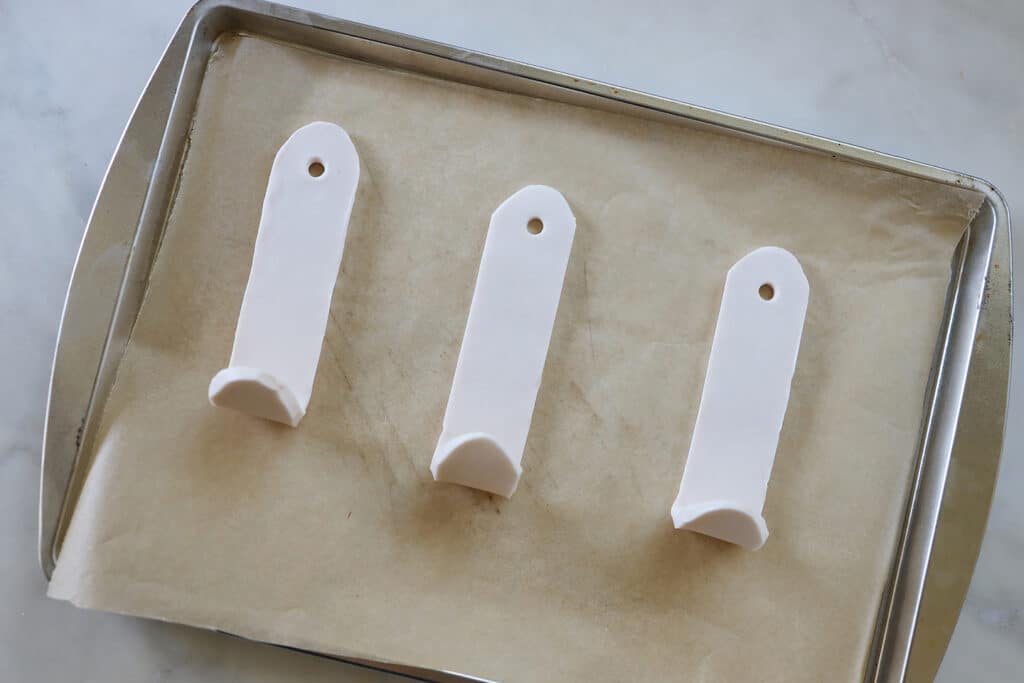
Repeat to make as many wall hooks as you want, and then place the hooks on a parchment-lined baking sheet. Bake at 275º Fahrenheit for 20 minutes.
Step
7
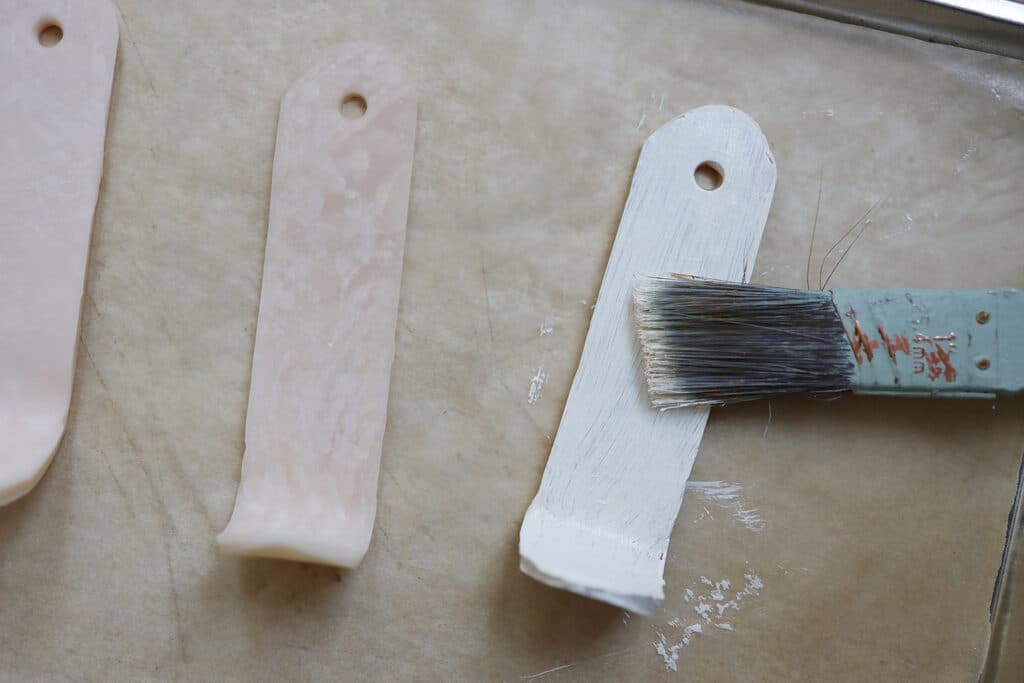
Let the wall hooks cool completely, then paint them your color of choice (I chose off-white to blend in with my wall color). Let dry, and paint a second coat. Tip: You can also paint the tops of your screws to blend in with the hooks.
Step
8
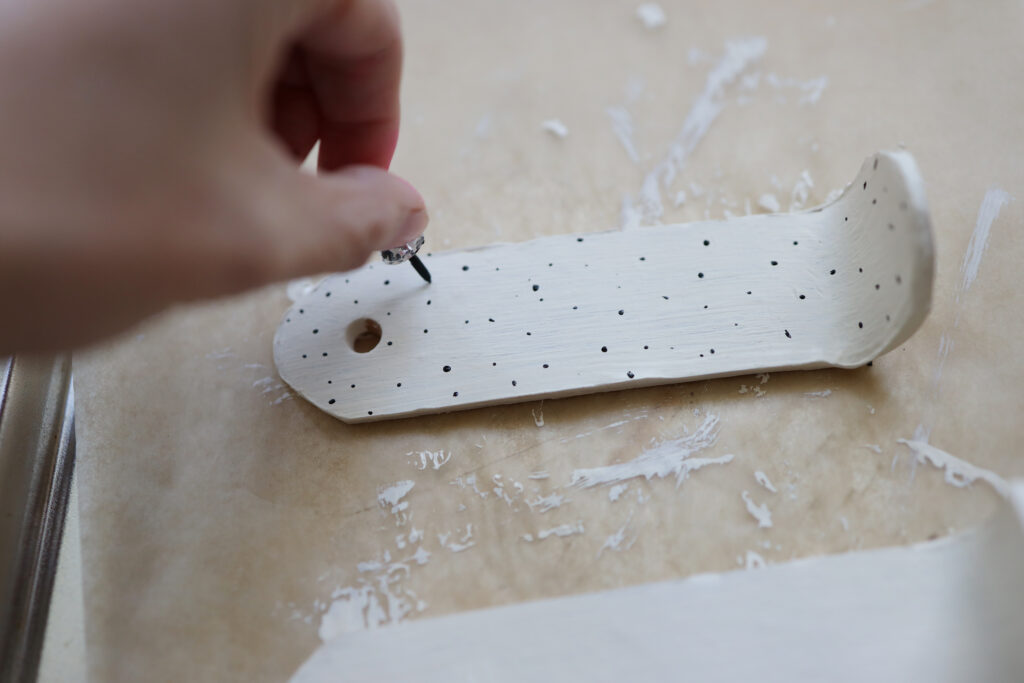
Once the second coat is dry, dip a toothpick or thumbtack in black paint and dab randomly around the hooks to create a speckled look. You want some dots to be bigger than others. Let dry.
Step
9
Mount on the wall with drywall screws (either drill into studs or use drywall anchors). Then you’re ready to hang items and get organized!
*If you purchase something using one of the links in this article, we may earn a commission (at no cost to you). Rest assured we only recommend products we’ve vetted and loved.
More Stories...

The space is decked out in Semihandmade Moss Quarterline and Tahoe.

House flippers and mom-daughter duo Lacey and Audrey Soslow created the kitchen of their (buyers’) dreams.

Malene Barnett teamed up with designer Leyden Lewis to create a space representative of her work.