This 210-Square-Foot Rental Kitchen Is Proof You Don’t (Always) Need a Contractor
Mallory Fletchall DIYed her entire renovation in just three weeks.
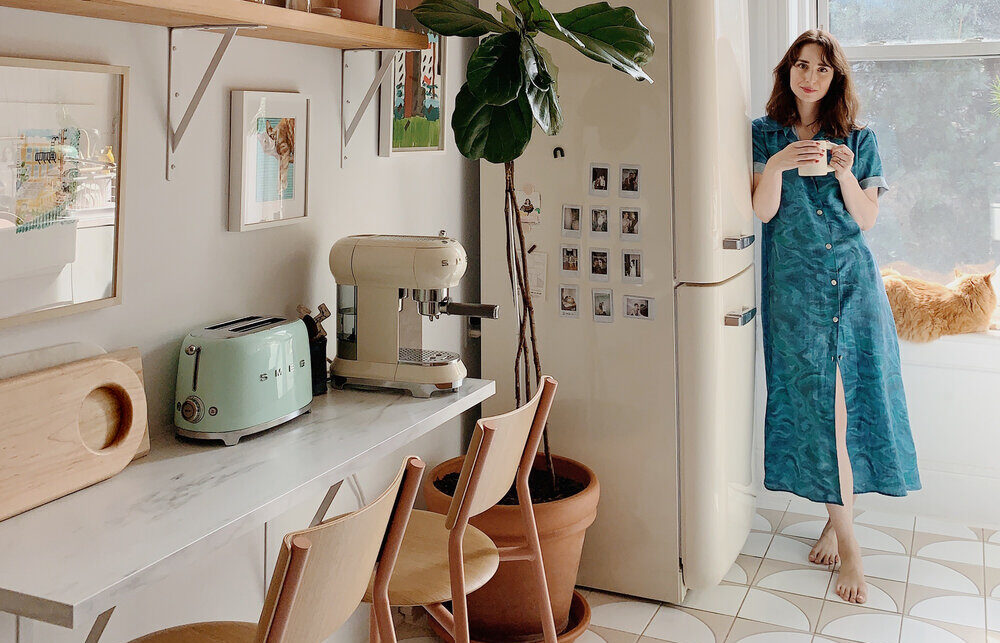
Not one contractor stepped foot in Mallory Fletchall’s Greenpoint kitchen during the three-week renovation.
Although the creative behind Reserve Home had, in her own words, “absolutely zero renovation experience,” she and her husband David tackled the makeover with the help of budget-friendly projects and a lot of elbow grease.
“We basically became students of the YouTube School of DIY and Renovation,” she says, laughing. Together, the couple laid the floor and backsplash tile and installed the new countertops, faucets, and cabinetry. They taught themselves how to use a tile cutter, chop saw, and jigsaw to complete the project (and did it all under a month).
Why did the duo choose to do everything themselves? For one, they live in a rental and needed to stay within a small budget. “The savings were astronomical,” Fletchall explains. “We’d never done anything like this, but it was actually pretty fun. We started working as soon as we woke up and chipped away at it until we went to bed.” As to be expected, the space is now brimming with wallet-friendly hacks:
Don’t Let the Original Design Trip You Up
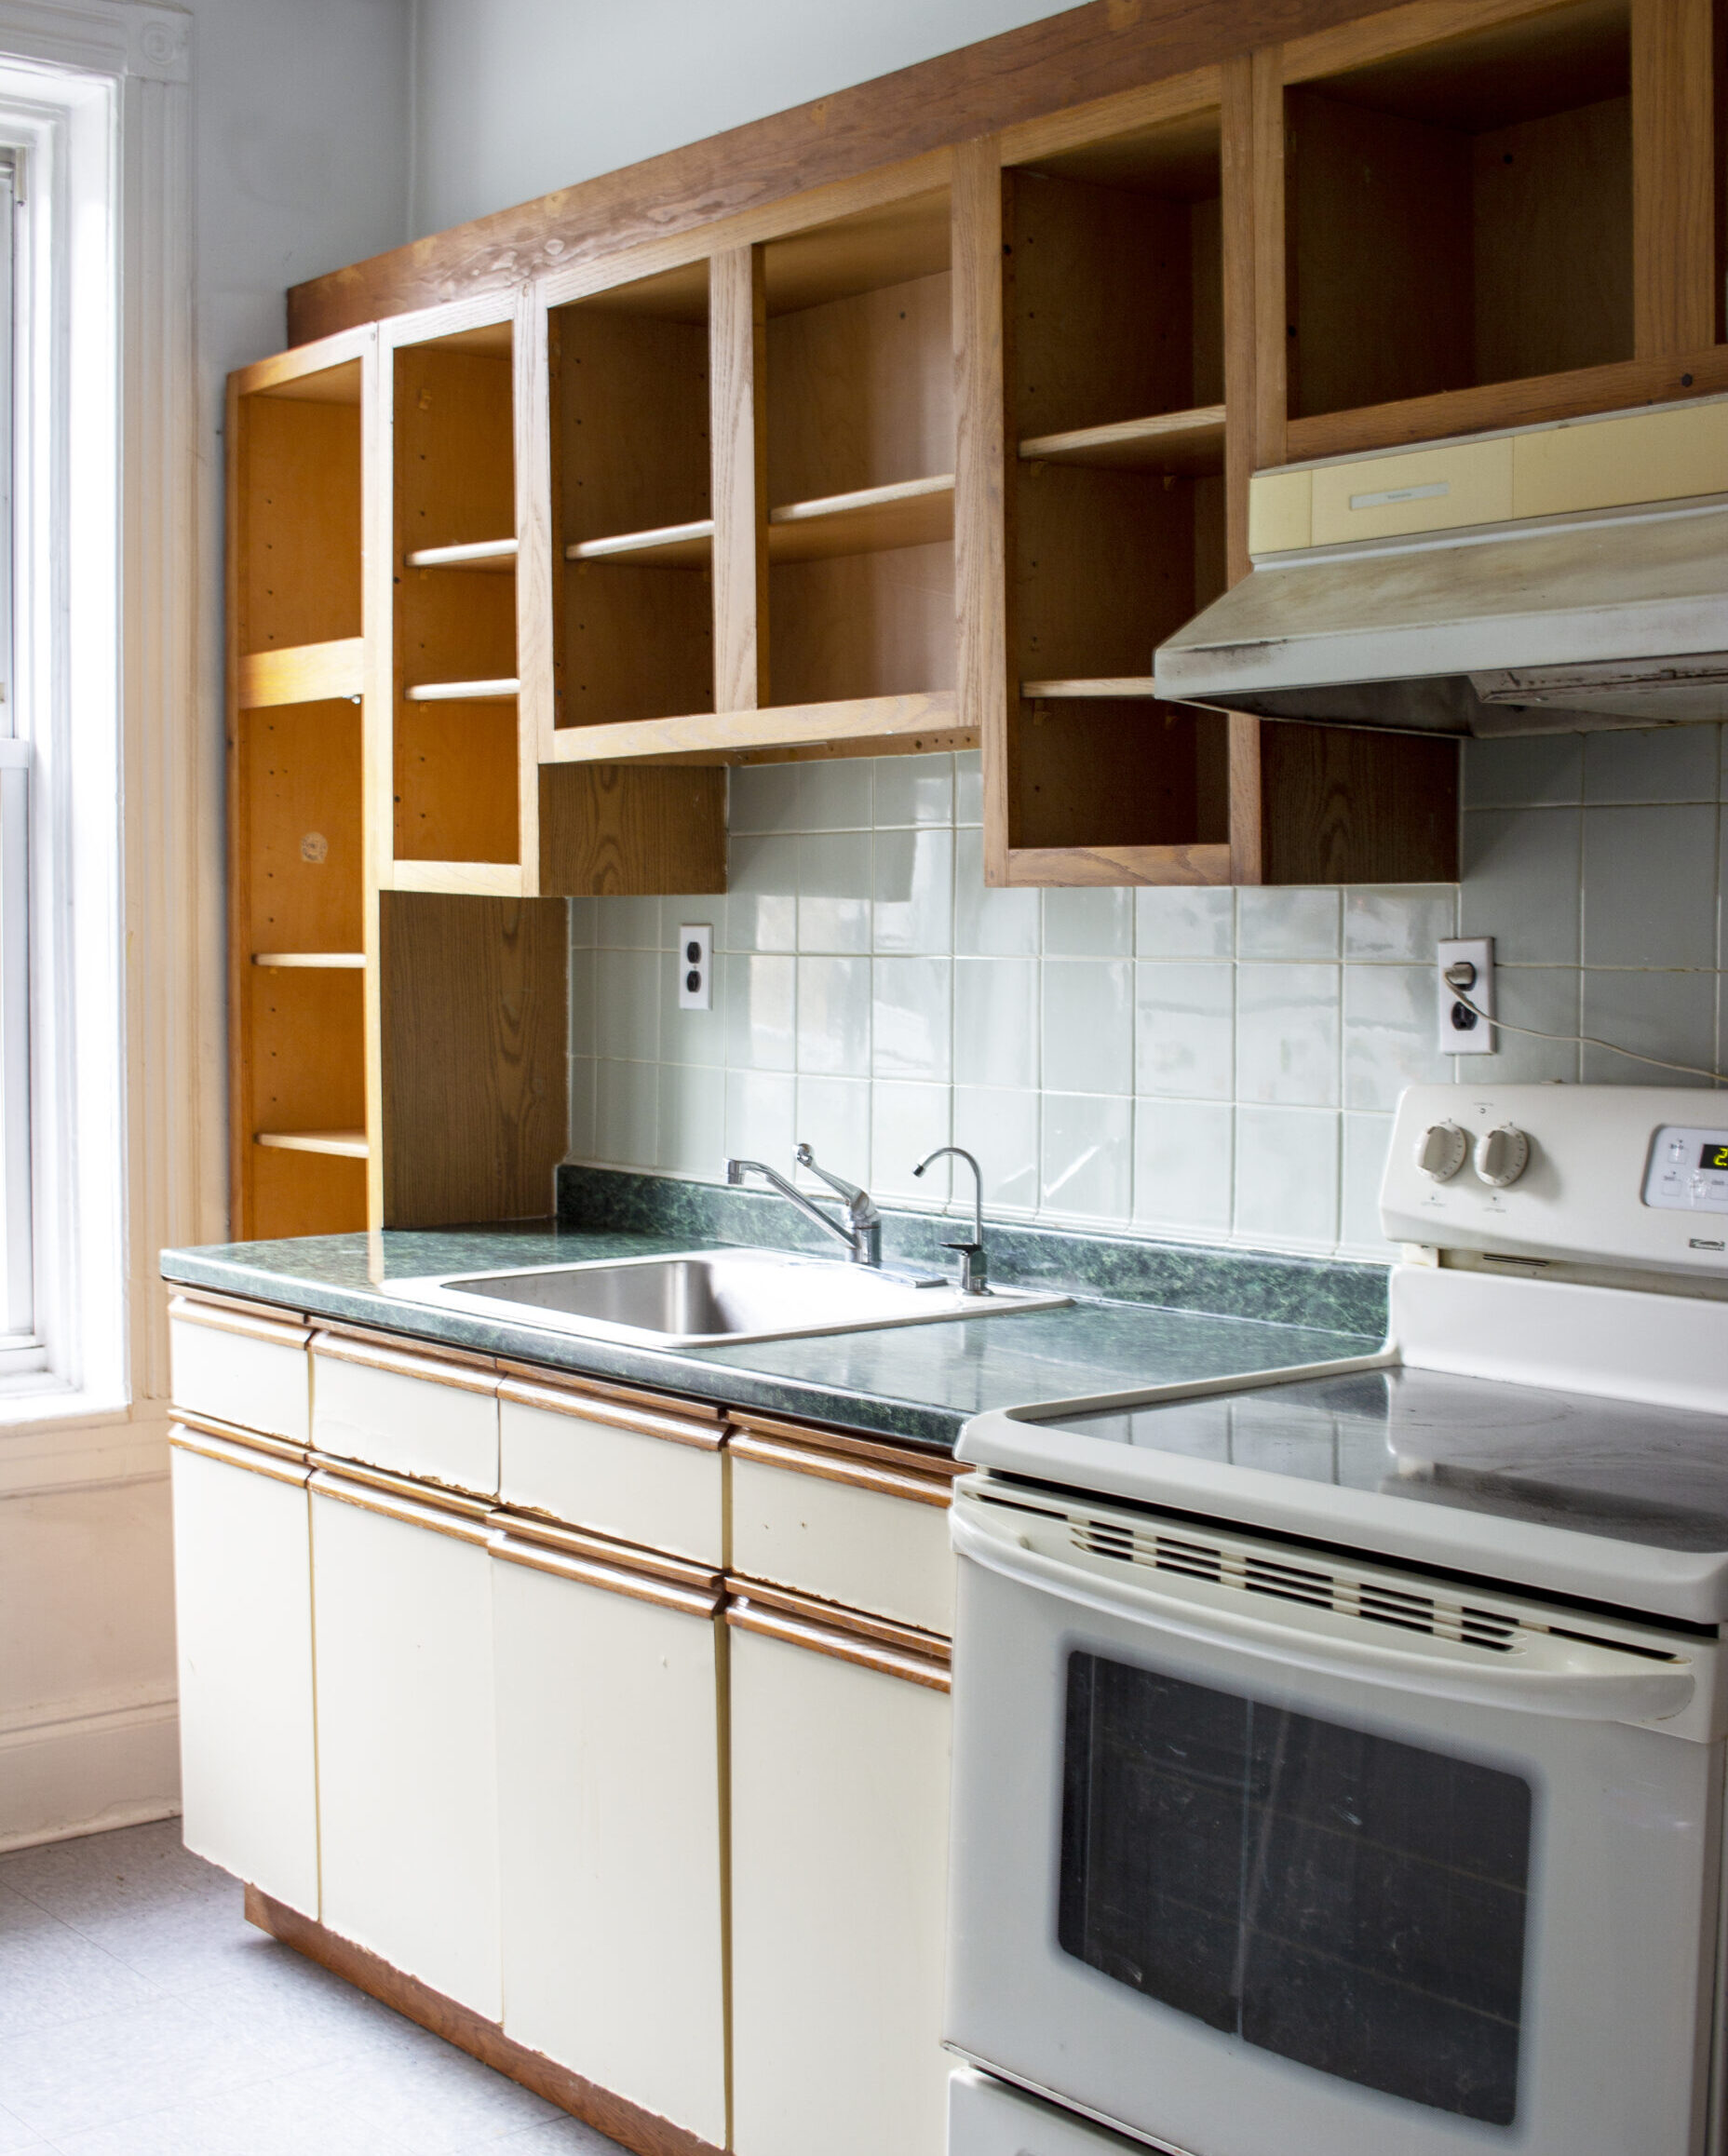
“When we first came to see the apartment, we loved every detail except for the kitchen,” explains Fletchall. “It was dark and incredibly outdated.” Green laminate countertops (with matching floors and backsplash) wasn’t exactly their idea of a stylish space. Fortunately, the two were able to look beyond the 90s-era aesthetic. “I knew the kitchen had potential, but I wanted it to reflect our personalities and style,” she adds. “It was important to me that people actually wanted to spend time in it, and I think we’ve achieved that.”
Ask Your Landlord About Remodels
A candid conversation with their landlord allowed the couple to truly flex their DIY skills. “We kind of just assumed we wouldn’t be able to do anything with the kitchen,” shares Fletchall. “But about a year ago, I finally thought to myself, ‘You know what, I think it’s worth asking if we can renovate.’ We’d been living here for years, and had a great relationship with the landlord.”
The pair approached it as if they were pitching a client. “We made a Google doc proposal template and really laid it all out,” she adds. She detailed all the materials she wanted to use line-by-line, including samples and cost estimates. An emphasis on the owners’ bottom line really helped secure a positive response. “We made it clear that it would help them in the long run, too—we wanted to increase the value of the property.”
Don’t Sleep On Imitation Marble
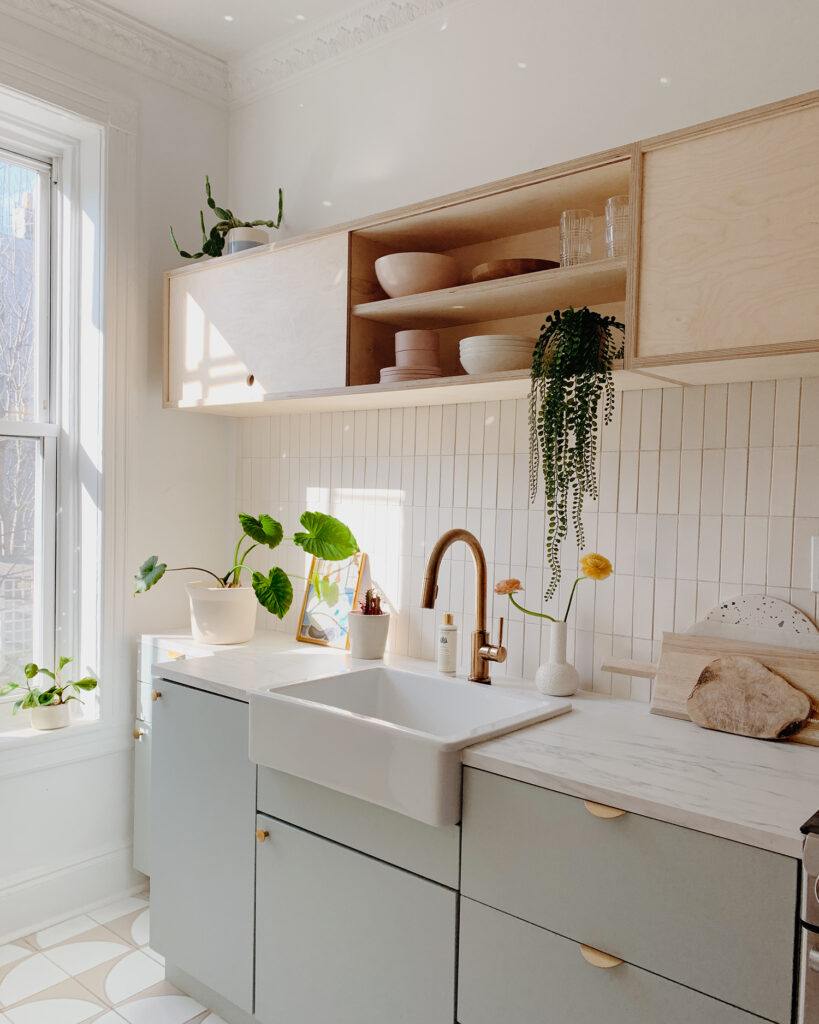
Arguably the best DIY in the kitchen is Fletchall’s use of IKEA’s marble-effect laminate on the countertops, which cost a whopping $80. “Since this is a rental and not our forever home, we wanted to keep the costs low,” she explains. The couple was a little nervous about how it would turn out—the small in-store sample didn’t quite give them a full picture of the final effect—but they ended up being pleasantly surprised. “They’ve held up so well, and are super easy to clean!”
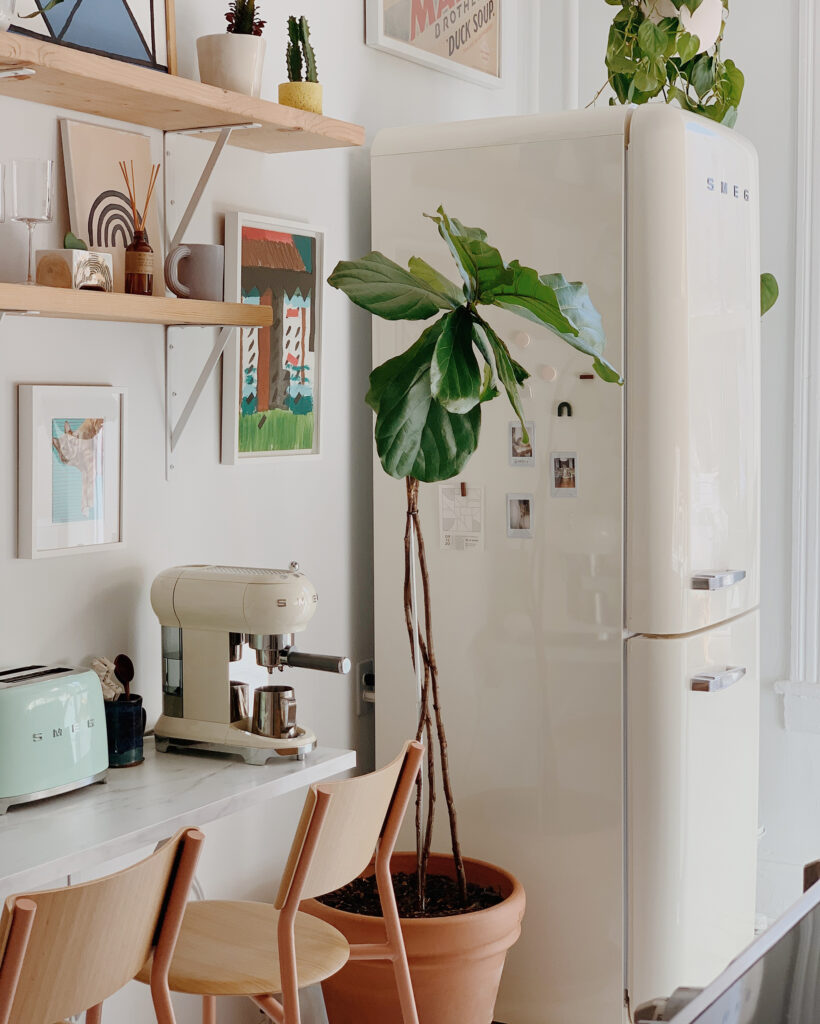
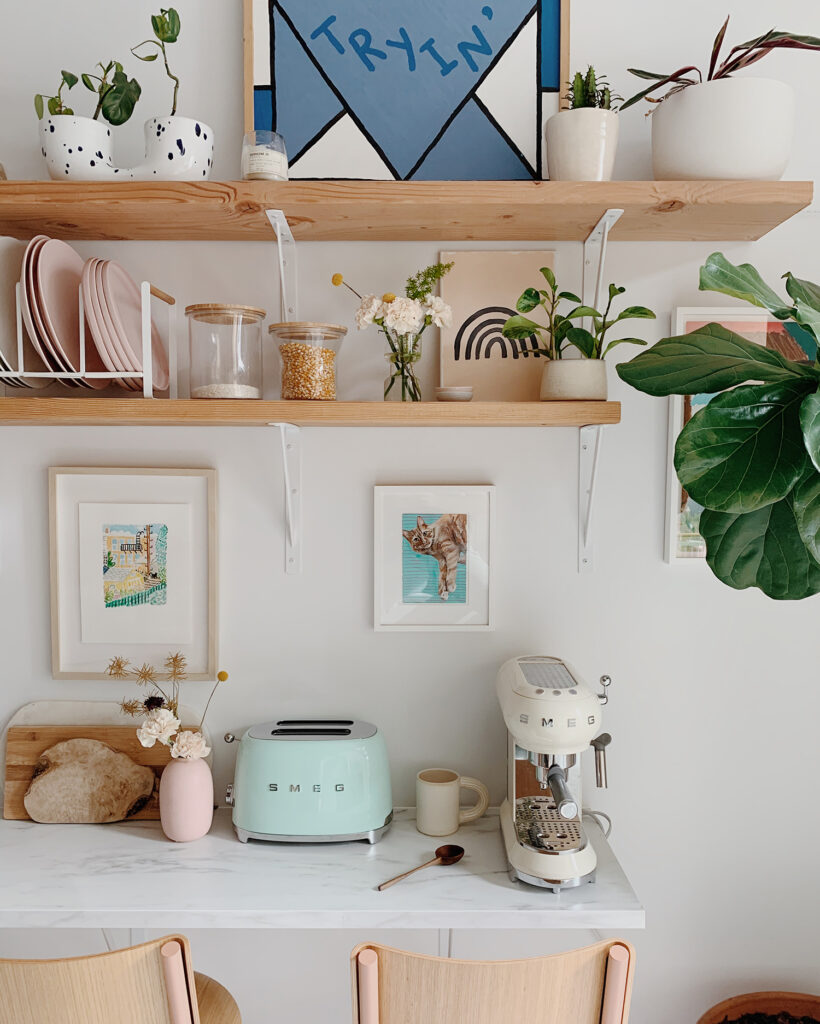
The pair even repurposed the leftover material onto a small breakfast bar on the opposite wall. “We installed a piece with some heavy-duty brackets from Home Depot,” she shares. “It was a really easy DIY, and totally serendipitous that we ended up with the perfect amount of extra laminate.”
Design Around Must-Have Pieces
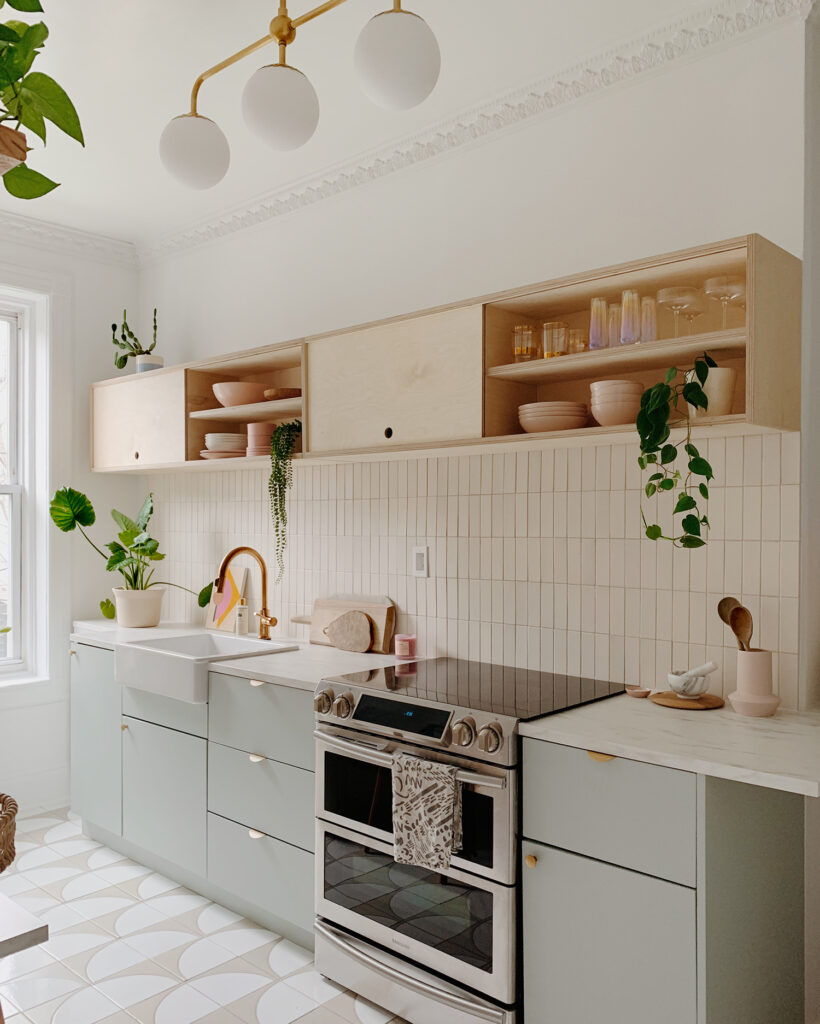
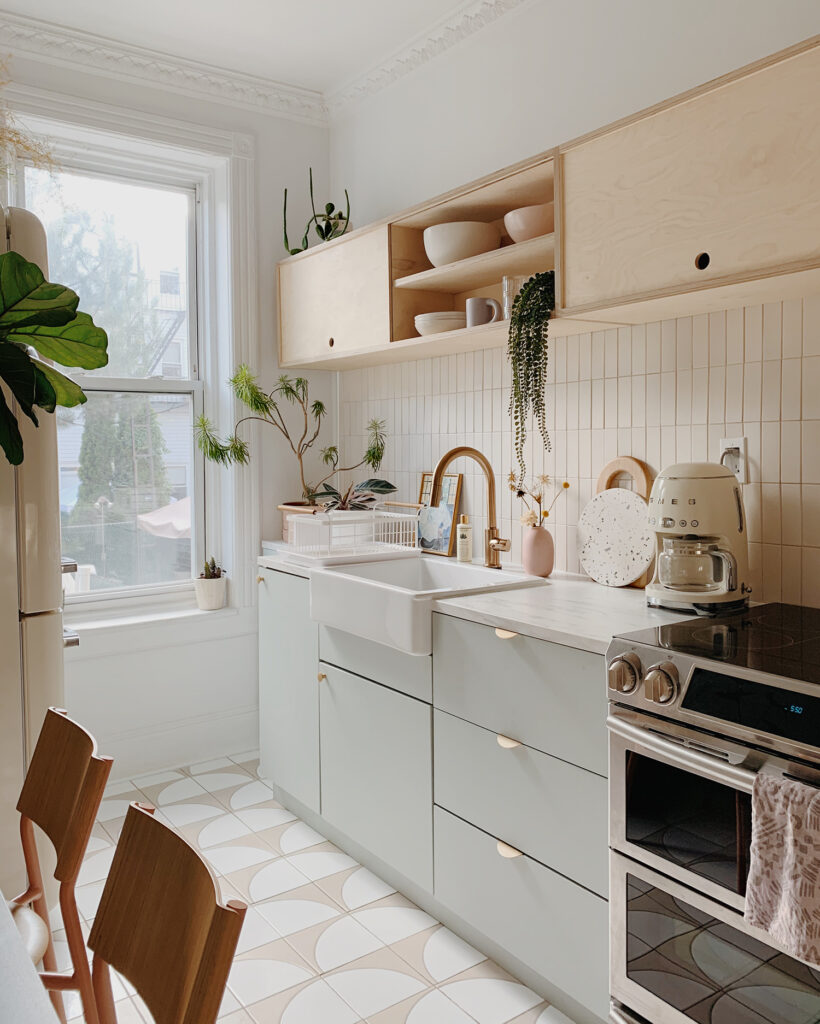
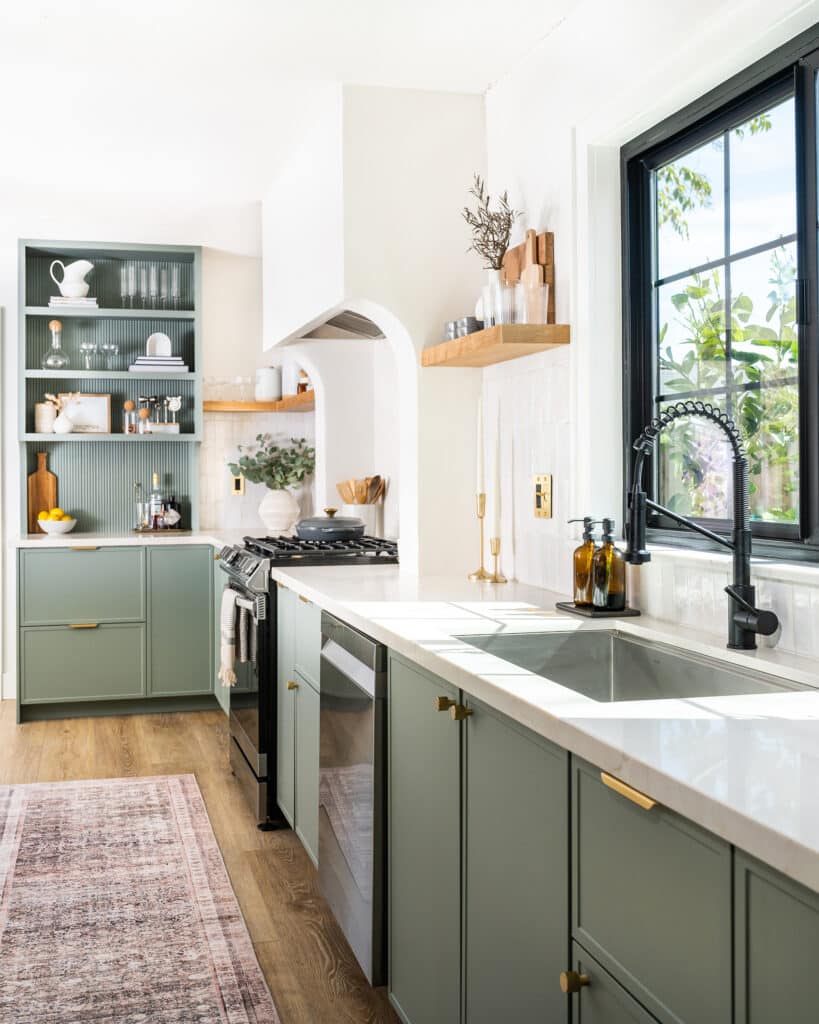
The Semihandmade Supermatte Slab cabinet fronts in Agave and the marble-effect countertops served as the foundation for the new design. “We started with what was definitely going in, and let the design unfold from there,” says Fletchall. “Everything was really designed around that agave color, which is really the only colorful hue in the space.”
Always Order Sample Materials
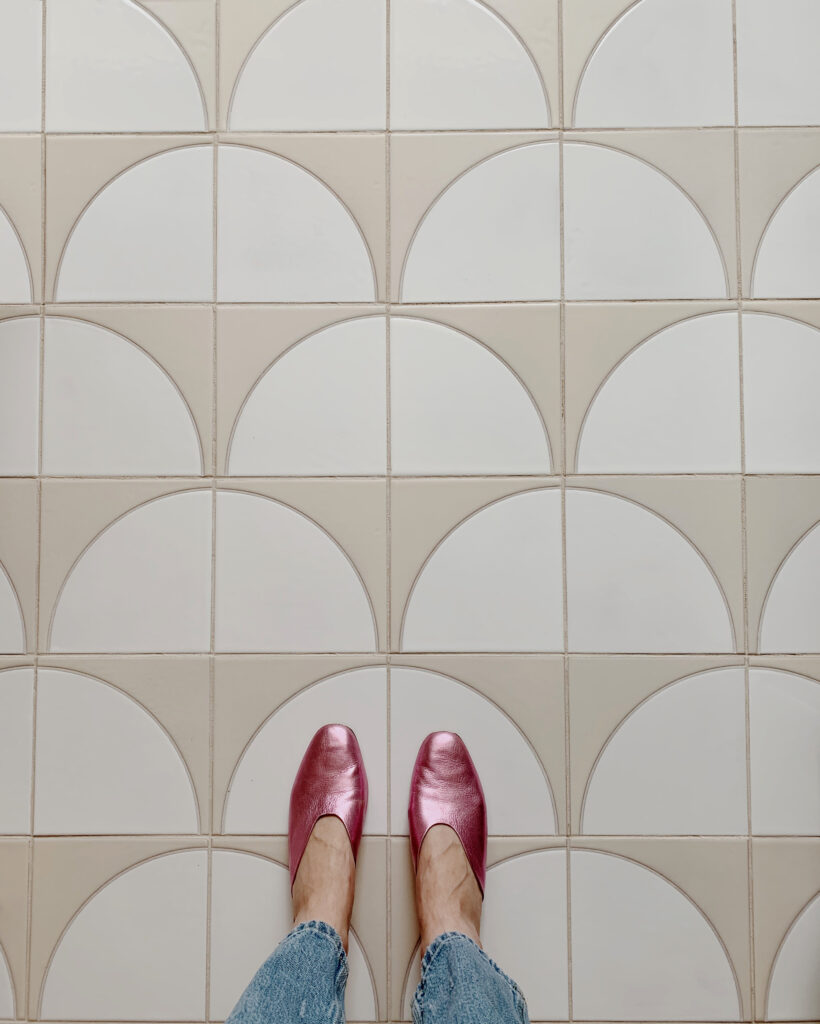
“Putting samples side-by-side really helped us envision the finished space,” shares Fletchall. “Sometimes design elements work well together on a mood board or in your head, but not so much in person.” Thanks to the swatches, the Fletchalls were able to discern which backsplash tiles brought out the blue in the agave paint, and which made the green stand out (the latter had the desired effect).
Optimize Storage to Open Up a Small Space
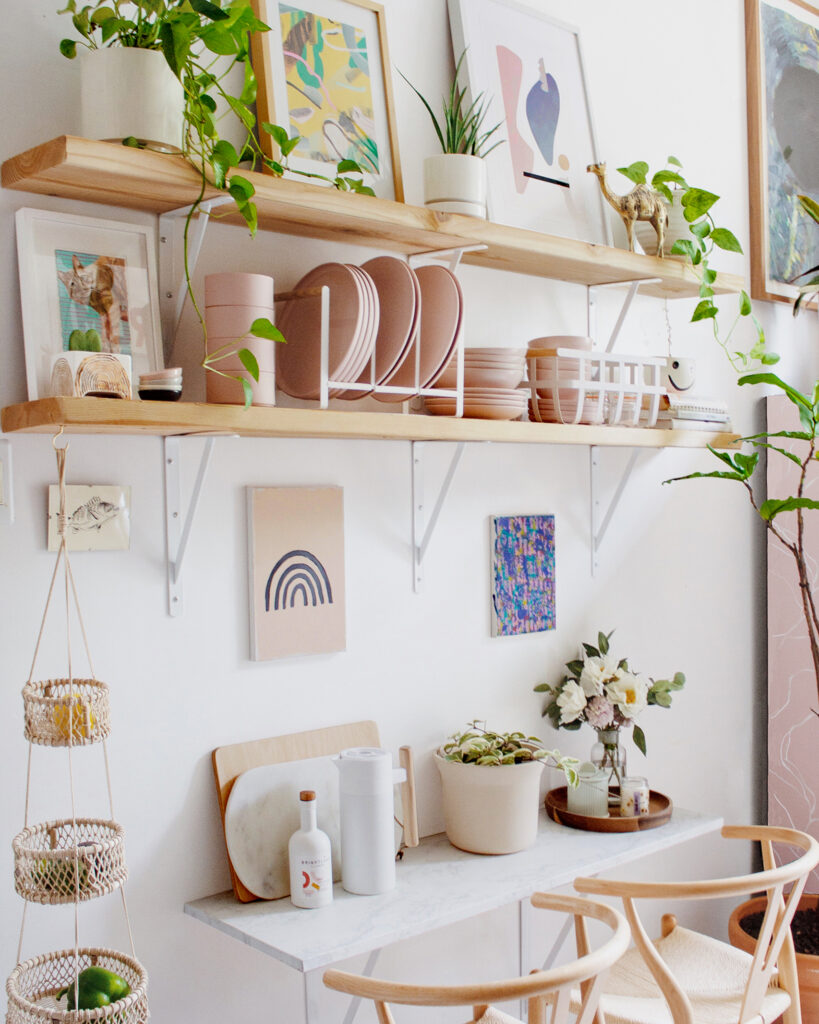
Removing the upper cabinets in the cramped 210-square-foot kitchen really came down to two things: the couple wanted to make the space feel larger and they dreamed of a coat of Backdrop’s Cool Moon on the back wall. “We had a lot of storage that we didn’t necessarily need,” says Fletchall. They replaced most of the lower cupboards with drawers for extra storage and designed a sleek plywood shelving unit for up top. “The drawers really allowed us to design something less cumbersome for the upper cabinetry,” she adds. “Visually, they take up much less space and really open up the room.”
While the finished product may look professional-grade, Fletchall maintains that she’s a novice at heart. “People look at my Instagram and assume I have a background in design, but I don’t. This is us just picking out things we like, and hoping they look good together,” she says, laughing. “This approach allows us to be a little scrappy and figure things out as we go.”



Comments (1)
Pretty nice post. I just stumbled upon your blog and wanted to say that I have truly
enjoyed browsing your blog posts. After all I will be subscribing to your feed and I hope you write again soon!