A good backsplash can take a kitchen from simple to stunning.
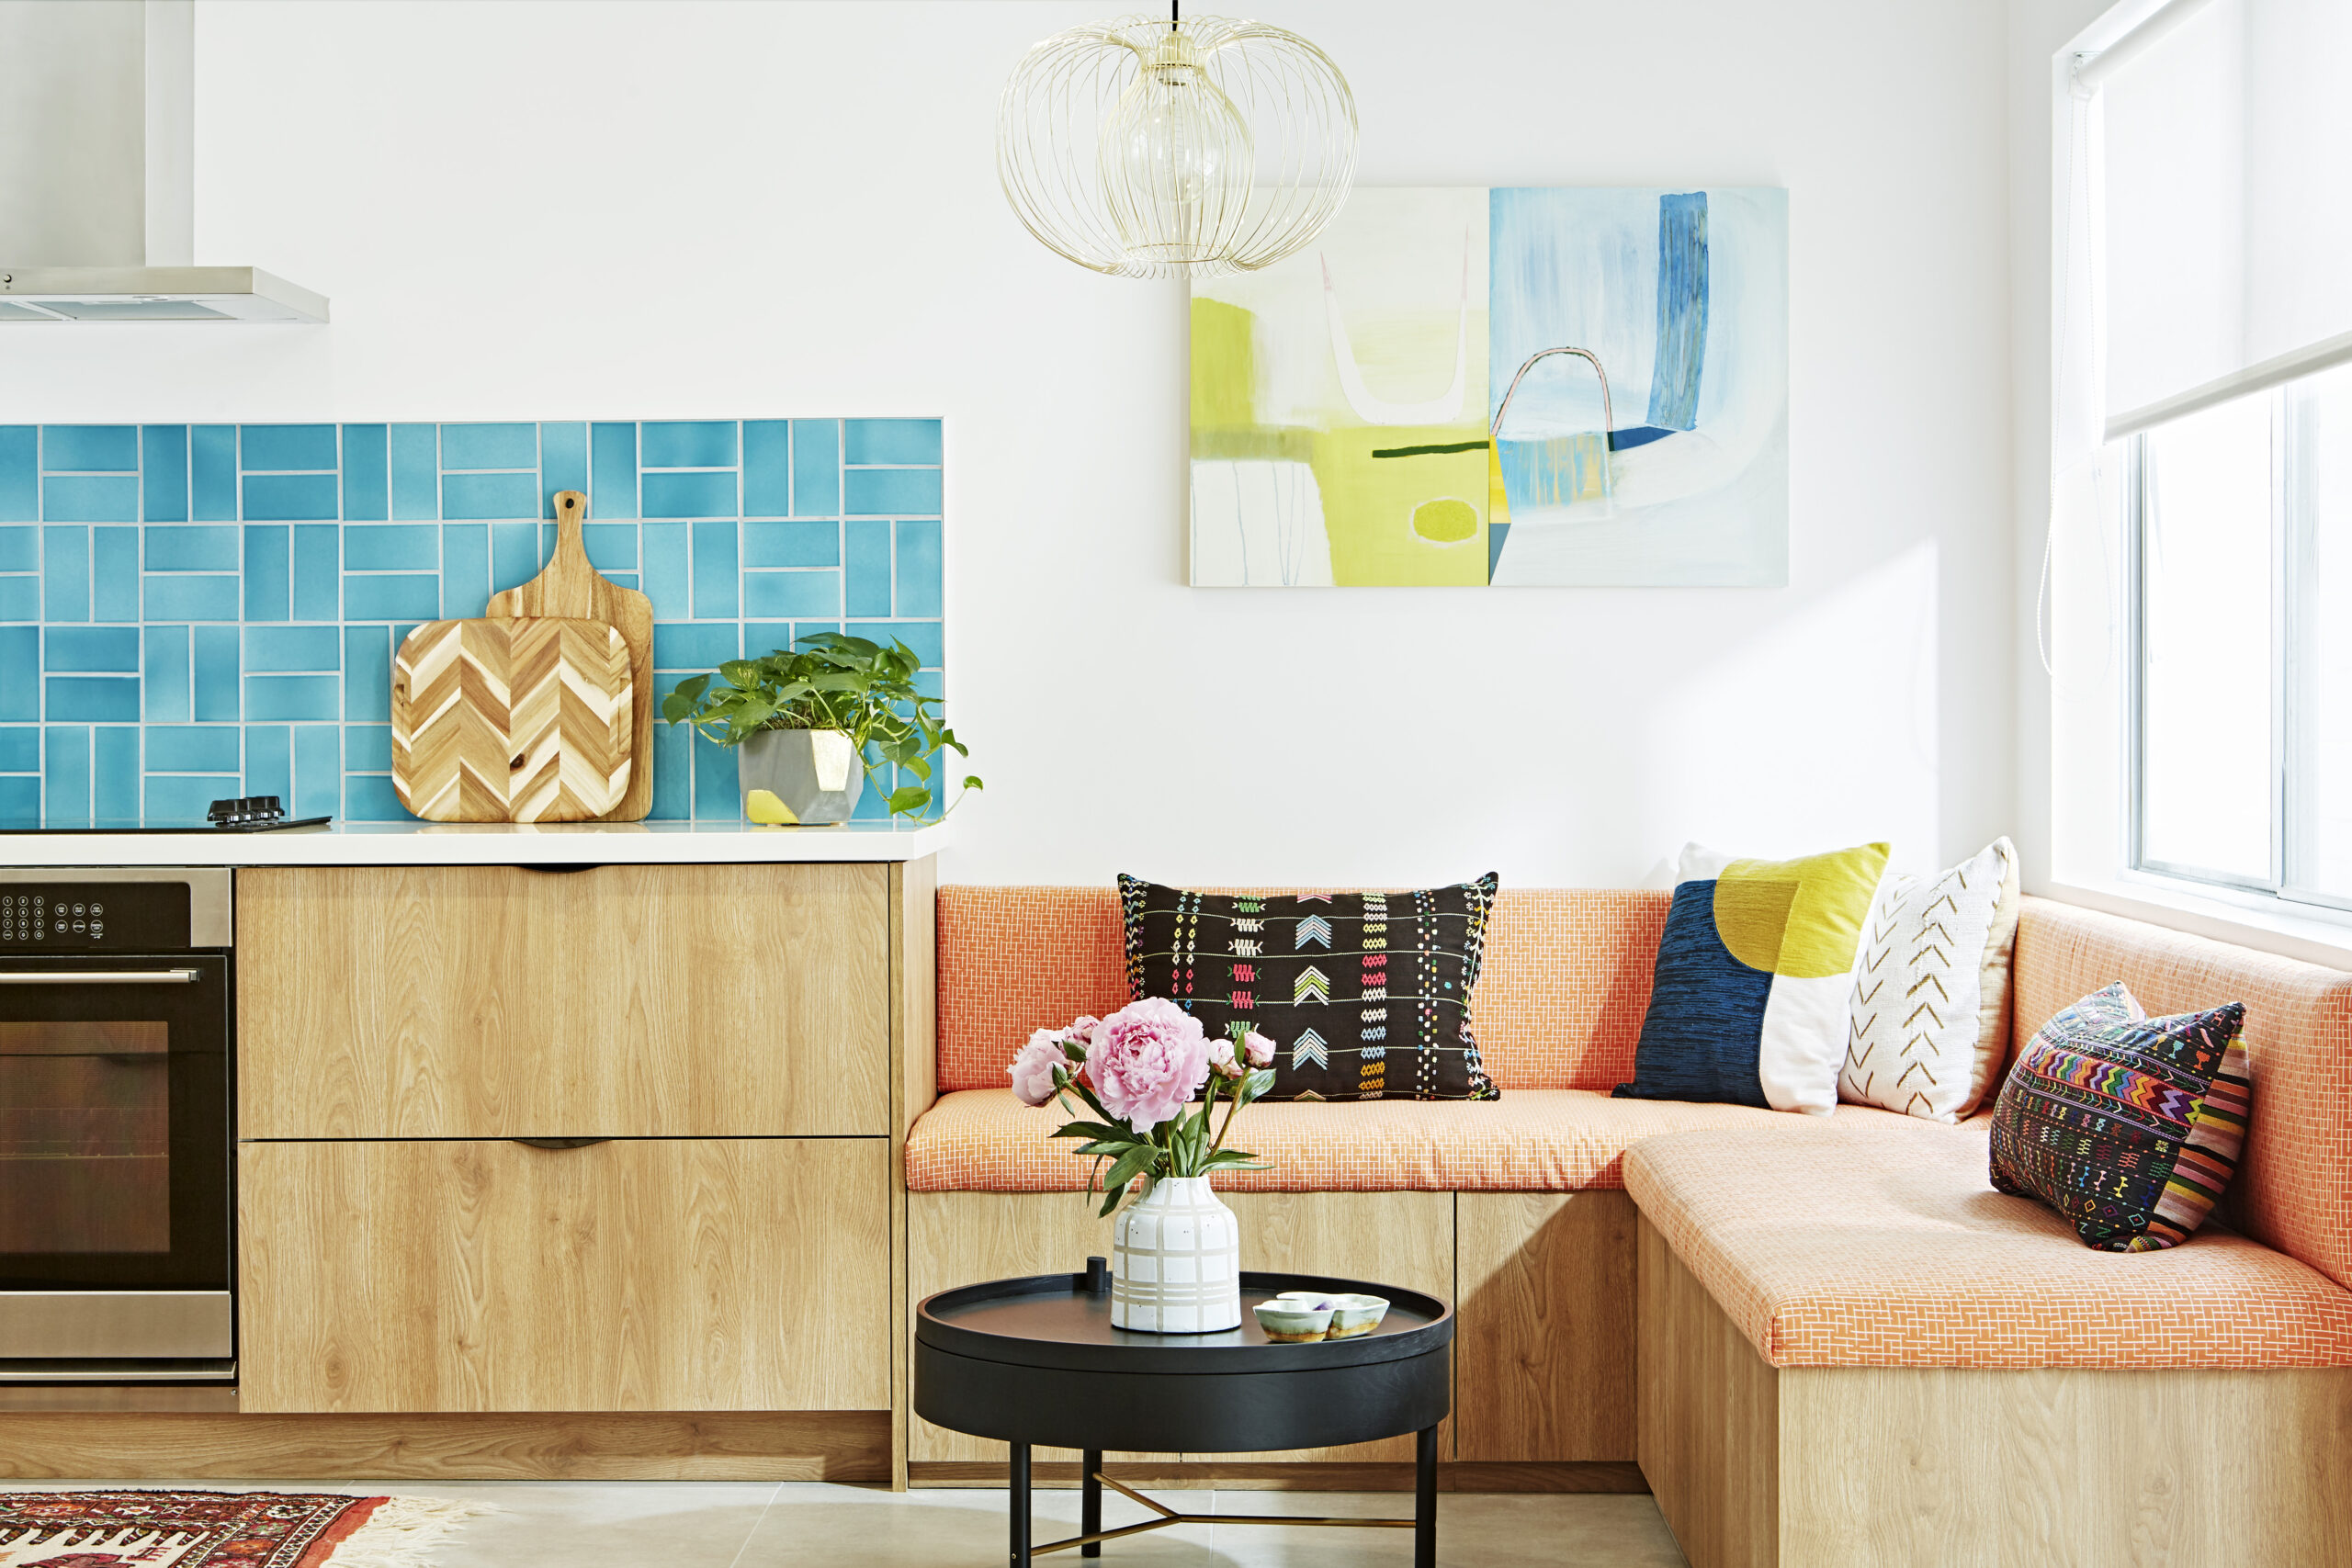
Classic subway tile can help brighten up an otherwise dim room, while a colorful, handcrafted pattern can stand out against sleek, neutral cabinets). Adding a texture to the wall not only looks great, but it also protects against errant splashes and splatters. Whether you want to add a backsplash in-between your upper and lower cabinets, install it below your open shelving, or run it all the way up the wall, it can make the room look more cohesive instantly.
And if your kitchen isn’t already tiled and grouted, it’s a totally approachable reno project to take on yourself. (If you need to replace an existing backsplash, things can get a little more complicated, so it may be worth calling a contractor.) To help you out, we turned to the experts—from general contracting company Sweeten and architecture firms Kimoy Studios and Appel Architecture, to learn their best practices. Here’s how to tile and grout your own backsplash.
Err on the side of over-ordering
Once you’ve settled on the tough decision of which tiles to pick for your backsplash, you have to figure out how many you need. You’ll have to know the measurements of the area you want to cover in square feet, which requires some math—especially if the coverage isn’t uniformly shaped. Measure the length and width of all the square and rectangular spaces, and multiply length and width to get the square feet of each section. Add up the totals of each section to get your total.
When it comes to ordering, more is more—especially if your tiles aren’t rectangular or square. “Unique shapes and sizes require that you purchase more,” Jean Brownhill, founder of Sweeten says. “If the tile cannot produce a straight edge when laid, you’ll have to increase the overage to 20 percent or more.” Appel Architecture’s Terri Lee agrees, and suggests ordering 10 percent more tiles than you need even if your chosen materials are more traditionally shaped: “You always want to budget for a little extra in case of mistakes or breakage during installation.”
Lay it out first
First, consider your foundation. “A good solid water-resistant base for any tile is a must,” says Tai Ming Moy of Kimoy Studios. That’s why it’s important to first install a backer, like mold-resistant drywall or cement board before applying your tiles.
Lay them out on your countertop with spacers to make sure that the alignment looks right. “Even a simple pattern like stack bond subway tile needs to be thought out,” says Lee. “We like to set a starting point for the pattern and use that as a reference for planning out the entire area. That way, repeating motifs are treated in a consistent manner. By laying out the entire area beforehand, any cut tile, especially at the corners, is considered and feels like part of the design and not an afterthought.”
The type of tiles you choose will also have an impact on how they’re spaced out. Handmade materials, for instance, are less consistent than machine-fabricated ones. “Some tiles sizes may vary by ⅛-inch or more, which can mean a lot over the course of an entire wall,” Lee explains. “You can either embrace that imperfection, or try to mitigate it and use a pattern.”
Apply the tiles
Now comes the fun part: actually installing the tiles. To do this, apply mastic or thin-set mortar to the wall with a notched trowel to create a setting bed, holding your trowel at a 45-degree angle to create ridges. This allows the tile to be pressed into the setting bed, without mastic squeezing out in-between the tiles where grout will be applied, Moy explains.
Then, install your tiles, pressing them firmly to set them into the mastic and keeping them even with the help of spacers. The setting time may vary depending on what mastic or thin-set mortar you use, but you’ll typically want to let the tiles set overnight.
Fill in with grout
Once your tiles have set, it’s time to fill it all in with unsanded grout. Remove the spacers from the wall before you begin. Holding a grout float at an angle, apply the grout in between the tiles in an upwards motion. After filling them in, wipe off excess grout from the face of the tile—this pressure from this motion will also help push in the joints, making the grout slightly recessed, Moy explains. He advises finishing the backsplash with a grout sealer, which helps prevent staining—though it will slightly darken the appearance of the grout.
Once that’s finished, you’re free to enjoy your newly renovated kitchen—and to brag about your DIY skills, too.
More Stories...

The space is decked out in Semihandmade Moss Quarterline and Tahoe.

House flippers and mom-daughter duo Lacey and Audrey Soslow created the kitchen of their (buyers’) dreams.

Malene Barnett teamed up with designer Leyden Lewis to create a space representative of her work.
Comments (2)
Thank you! I am considering this as a DIY and wondering dow do you cut the tiles to make a tidy ending and how to work around outlets?
Hi Maggie, If you’d like to attempt this project as a DIY and have any questions, we recommend talking to a contractor or renovation expert.