We love a good IKEA hack. So it’s no surprise that many Semihandmade customers are also DIY masters and thrifty creatives that never turn down a good challenge.
For some, painting cabinets in a custom color is as important as assembling their kitchens from scratch. Just ask Jessica Jones, Jenna LeBlanc, and Jessica D’Itri Marés: three designers and creatives who all chose the road less traveled when it came time to coat their DIY doors.
Equipped with a paint sprayer and many drop cloths, all three managed to give their cabinets a flawless, professional-grade paint job without the help of an expert. Ahead, find their expert advice on how to paint kitchen cabinets, from the initial prep to the final coat.
First Things First: Get a Paint Sprayer
While you can use a standard paint brush and roller for a more organic look, a paint sprayer is the gold standard when painting kitchen cabinets, especially if you want that flawless, professional-grade finish. You can either rent one from your local hardware store or buy one for all of your future painting projects. D’Itri Marés and LeBlanc opted for the latter, investing in a Graco 360 and Wagner Flexio 3000, respectively. “Once I figured out how to use my sprayer, painting was a breeze,” explains D’Itri Marés. “I sprayed 10 cabinet fronts in three minutes.”
Select a Durable, Long-Lasting Paint
No one wants to have to paint their kitchen cabinets every couple of years, so you’ll want to select a durable, long-lasting finish. Jones and LeBlanc both opted for a professional-grade paint made specifically for cabinets: Insl-x’s Cabinet Coat and Sherwin Williams’ Emerald Urethane Trim Enamel, respectively. *Cabinet-specific paint from brands like Clare and Backdrop would also be ideal picks. They skipped the primer entirely due to the high-adhesion, hardwearing nature of their select paints, which significantly cut down on dry time.
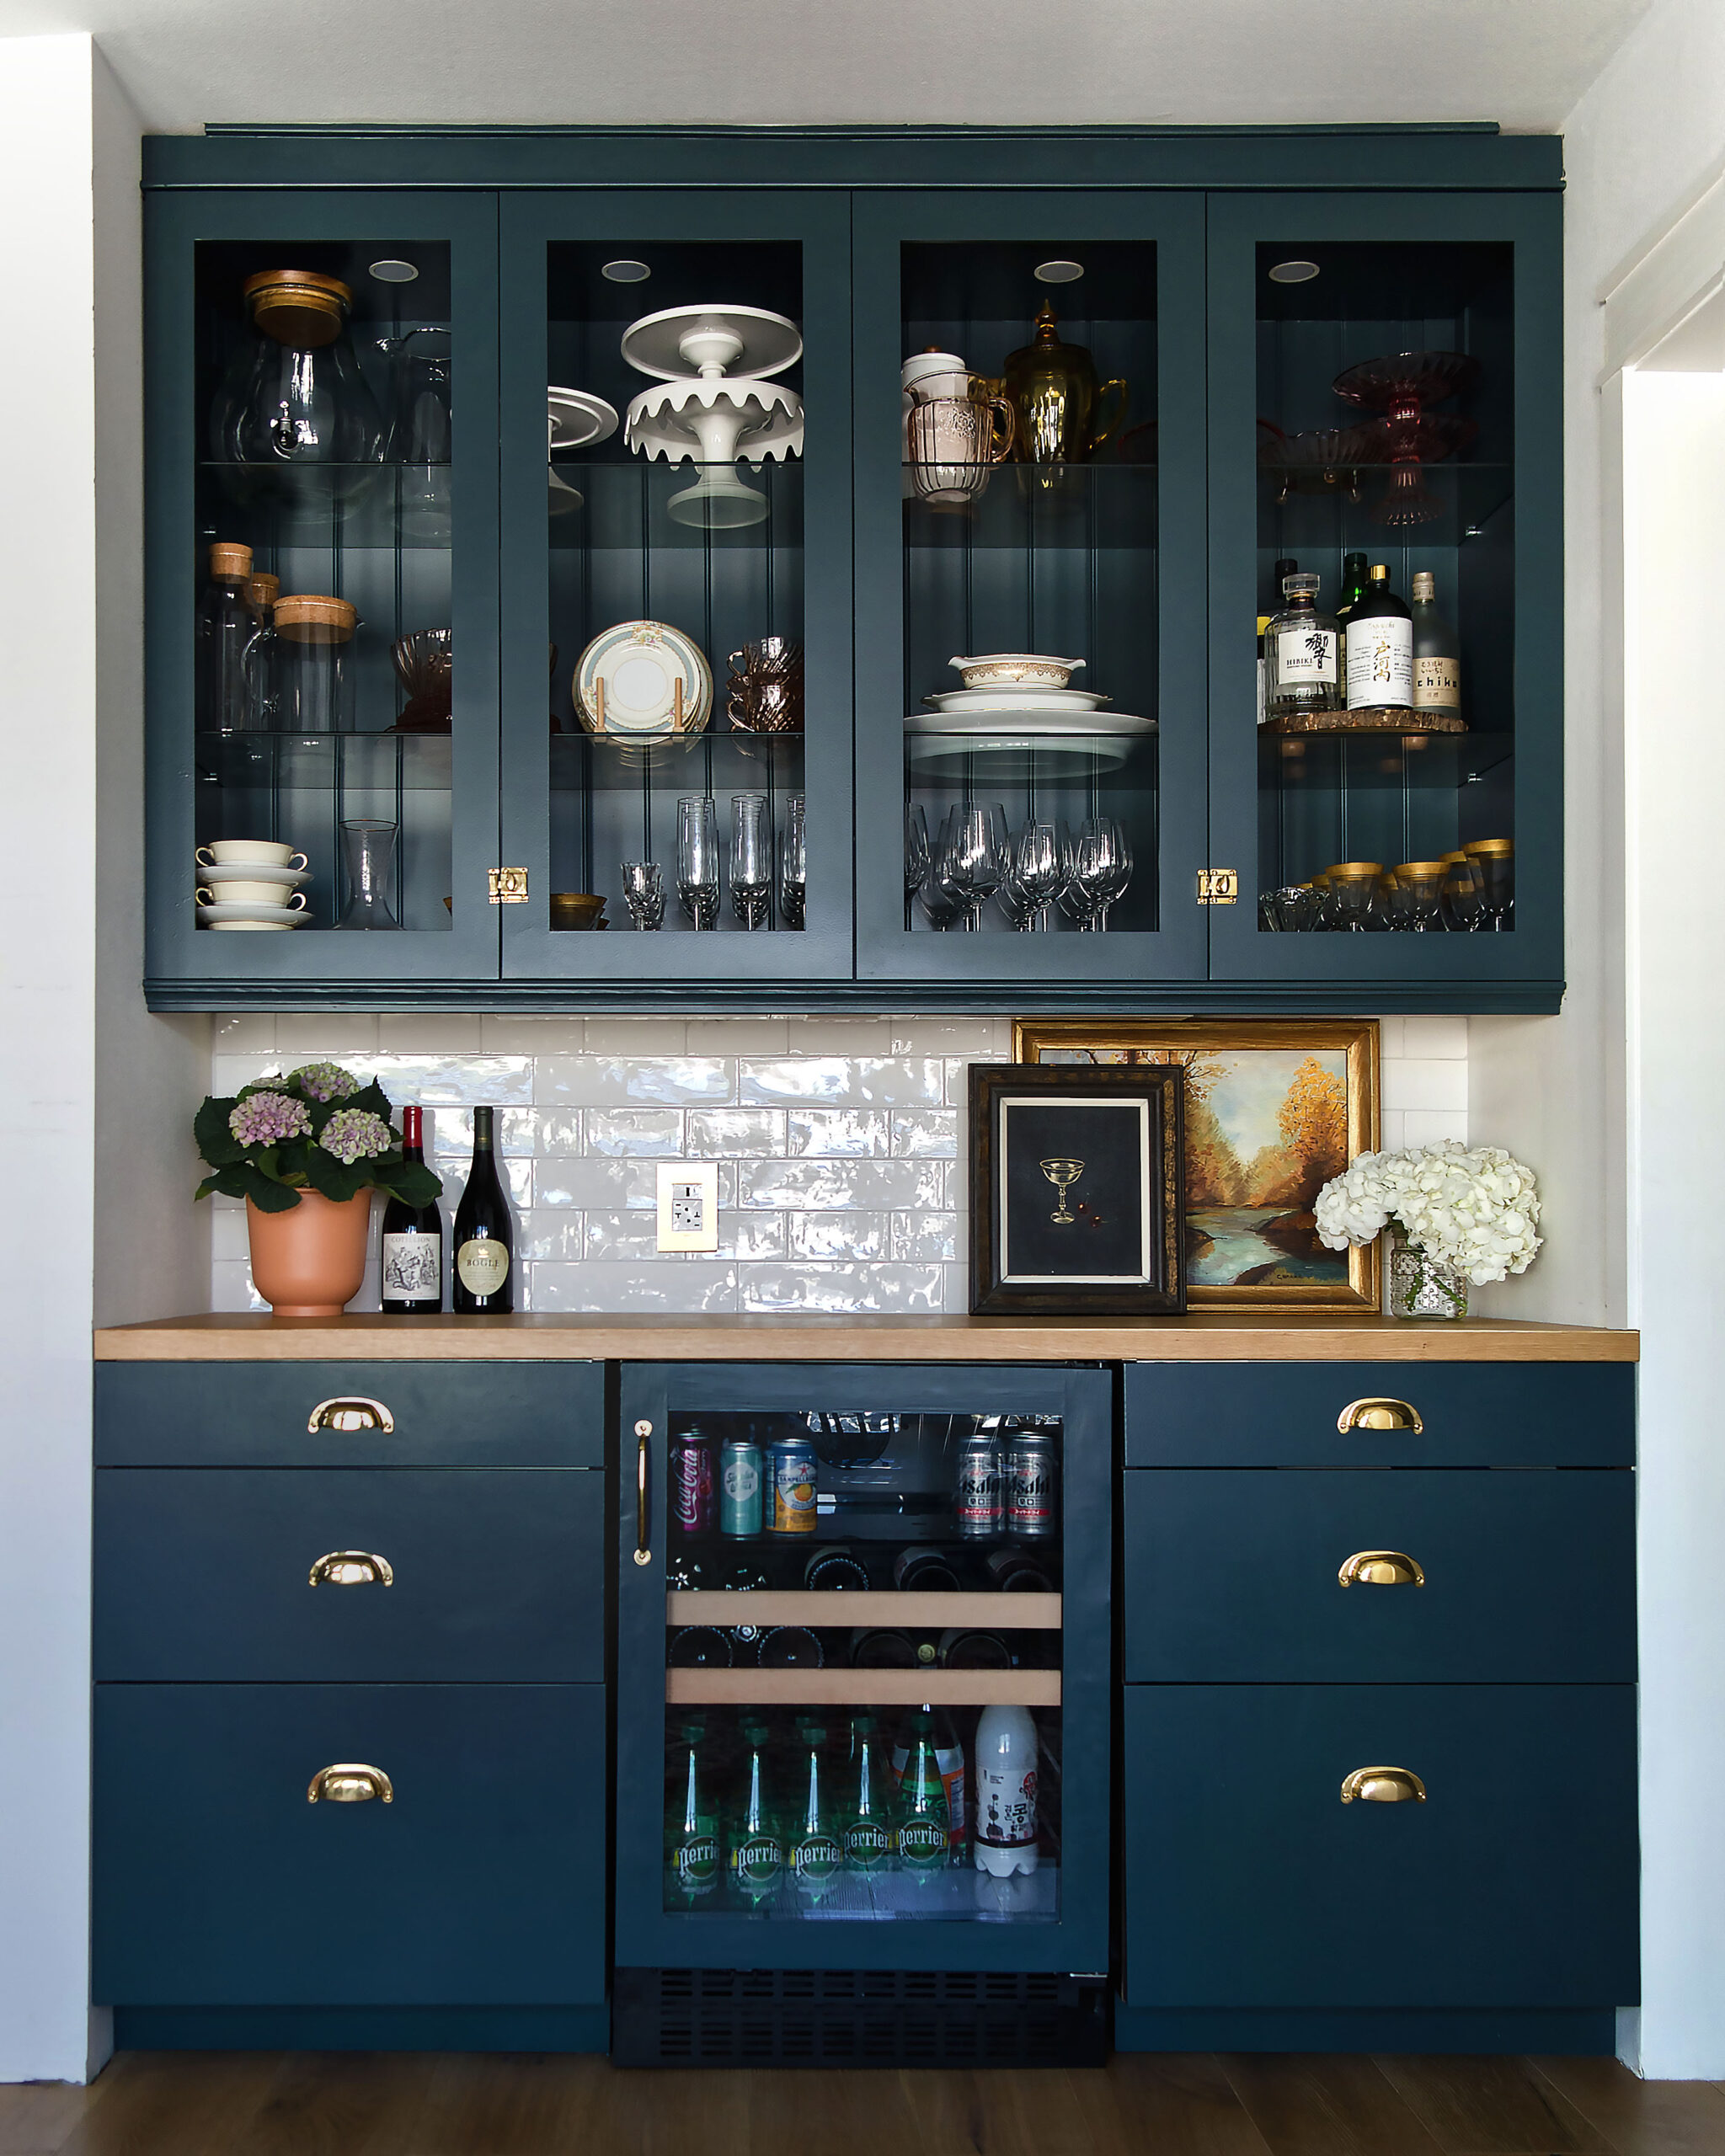
D’Itri Marés chose Benjamin Moore’s Aqua Lock Primer topped with the brand’s Scuff X paint in Narragansett Green. The Aqua Lock is designed for wet areas like bathrooms, while the Scuff X is an industrial-grade paint crafted for high-trafficked areas like hallways, stairwells, and public restrooms.
“Although a kitchen isn’t wet like a bathroom, I didn’t want to have to re-paint and reinstall everything due to a tiny bit of moisture,” she explains. She also emphasizes the importance of priming behind appliances, around cabinet corners, and underneath the paneling that touches the ground to prevent water damage. “That’s where you really risk separation and water exposure.” Finally, she always adds latex conditioner Floetrol to her paint to achieve a smooth, high-end finish.
Create a Makeshift “Paint Booth”
A paint sprayer doesn’t offer the same precision as a handheld brush, so it’s important to create a designated painting area encircled in tarps and drop cloths. Jones and LeBlac both created painting stations in their garages, while D’Itri Marés was able to use her fully-gutted office as a makeshift spray booth.
Regardless of your location, it’s important to determine your approach before you start spraying. For example, D’Itri Marés simply lined up her cabinets against the drop cloth and painted one side at a time, while LeBlanc inserted screw hooks into the bottom of each cabinet door and hung them on individual hangers. “We sprayed all angles at once, cutting down on dry time and minimizing drips,” she explains. (She also recommends Stack Racks to streamline the spraying process.) Finally, if you’re painting outside, remember to cover your spray station in drop cloths to prevent leaves, bugs, and debris from falling onto your cabinets.
Prep Your Cabinet Fronts
The sanding process will be more involved for older cabinets or those with a stained finish, but Semihandmade’sDIY doors require far less prep work. “They’re like butter,” says D’Itri Marés. “They’re basically begging for a coat of paint.” If anything, some suggest light pre-spray sanding and a swipe of sticky tack cloth to remove dust, but D’Itri Marés actually recommends not touching them before painting. “The raw wood can easily absorb the grease from your hands, which can cause adhesion issues in the future.”
Prime, Paint, and Step Away
Now for the main event. Once you’ve prepared your area and cabinets, the actual spraying is pretty painless. “Take your time and keep the sprayer steady,” explains Jones. “Don’t stop mid-way on a surface or it can create drips or ripples. If drips do happen, wait for the surface to dry completely before sanding the area with super-fine sandpaper and re-spraying.” If you want a super-smooth, flawless finish, LeBlanc recommends lightly sanding between coats with a 220 grit sponge.
D’Itri Marés recommends painting your IKEA cabinets before assembling and installing them, saving the DIY fronts for last. If your cabinets are already assembled and installed, simply tape and drop-cloth the area extensively before spraying.
It’s incredibly important to allow ample dry time between coats. The more coats you do, the more time you have to budget. Jones and LeBlanc went with two coats of cabinet paint only, while D’Itri Marés did two coats of primer plus two coats of paint on her cabinetry and doors. Her moody blue kitchen took over a month, while Jones’ and LeBlanc’s took roughly three days. When the cabinets are 100% cured (a process that can take up to two weeks), install your doors and hardware, and enjoy!
More Stories...

The space is decked out in Semihandmade Moss Quarterline and Tahoe.

House flippers and mom-daughter duo Lacey and Audrey Soslow created the kitchen of their (buyers’) dreams.

Malene Barnett teamed up with designer Leyden Lewis to create a space representative of her work.
Comments (2)
Thank you for sharing this informative article! All the information provided by you is really very helpful for all. I agreed that by using tack cloth you can keep your project dust-free and it is useful for cleaning fine dust off a surface and gives you a smooth finish. Everyone should follow the tips provided by you, it will make their work easier. Keep Posting! Keep Sharing!
Should I caulk the tiny gaps in the shaker cabinets between the raised outside and the center panel or is primer and paint enough to smooth those out?