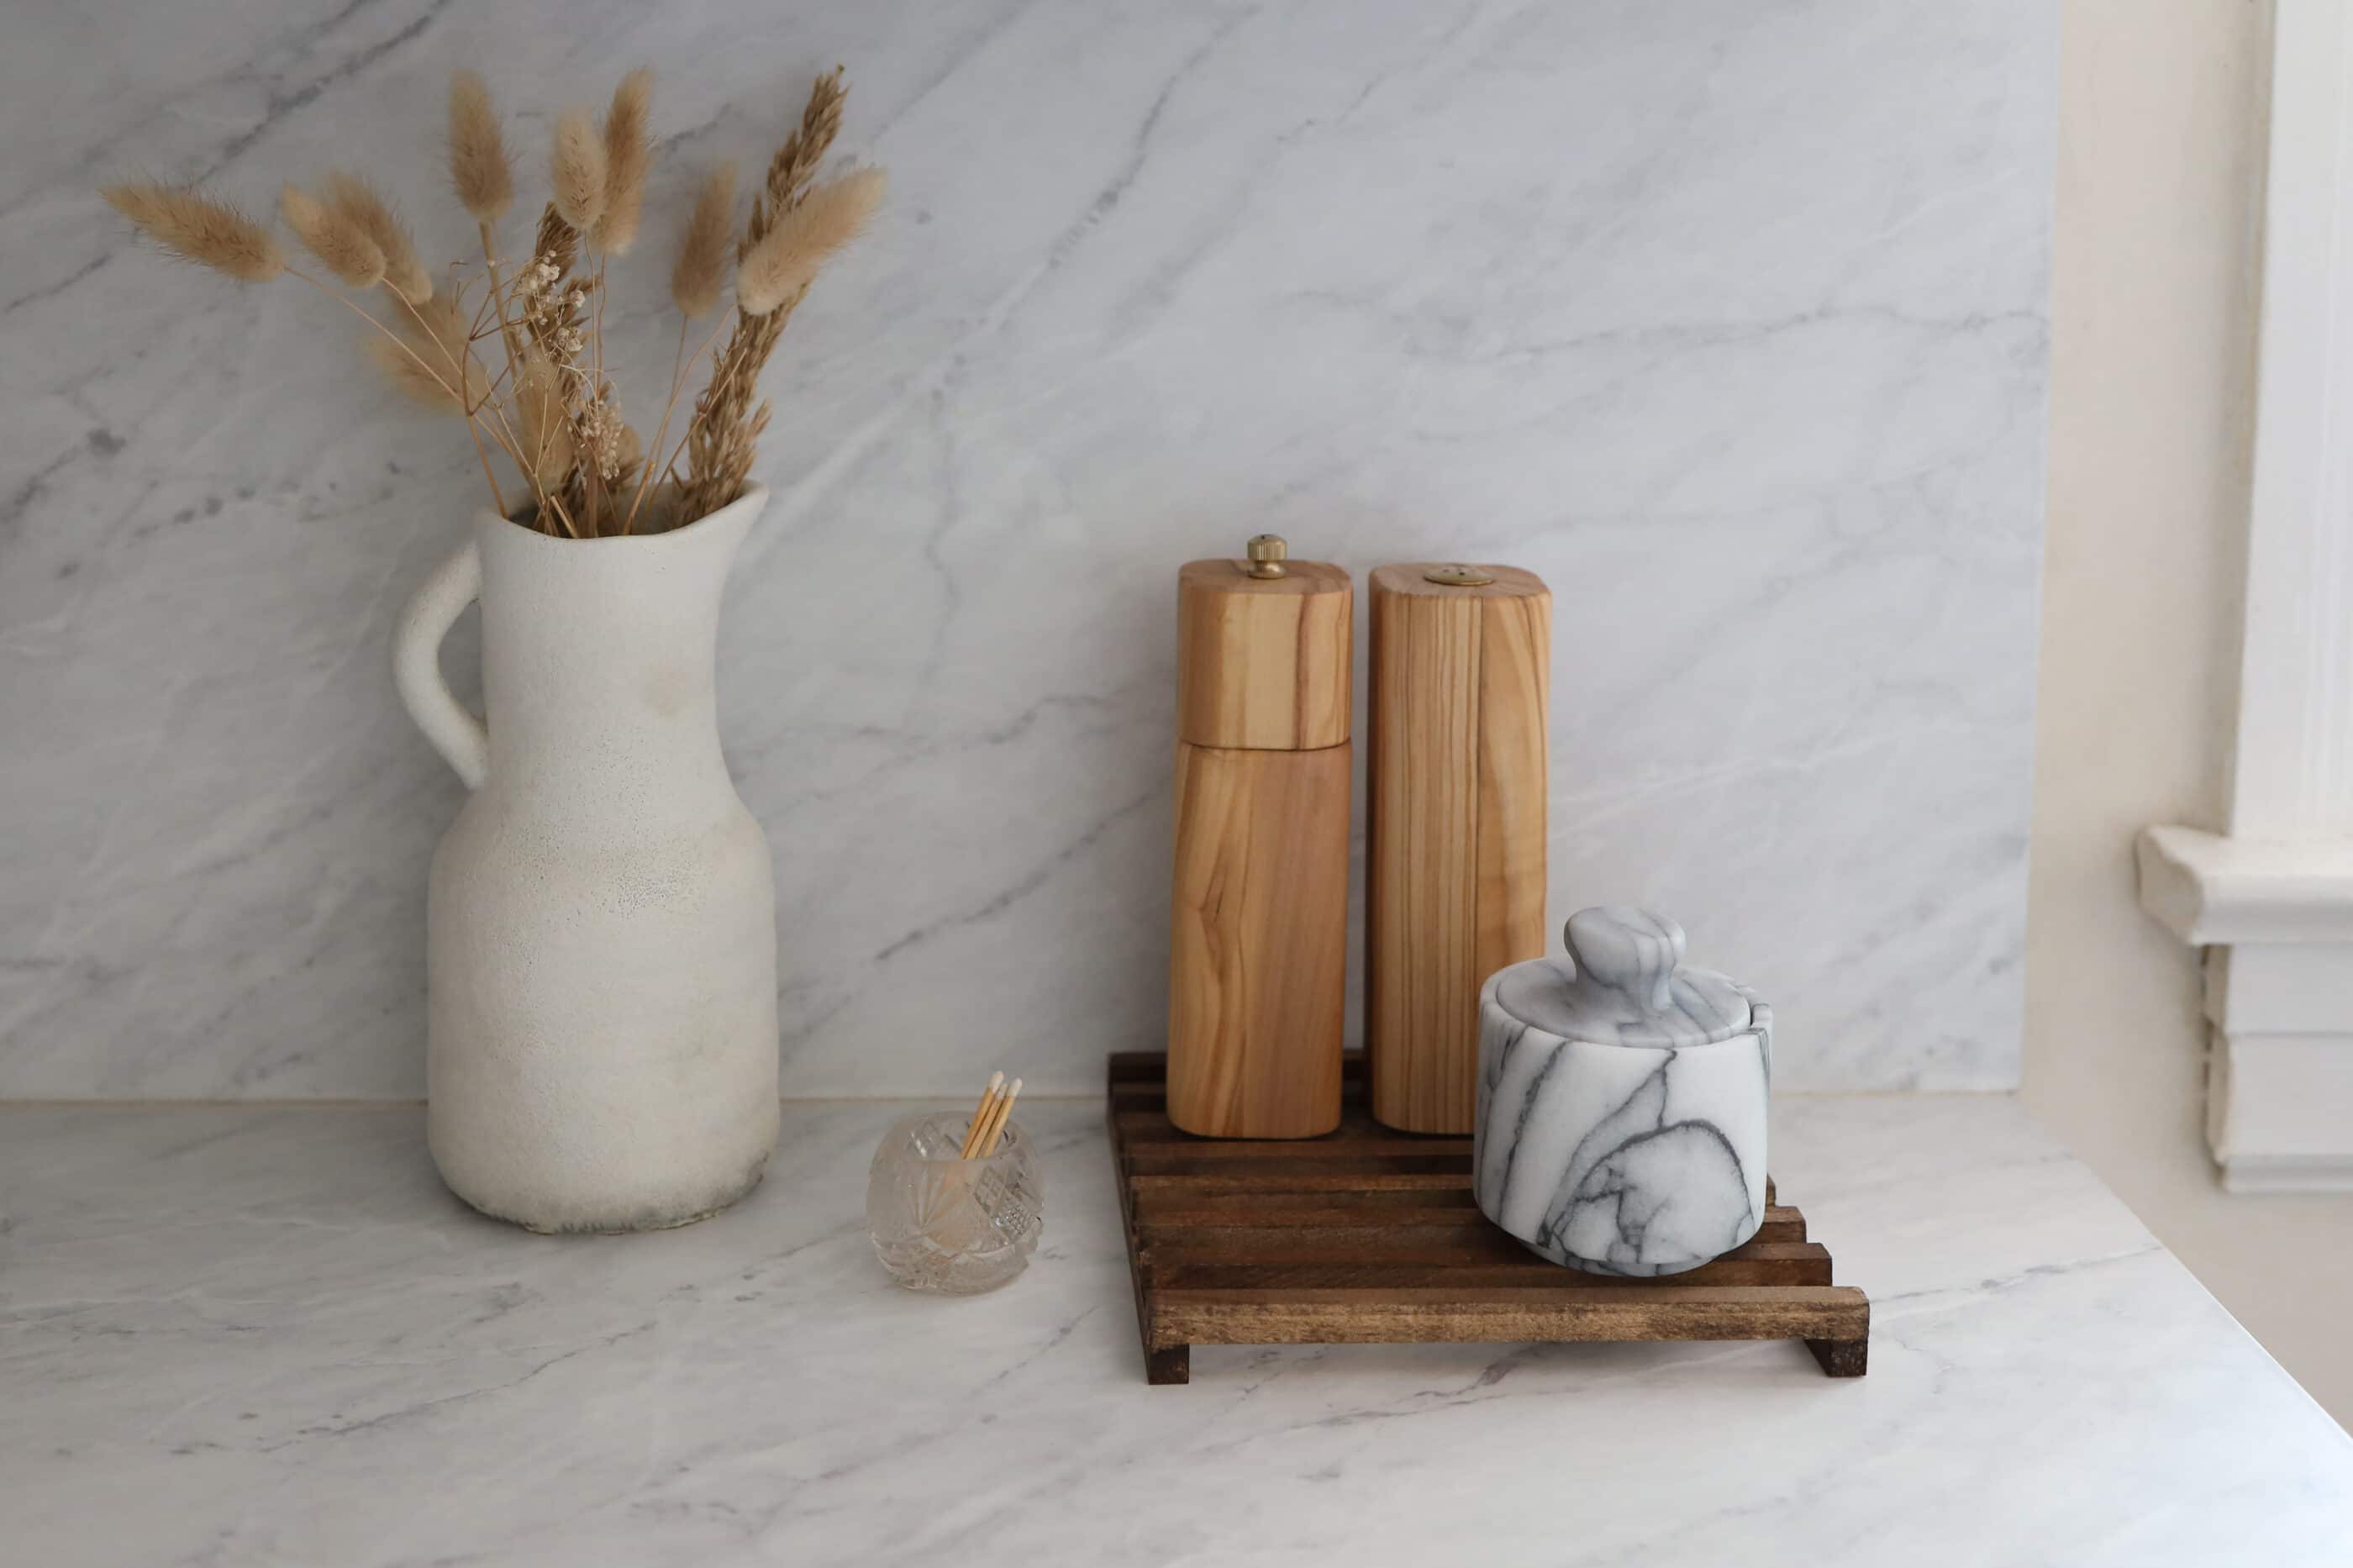
A riser offers a convenient and stylish storage solution.
We all have those staples that we reach for on a daily basis while preparing meals. For me, it’s salt and pepper shakers, oil and vinegar bottles, garlic cloves, and matches. While it’s handy to have those items on the counter, it can quickly bring chaos to my countertops.
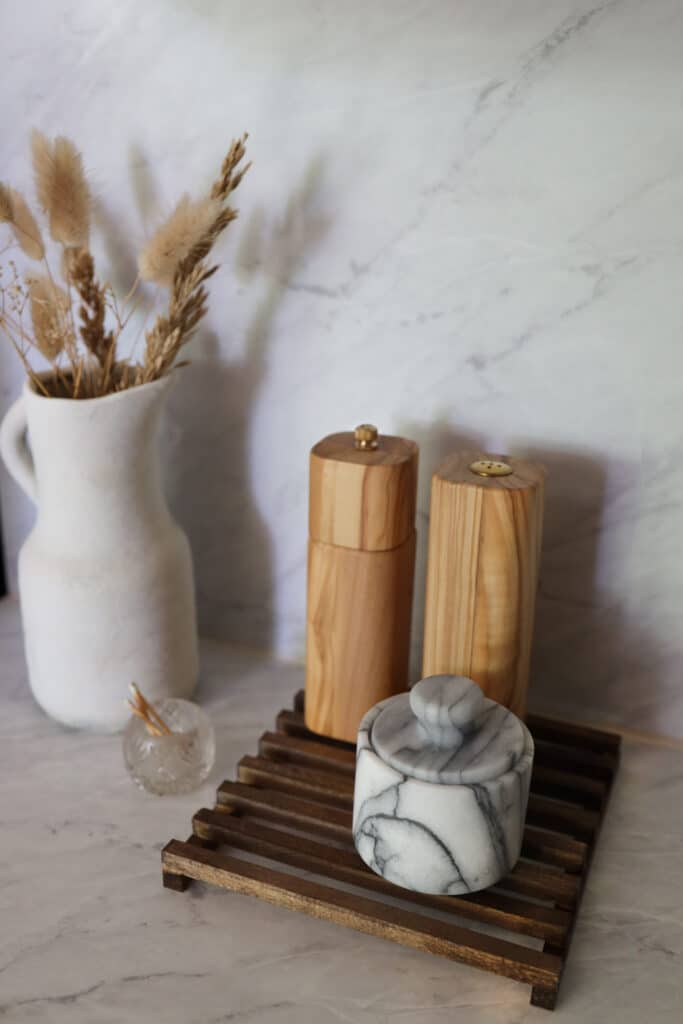
To streamline my cooking accoutrements, I made a slatted wood riser using square dowels. It’s simple to make and instantly elevates your everyday items into attractive accessories. It can even double as a display stand for candles, soap, or plants.
Steps
Step
1
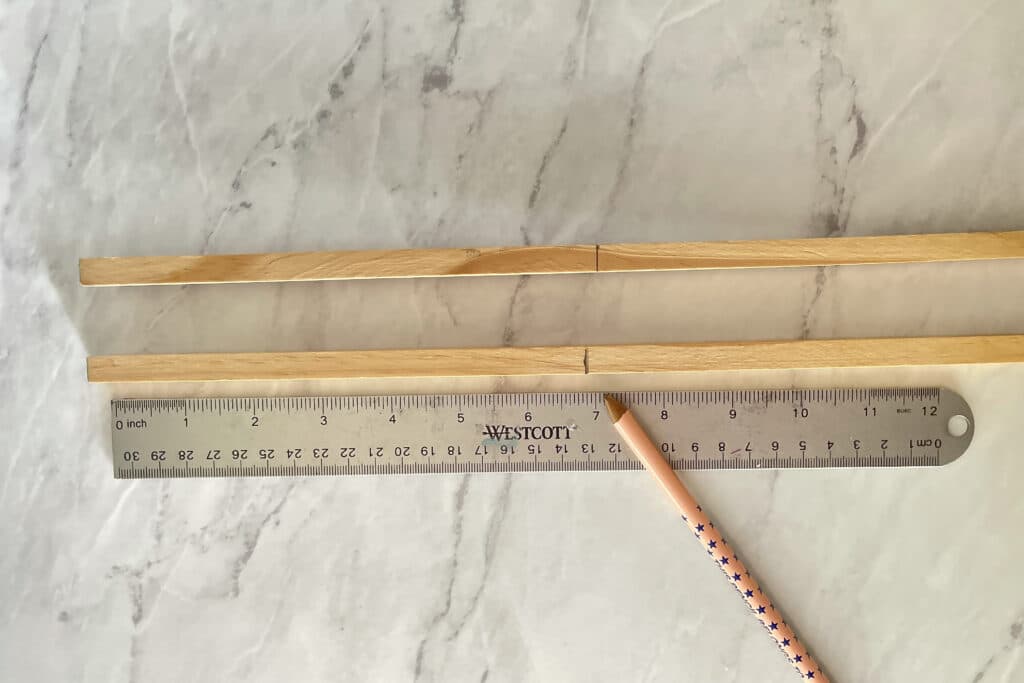
First, decide how big you want your riser to be (I made mine 7 ” x 7″, which required a total of two dowels). Then measure and mark where you need to cut the dowels.
Step
2
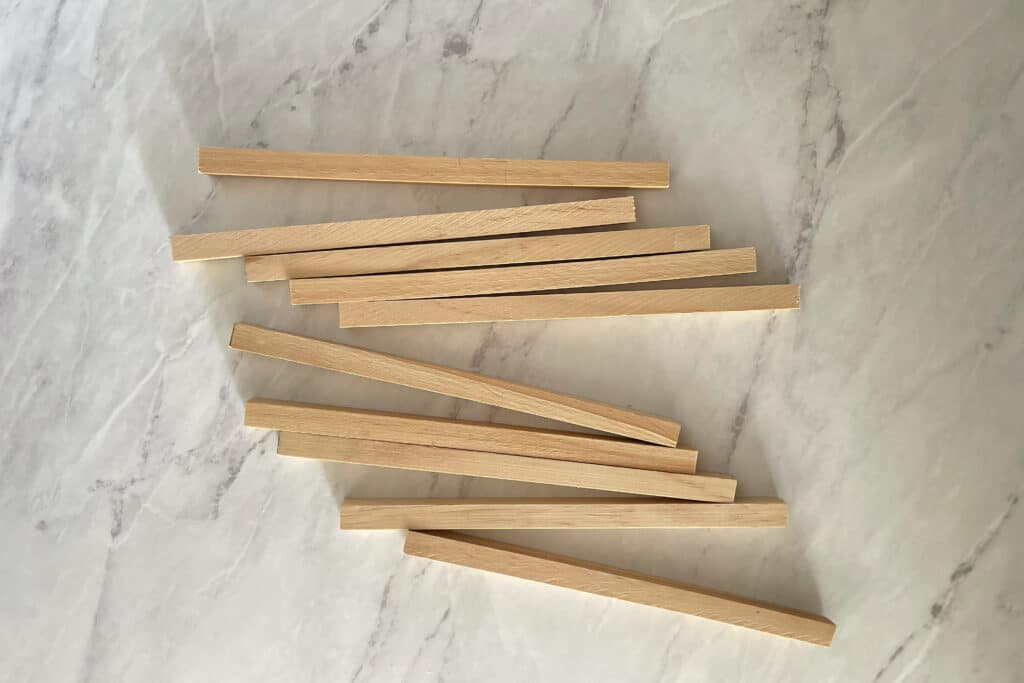
Use a saw to cut the dowels, or you can have this done for free at the hardware store. I cut a total of 10 pieces from two dowels. Sand any rough edges.
Step
3
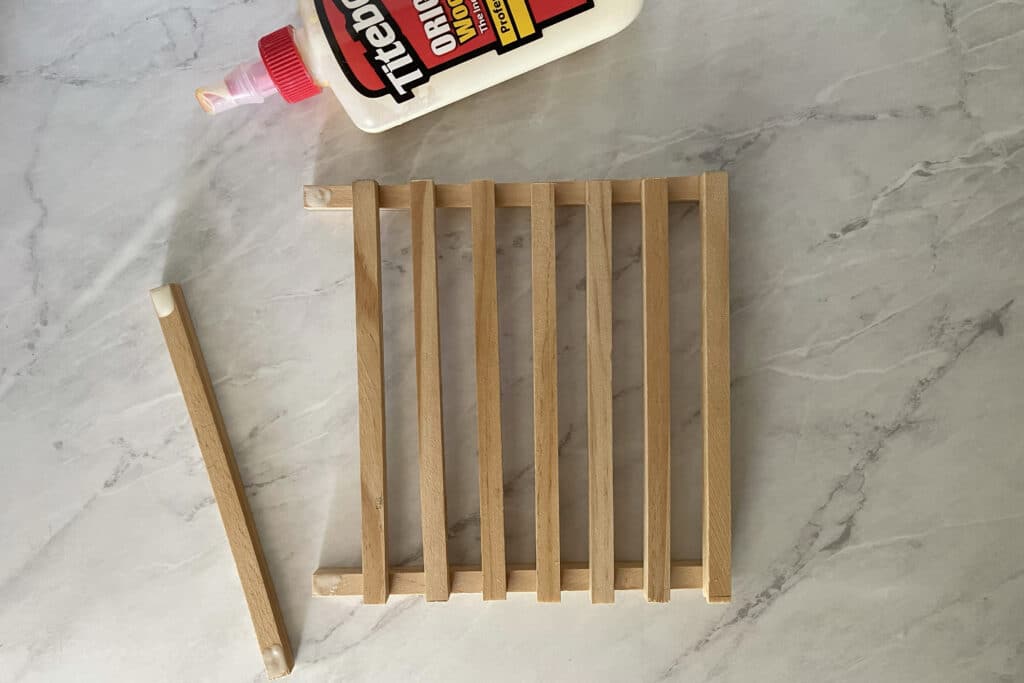
Arrange two dowels horizontally, and place the remaining dowels vertically across them to form a square. Space the dowels evenly ½-inch apart.

Step
4
Use wood glue to secure the dowels in place. It’s easiest to start gluing the dowels down on each end and work inward. Be sure to press down firmly, and wipe away any excess glue. Allow the glue to dry for one hour. (Optional: You can nail the dowels together once the glue is dry, but I skipped this since I plan to keep only lightweight items on the riser.)
Step
5
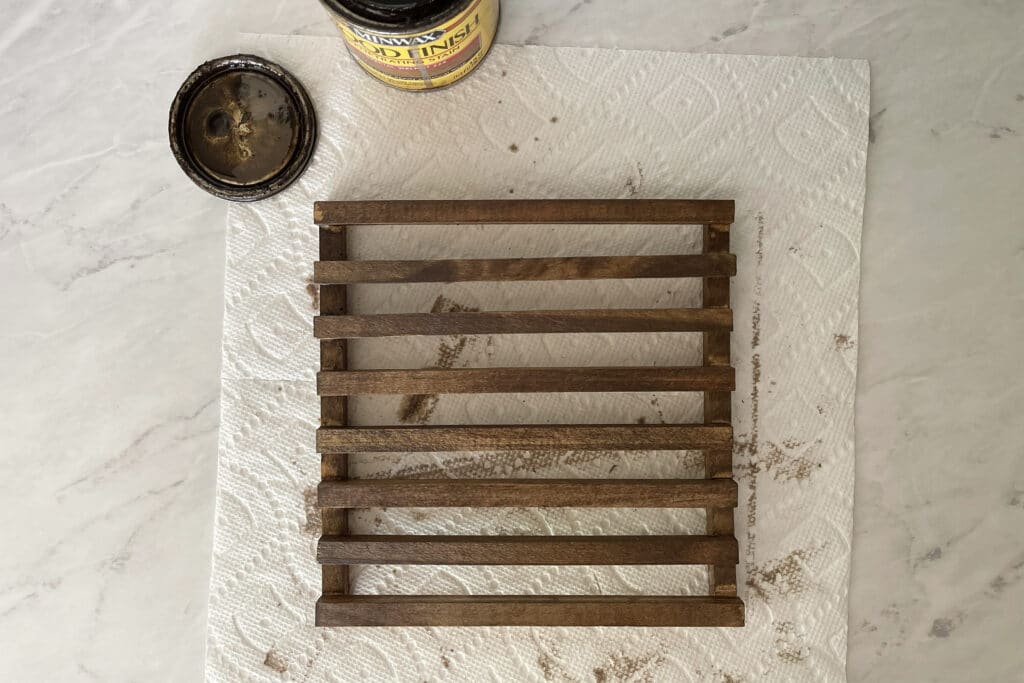
Use a soft cloth or paper towel to wipe a coat of wood stain onto the slatted riser. I used the color “Special Walnut” by Minwax. If needed, wipe on a second coat to darken. Allow the stain to dry for a few hours, and then spray a coat of clear shellac to seal in the stain.
Step
6
Once the shellac has dried, have fun styling your must-have items on the riser.
More Stories...

The space is decked out in Semihandmade Moss Quarterline and Tahoe.

House flippers and mom-daughter duo Lacey and Audrey Soslow created the kitchen of their (buyers’) dreams.

Malene Barnett teamed up with designer Leyden Lewis to create a space representative of her work.