While historic features can often add charm and character, they can also make a home feel dated.
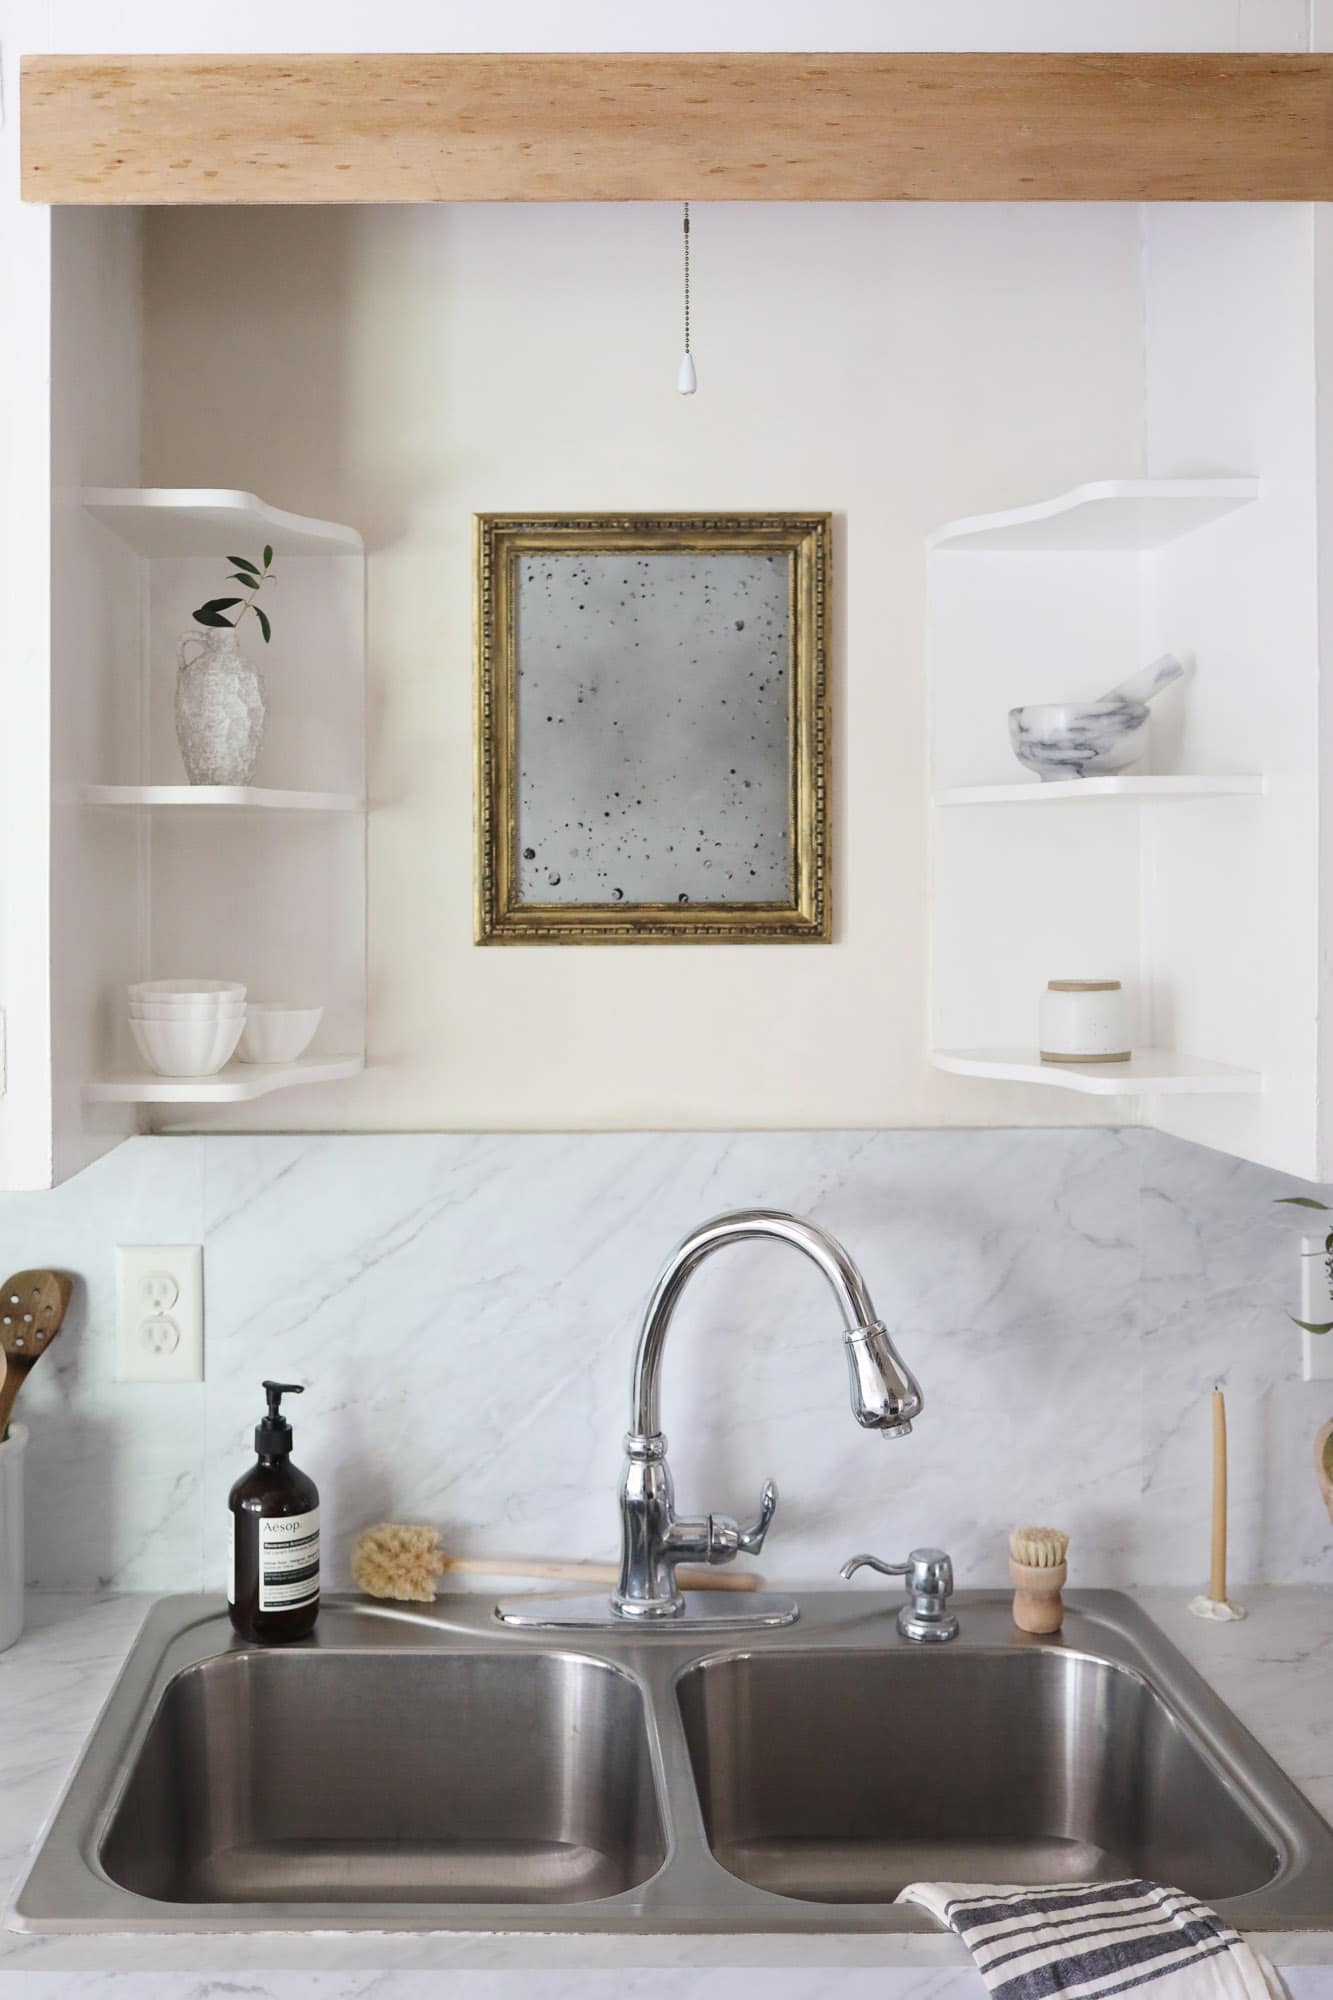
My home was built in 1941, and it still had the original wood valance with a scalloped edge above the kitchen sink when I moved in. While I appreciate its appeal in a quaint, slightly cottagecore kind of way, I was craving a bit more of a modern feel in the space. Instead of removing it, I realized an easier way to update it would be to simply cover it with a faux wood beam.
Creating the “beam” out of lightweight balsa wood couldn’t have been easier, and I used wood stain to make it look more like oak. By attaching it with mounting tape, it offered a removable solution that hides the valance completely while still preserving the historical detail. This hack is renter friendly too!
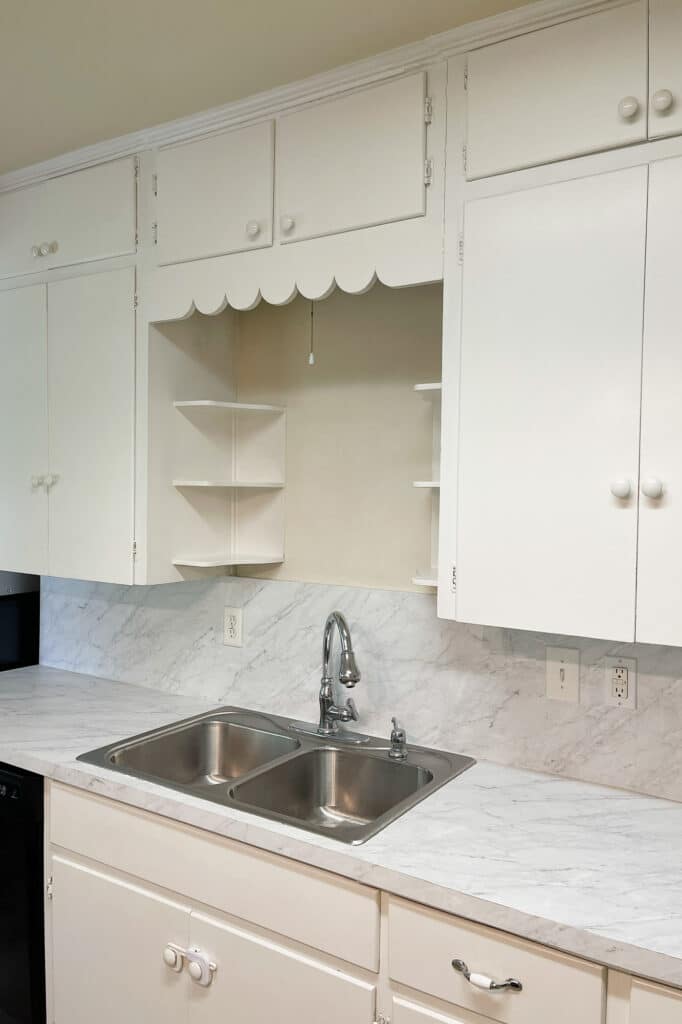
Here’s a peek at how the valance looked originally:
Steps
Step
1
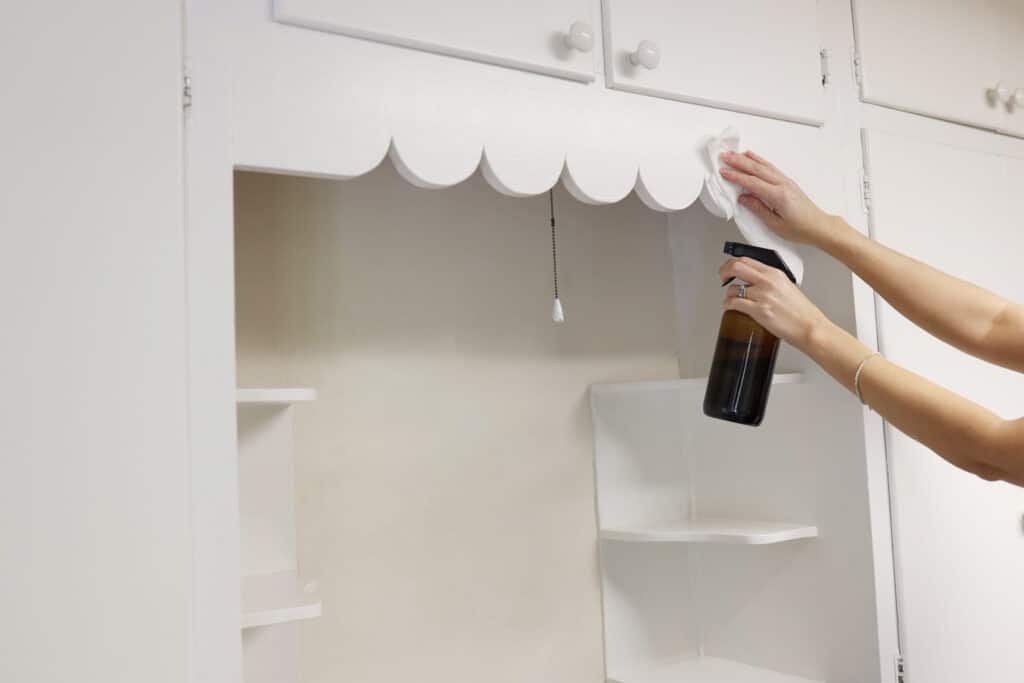
Start by cleaning the surface of the valance thoroughly, and let it dry. If it’s especially grimey, you may want to use a degreaser. A clean surface will ensure the beam adheres properly and has good staying power.
Step
2
Measure the length and width of the wood valance to determine what size “beam” you’ll need to cover it. Add an extra inch to the width measurement, so that the beam can hang a little below the scalloped edge.

Step
3
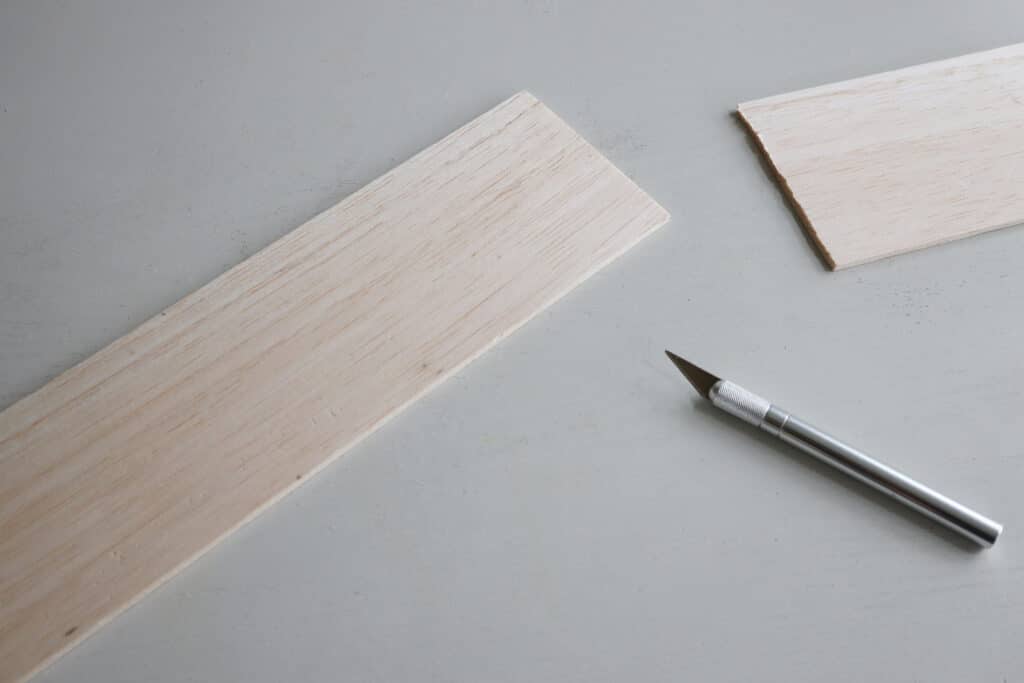
Use a utility knife to cut a piece of balsa wood according to the dimensions of your sink valance, making sure to add an extra inch to the width.
Step
4
Brush a coat of pre-stain wood conditioner on the balsa wood, and let it sink in for about 15 minutes. This will help the wood absorb the wood stain more evenly.

Step
5
Brush a coat of wood stain on the balsa wood, and then wipe it off immediately with a cloth. For inquiring minds, I used the color Golden Oak. If a darker color is desired, brush on a second coat after 30 minutes. Let it dry for a few hours.

Step
6
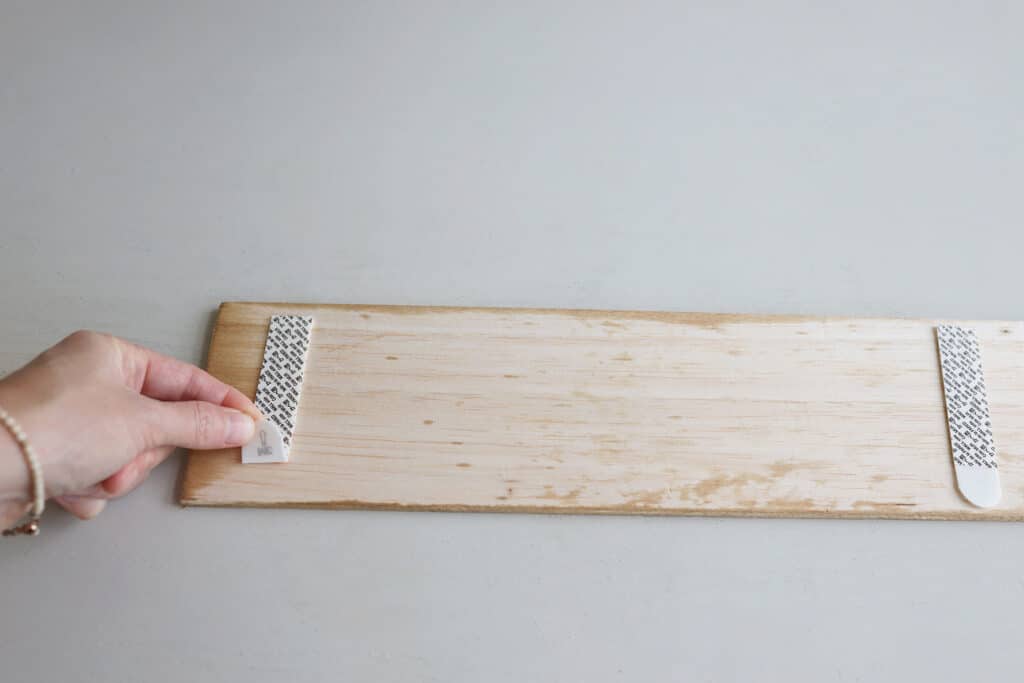
Attach three adhesive hanging strips on the back of the wood beam—one in the center, and one on each end. You could also use mounting tape.
Step
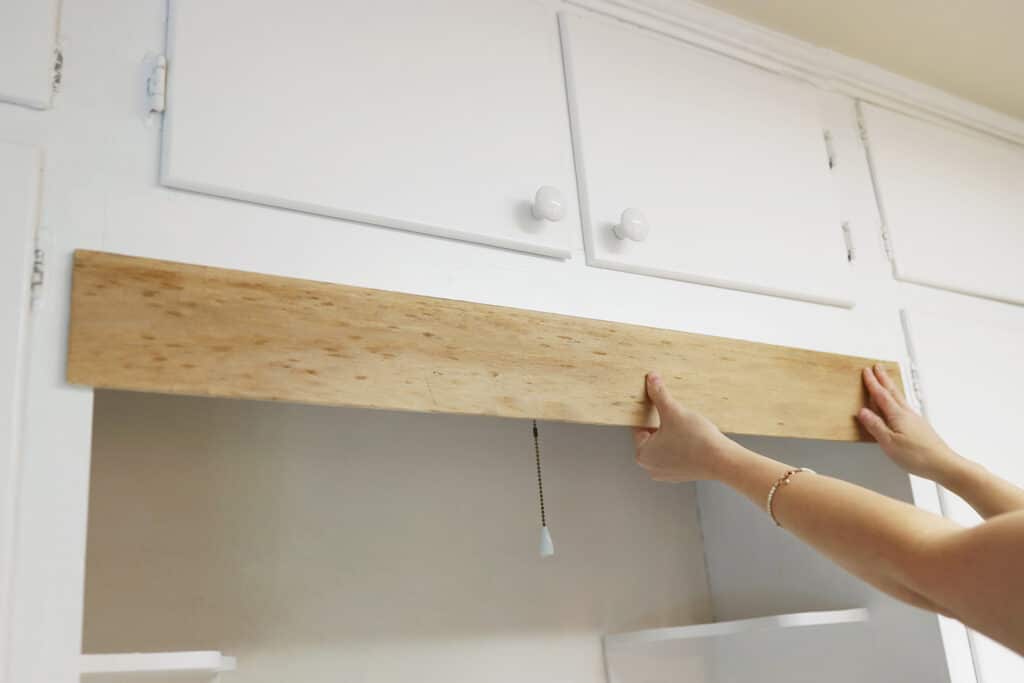
7
Position the wood beam on top of the sink valance, and press it firmly in place.
More Stories...

The space is decked out in Semihandmade Moss Quarterline and Tahoe.

House flippers and mom-daughter duo Lacey and Audrey Soslow created the kitchen of their (buyers’) dreams.

Malene Barnett teamed up with designer Leyden Lewis to create a space representative of her work.