Staying organized and inspired are both important factors for enhancing creativity.
When you work from home, as many of us now do, the scenery in our “office” can feel a little stale. All it takes is the slightest glance at that pile of laundry or stack of mail to dampen the creative energy.
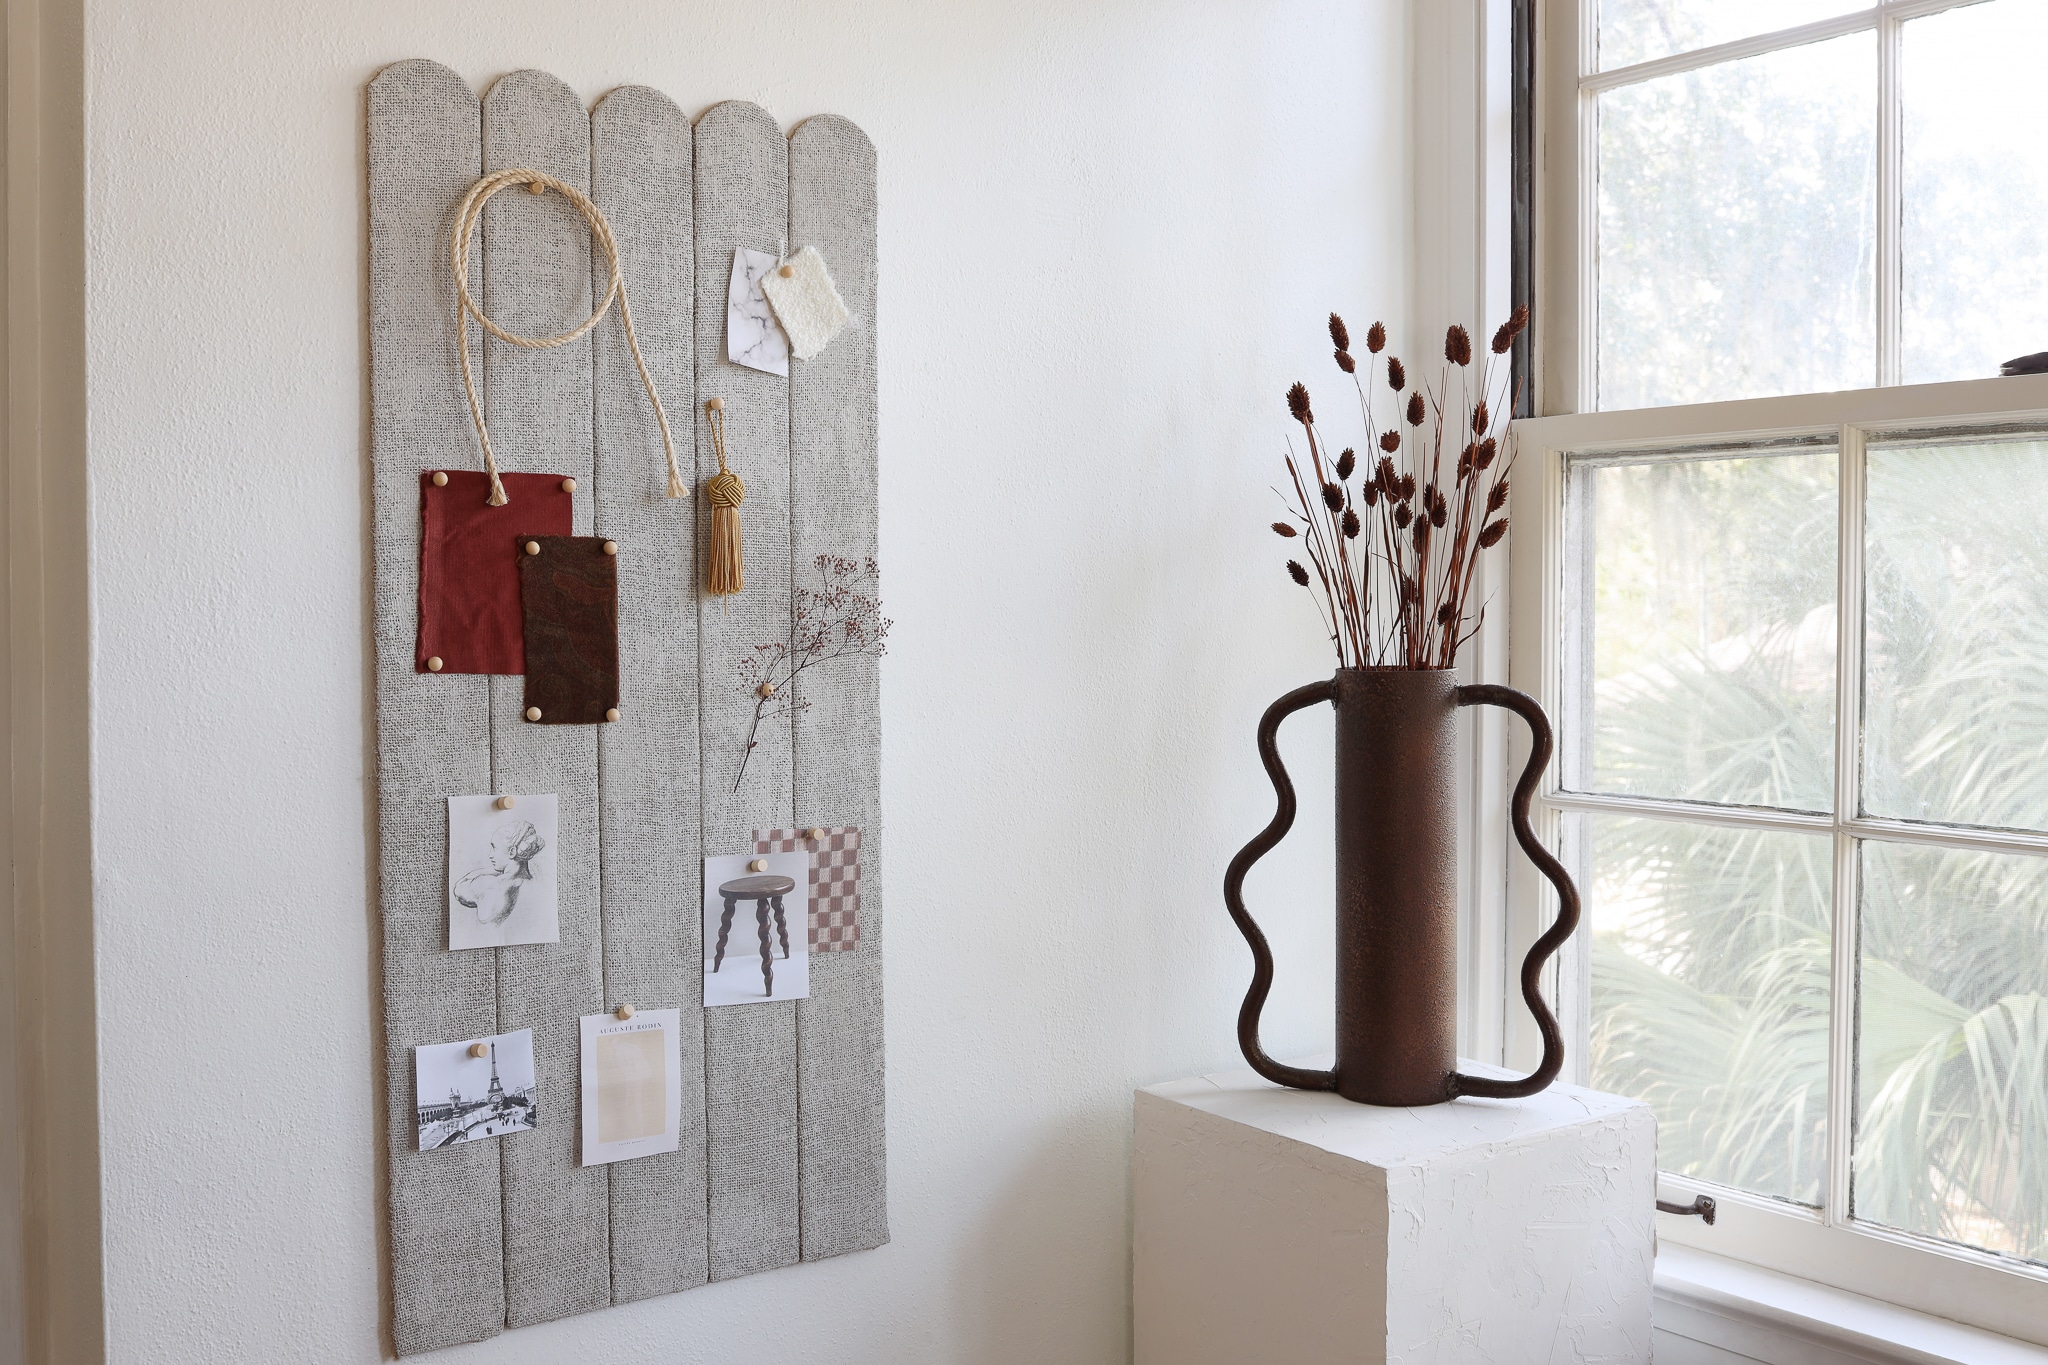
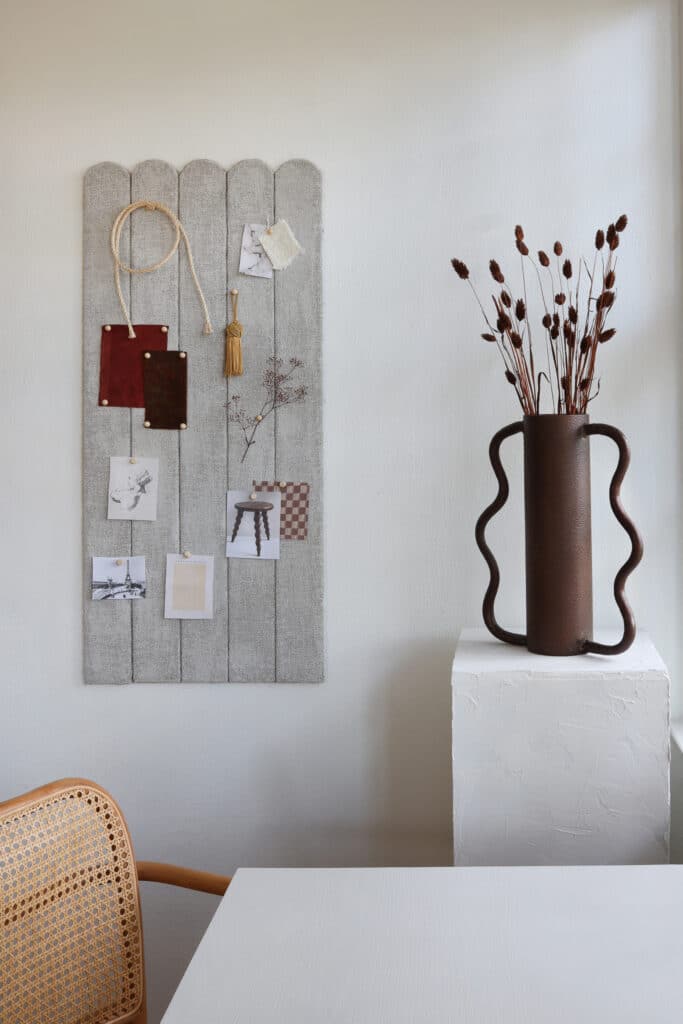
A pinboard serves a dual function in your WFH space as it operates as an organizational center to keep all of your reminders in one place, and as a vision board, where you can display items like photos, quotes, and more. While Pinterest certainly has the digital realm covered, it’s nice to have a physical board that you see daily. Inspired by this tutorial from designer Athena Calderone, I created a scalloped panel pinboard that not only keeps you on track during your workday, but gets those creative juices flowing.
Steps
Step
1
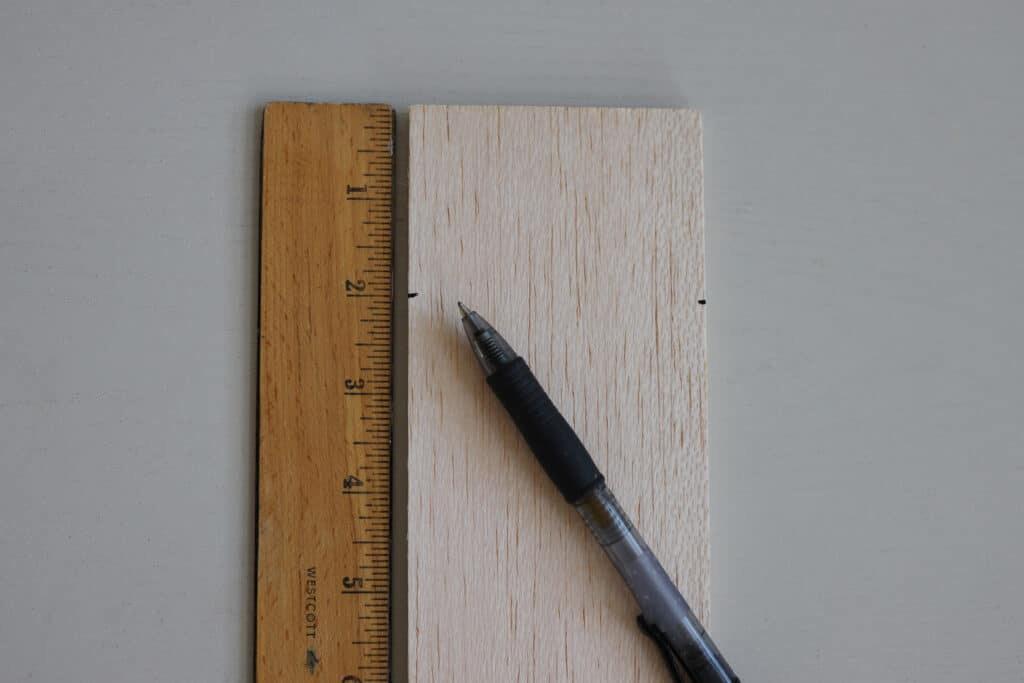
Use a ruler to measure 2 inches down from the top of the balsa wood plank. Mark the measurement on each side of the plank.
Step
2
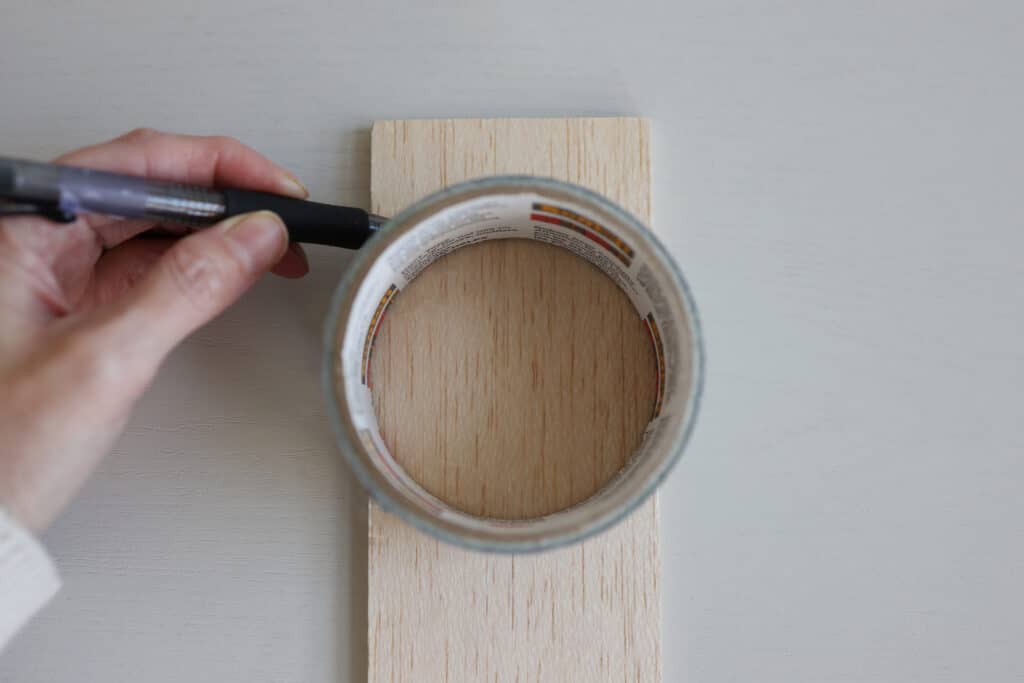
Place something round (like a cup or roll of tape) on top of the wood, and trace the curved shape from the 2-inch mark on one side to the 2-inch mark on the other side. This will create a scalloped shape.
Step
3
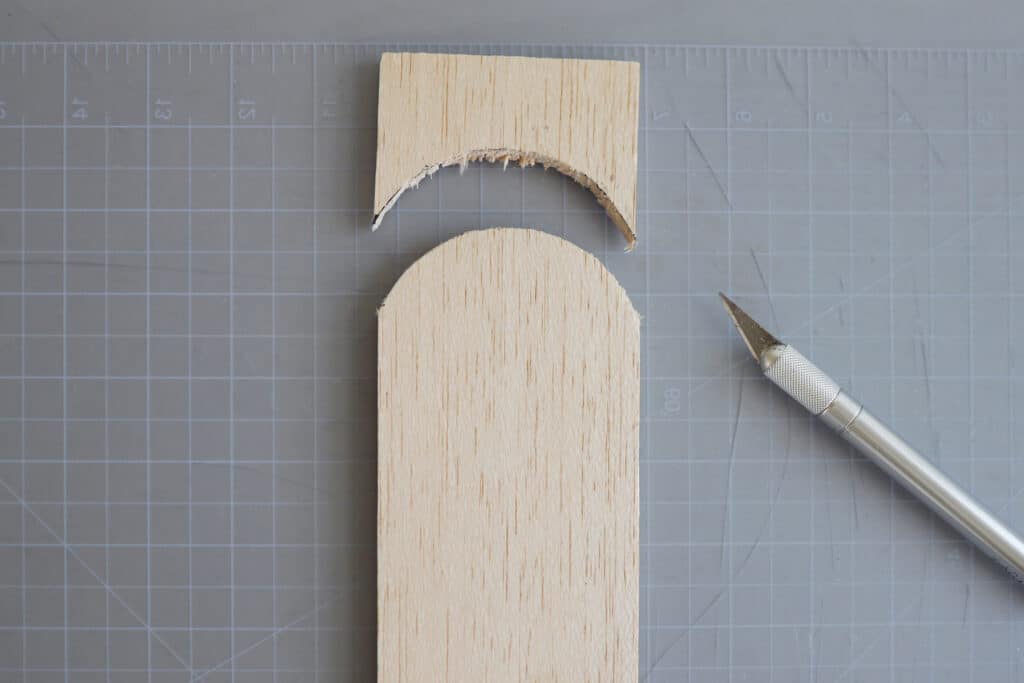
Place something underneath the wood plank to protect your work surface (I used a cutting mat, but scrap cardboard would work). Use a utility knife to cut out the scalloped shape.
Step
4
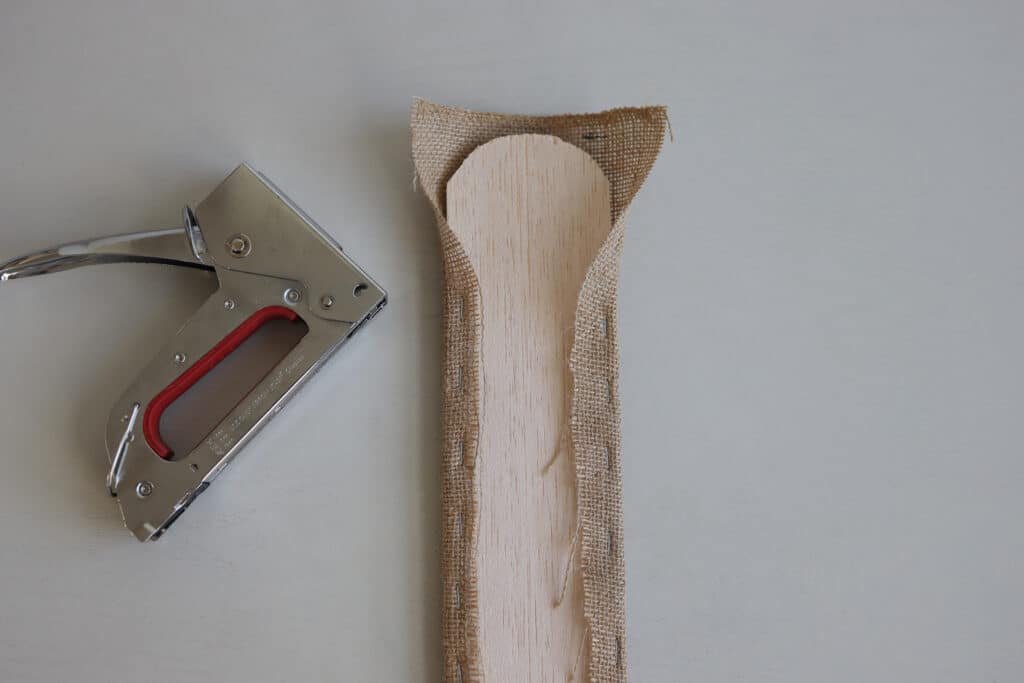
Cut a strip of burlap approximately 3 inches wider and 3 inches longer than the balsa wood plank. Place the wood on top of the burlap, pull the fabric tightly around it, and staple it in place along the straight edges. Trim any excess fabric.
Step
5
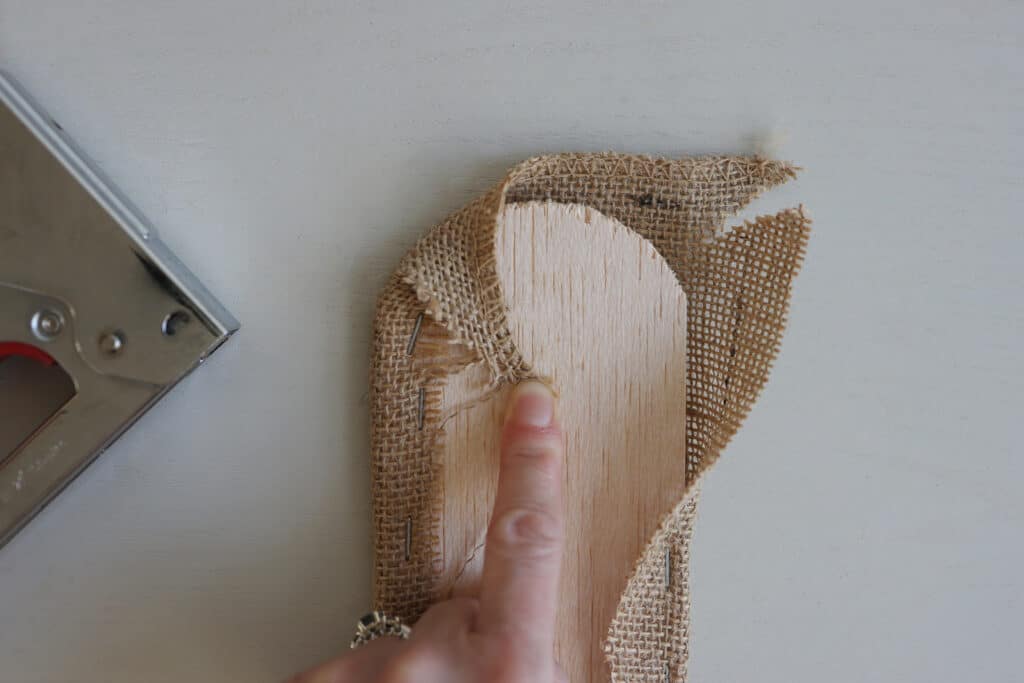
When you get to the scalloped edge, cut a slit in each corner, and pull the fabric down so that it lays tightly around the curve. Staple it into place.
Step
6
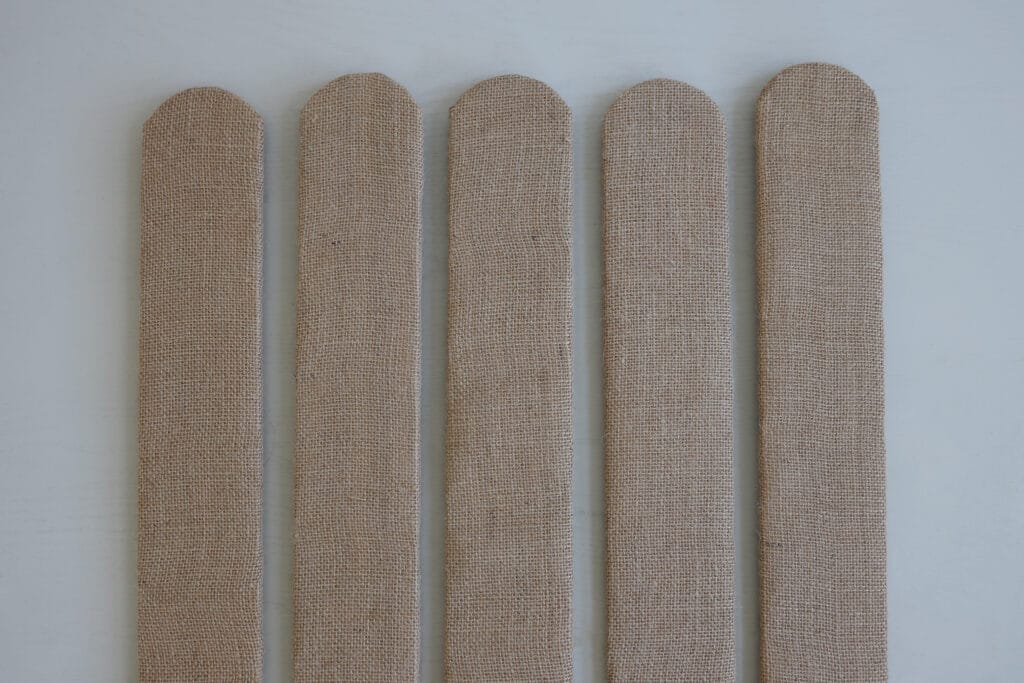
Repeat to make four more panels (or more if you’d like a wider pinboard).
Step
7
If you’d like your pinboards to blend in with your wall, paint them the same (or a similar) color. The fabric drinks up the paint, so you’ll need to paint two or three coats to get even coverage. Let the paint dry fully.

Step
8
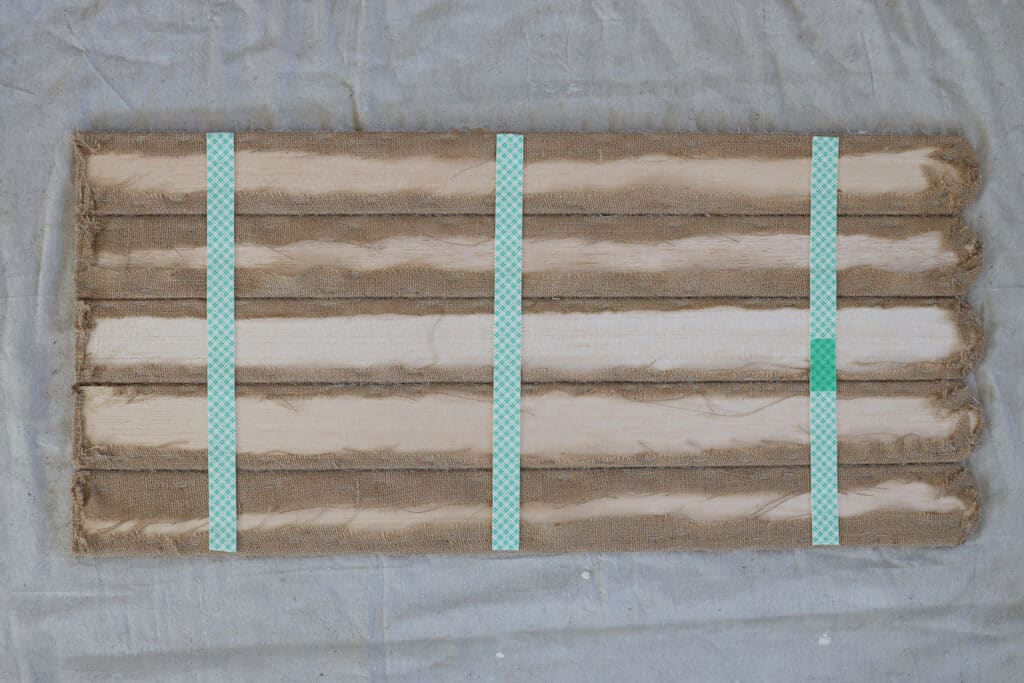
To attach the panels together, line them up evenly with one another and press three strips of double-sided mounting tape across the top, middle, and bottom.
Step
9
Now simply, peel off the adhesive backing from the three strips of mounting tape, and press the pinboard firmly in place on the wall. Have fun decorating it with your favorite inspirational items!
*If you purchase something using one of the links in this article, we may earn a commission (at no cost to you). Rest assured we only recommend products we’ve vetted and loved.
More Stories...

The space is decked out in Semihandmade Moss Quarterline and Tahoe.

House flippers and mom-daughter duo Lacey and Audrey Soslow created the kitchen of their (buyers’) dreams.

Malene Barnett teamed up with designer Leyden Lewis to create a space representative of her work.