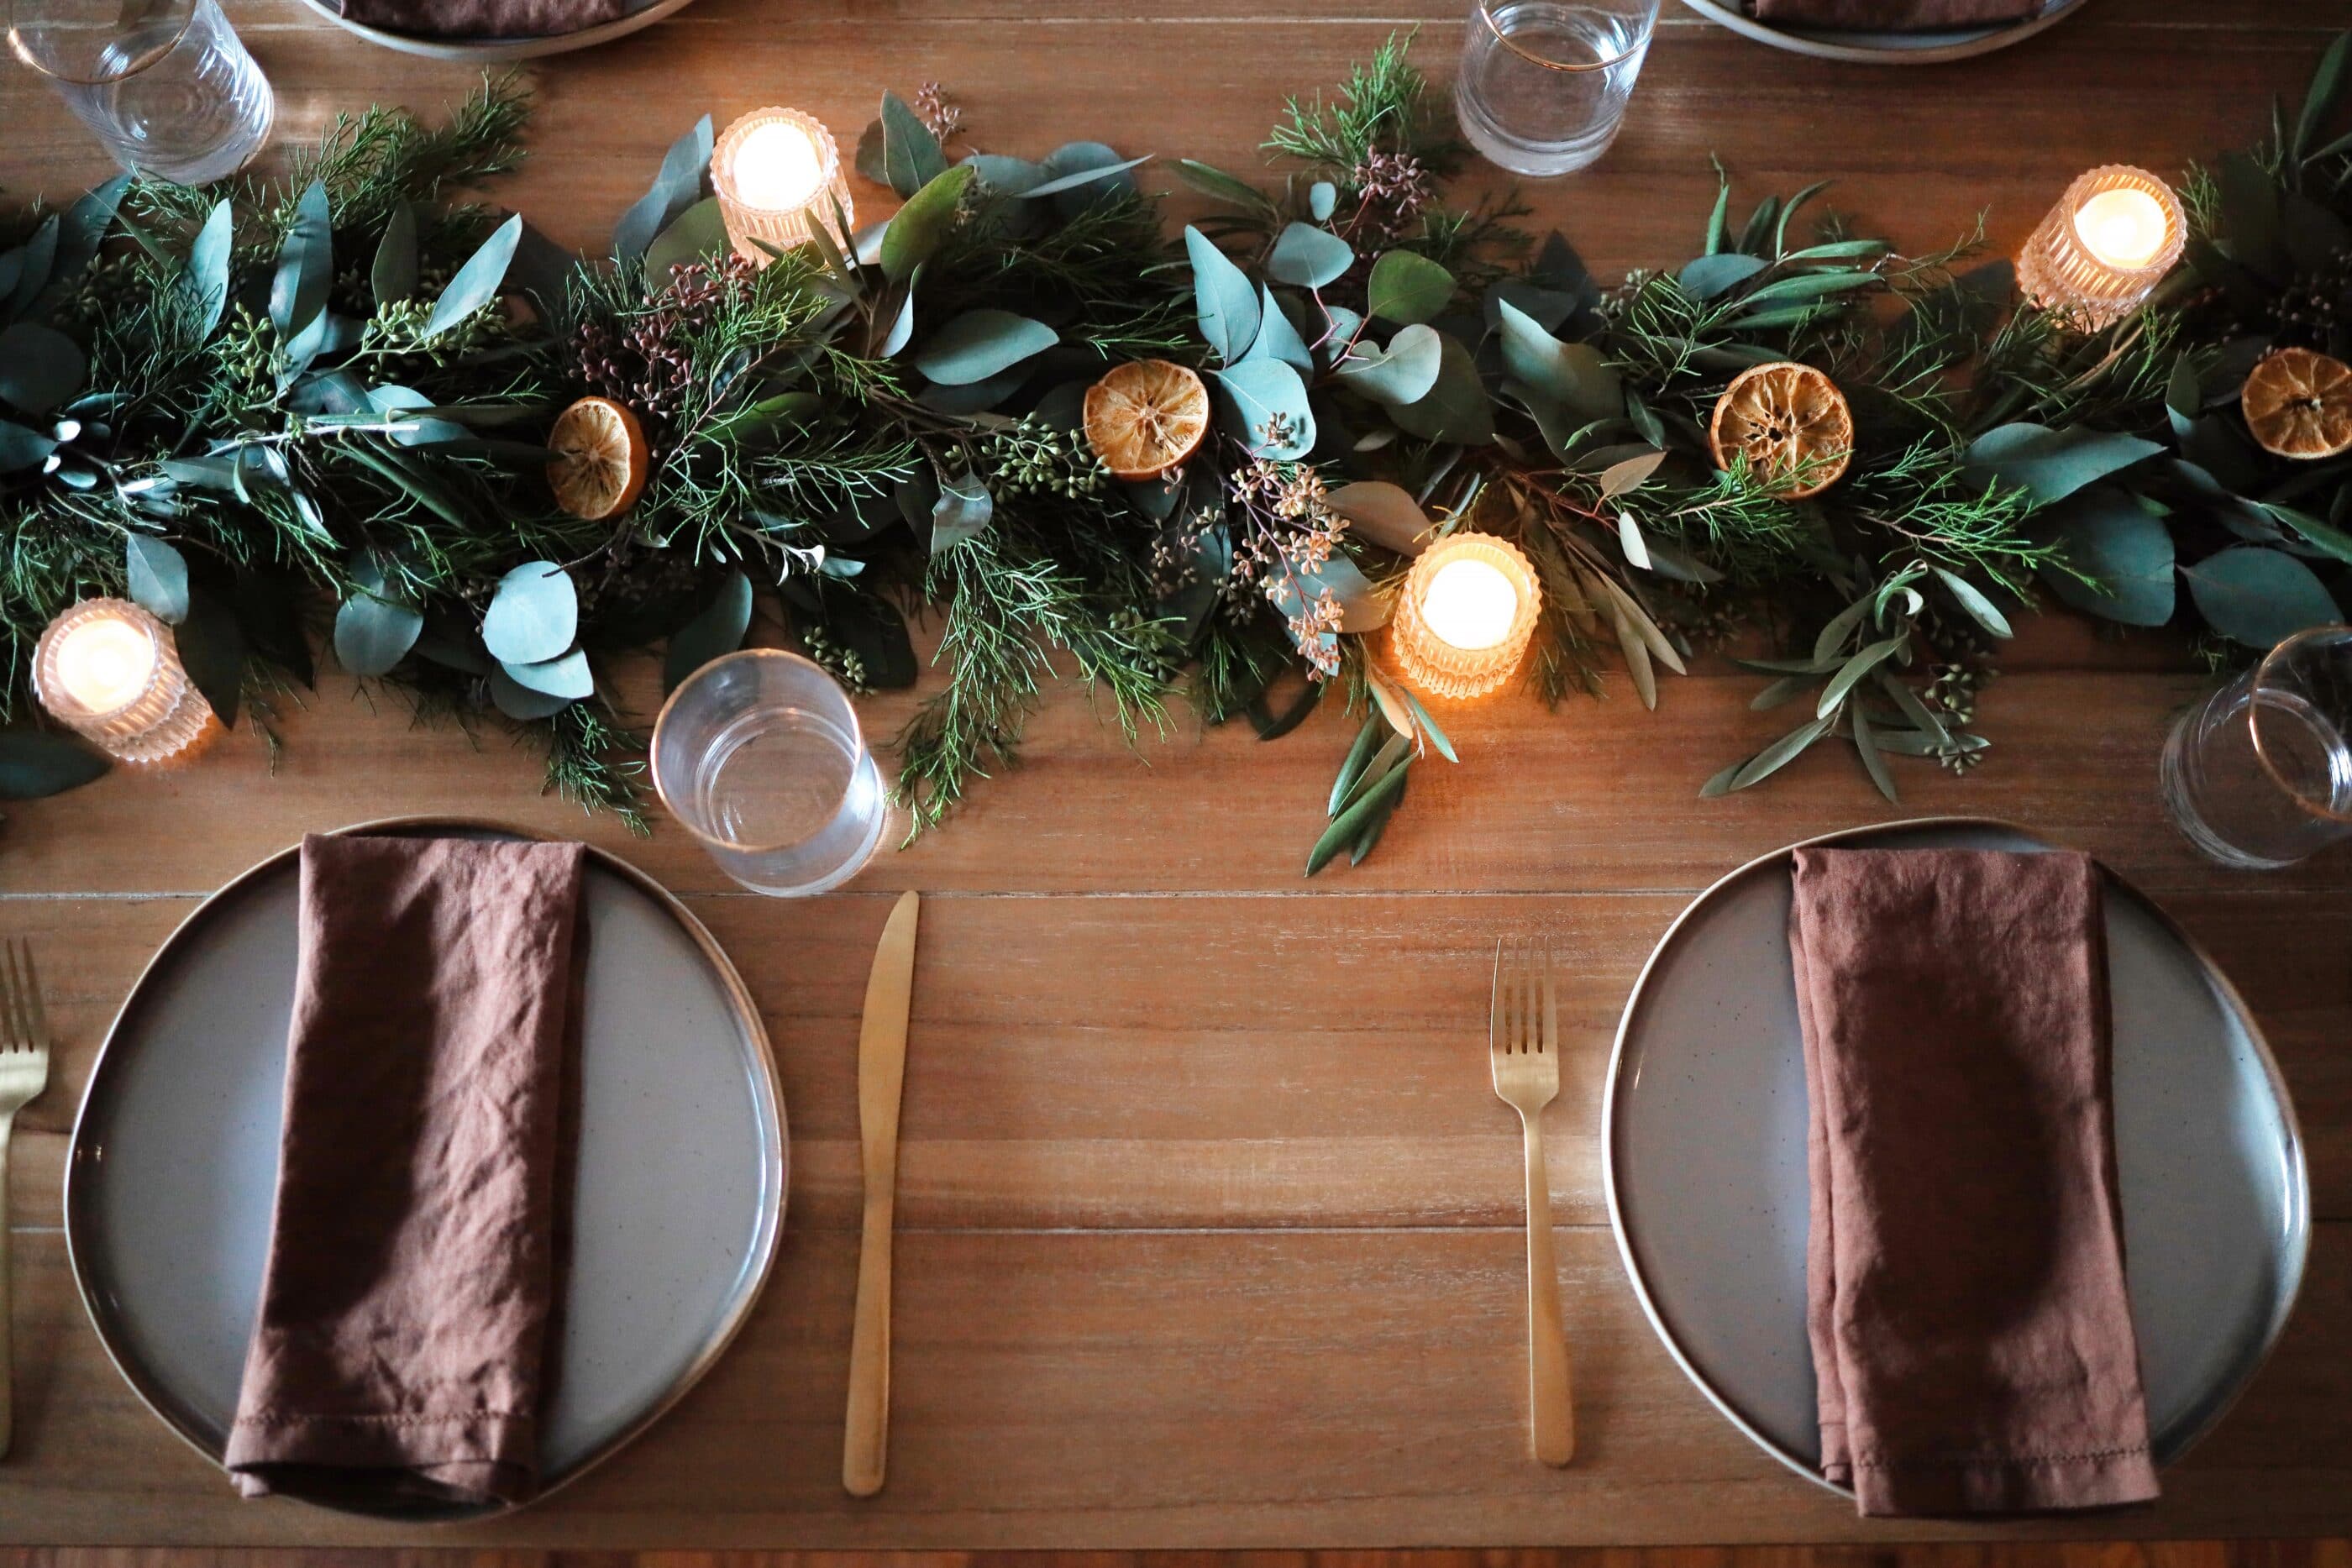
While food is certainly the star of any holiday meal, it’s the tablescape that sets the tone for a festive feast.
Flowers, candles, and linens all play a part in creating a convivial ambience. Though a floral centerpiece is a classic choice, sometimes it can inhibit conversation if it blocks guests from seeing each other across the table.
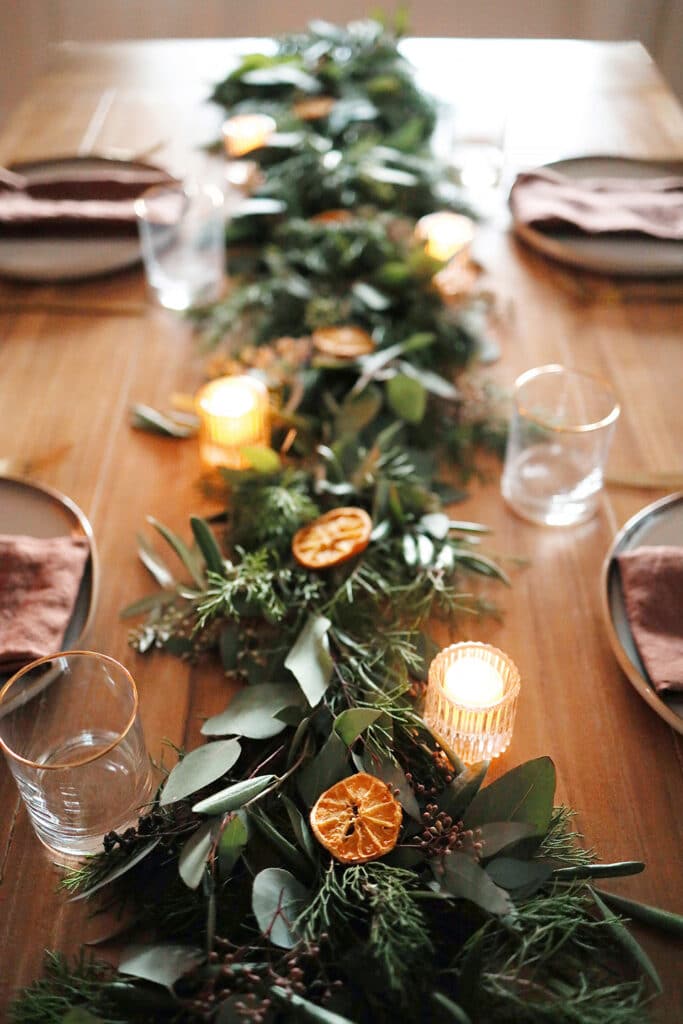
Enter: the table garland. It offers a gorgeous adornment of florals down the entire length of the table, and its low height invites intimate chatter. A eucalyptus garland is a particularly lovely choice for the holidays. Not only does its silvery, sage-hued leaves mix beautifully with evergreen, but its serene scent also delicately perfumes the room. Slices of dried orange tucked into the greenery only enhance its beauty and fragrance.
Even better? I was able to pop over to Trader Joe’s and snag all of the florals needed to make it for less than $30.
Steps
Step
1
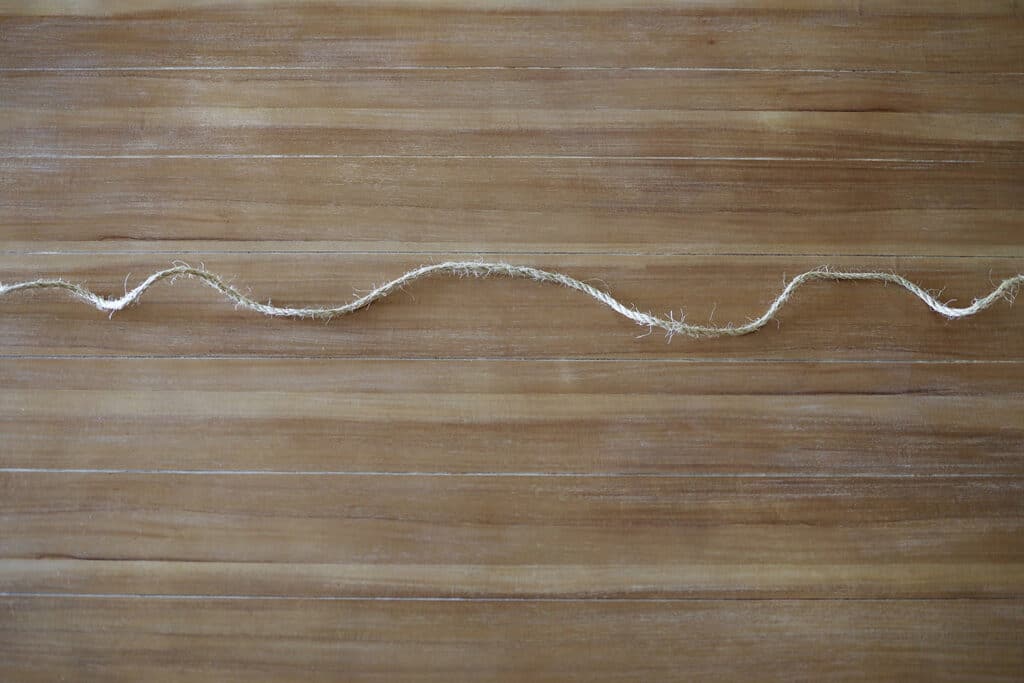
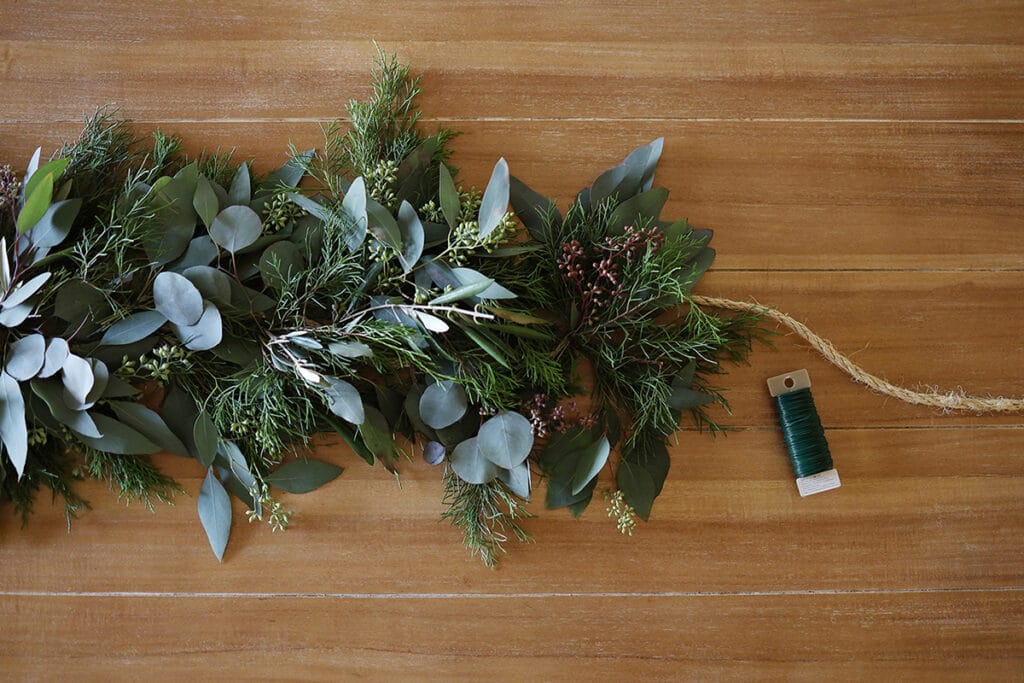
Cut a long strand of jute rope that runs the entire length of the table.
Step
2
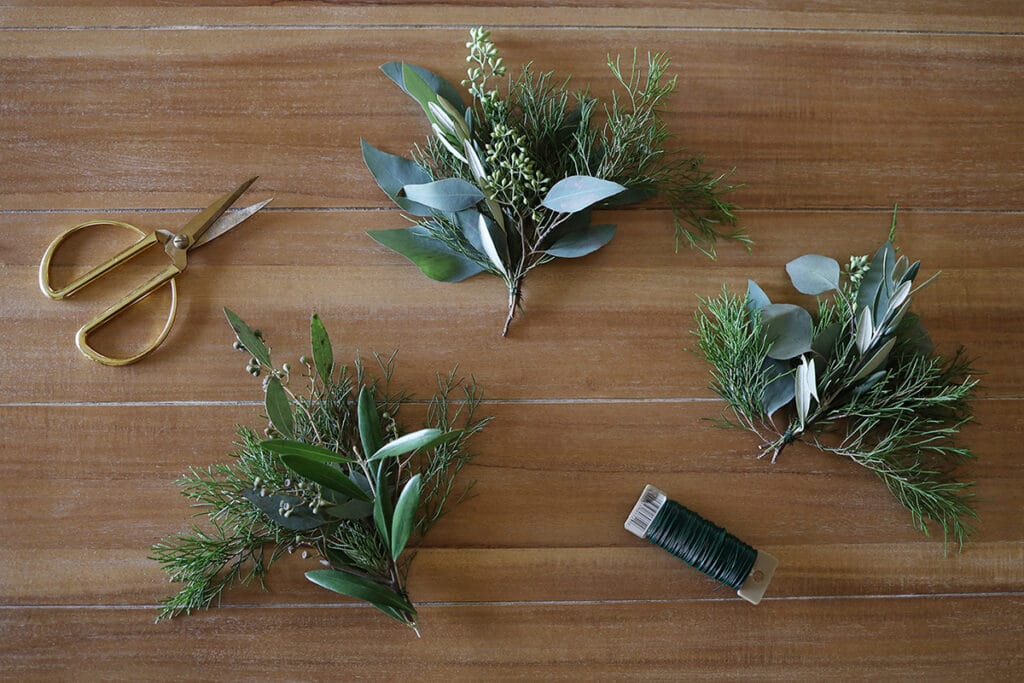
Bunch several stems of seeded and silver dollar eucalyptus together with a few evergreen stems, and clip the stems short. Secure together at the bottom with floral wire to create a floral bundle. Start by making 15 to 20 bundles, and continue if you need more.
Step
3
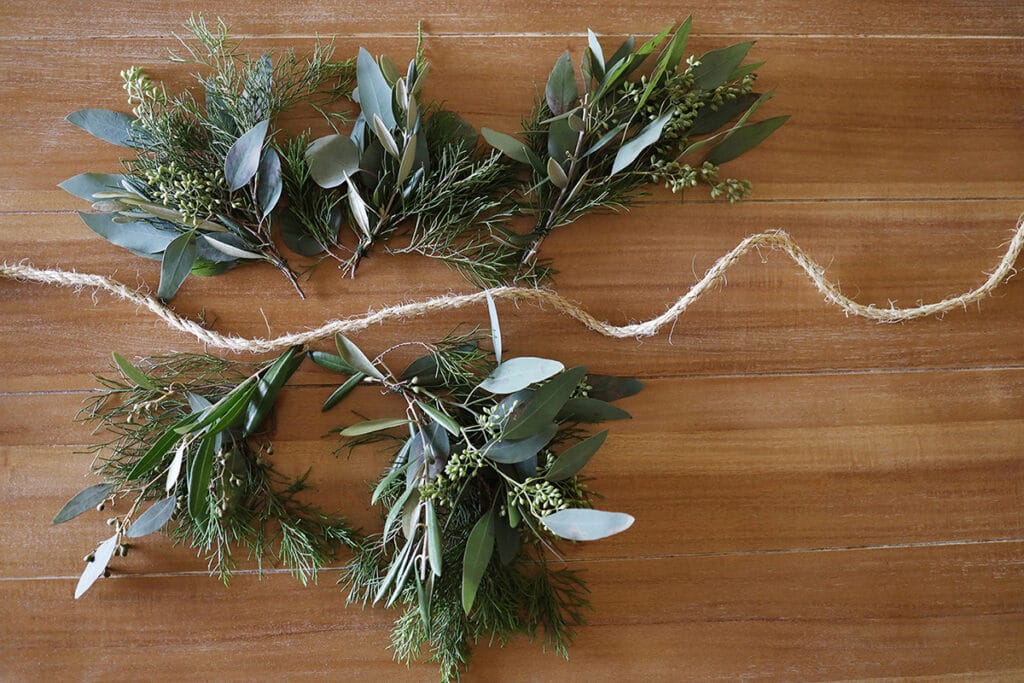
Arrange the bundles along the length of the rope, alternating them on each side of the rope. This will help you determine how many bundles you need to cover the rope.
Step
4
Once you have enough bundles, place each one on top of the rope and attach it with floral wire. Strategically overlap the bundles to hide the rope. When you get to the center of the rope, switch the direction that the bundles face. Attaching the bundles to the rope allows you to move the garland in one piece and/or reuse it elsewhere.
Step
5
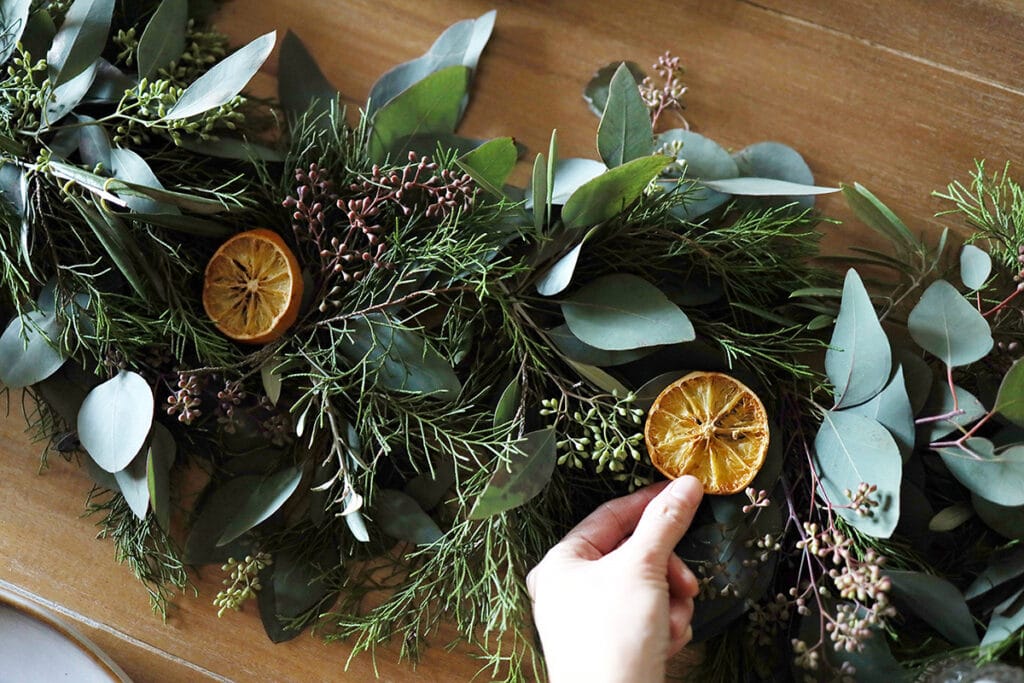
Tuck slices of dried orange into the leaves along the length of the garland for a pop of color. You can attach them with floral wire if you’d like, or leave them loose. (The dried oranges are easy to make; simply slice oranges ¼-inch thick and bake at 200 degrees Fahrenheit for 3 hours, turning over halfway through.)
Step
6
Tuck a few votive candles along the length of the garland, set the table, and enjoy the merriment!
More Stories...

The space is decked out in Semihandmade Moss Quarterline and Tahoe.

House flippers and mom-daughter duo Lacey and Audrey Soslow created the kitchen of their (buyers’) dreams.

Malene Barnett teamed up with designer Leyden Lewis to create a space representative of her work.