A trivet may be a utilitarian item that serves a rather prosaic purpose, but it can still bring style and beauty to your table.
In fact, whenever I buy anything for my home these days, I’ve been pausing to consider both form and function. I question not only if an item will be useful, but also whether I enjoy the aesthetic of it. This method has really helped me curate a space that feels joyful and inspiring.
Trivets are one of those necessities that are handy to have when you’re hosting a gathering, but have always been a bit of an afterthought for me. I’d throw a dish towel or pot holder under hot dishes and not think twice about it. But, I came to realize—after working so hard to set a beautiful table—I could extend that same thoughtfulness to the more practical items as well.
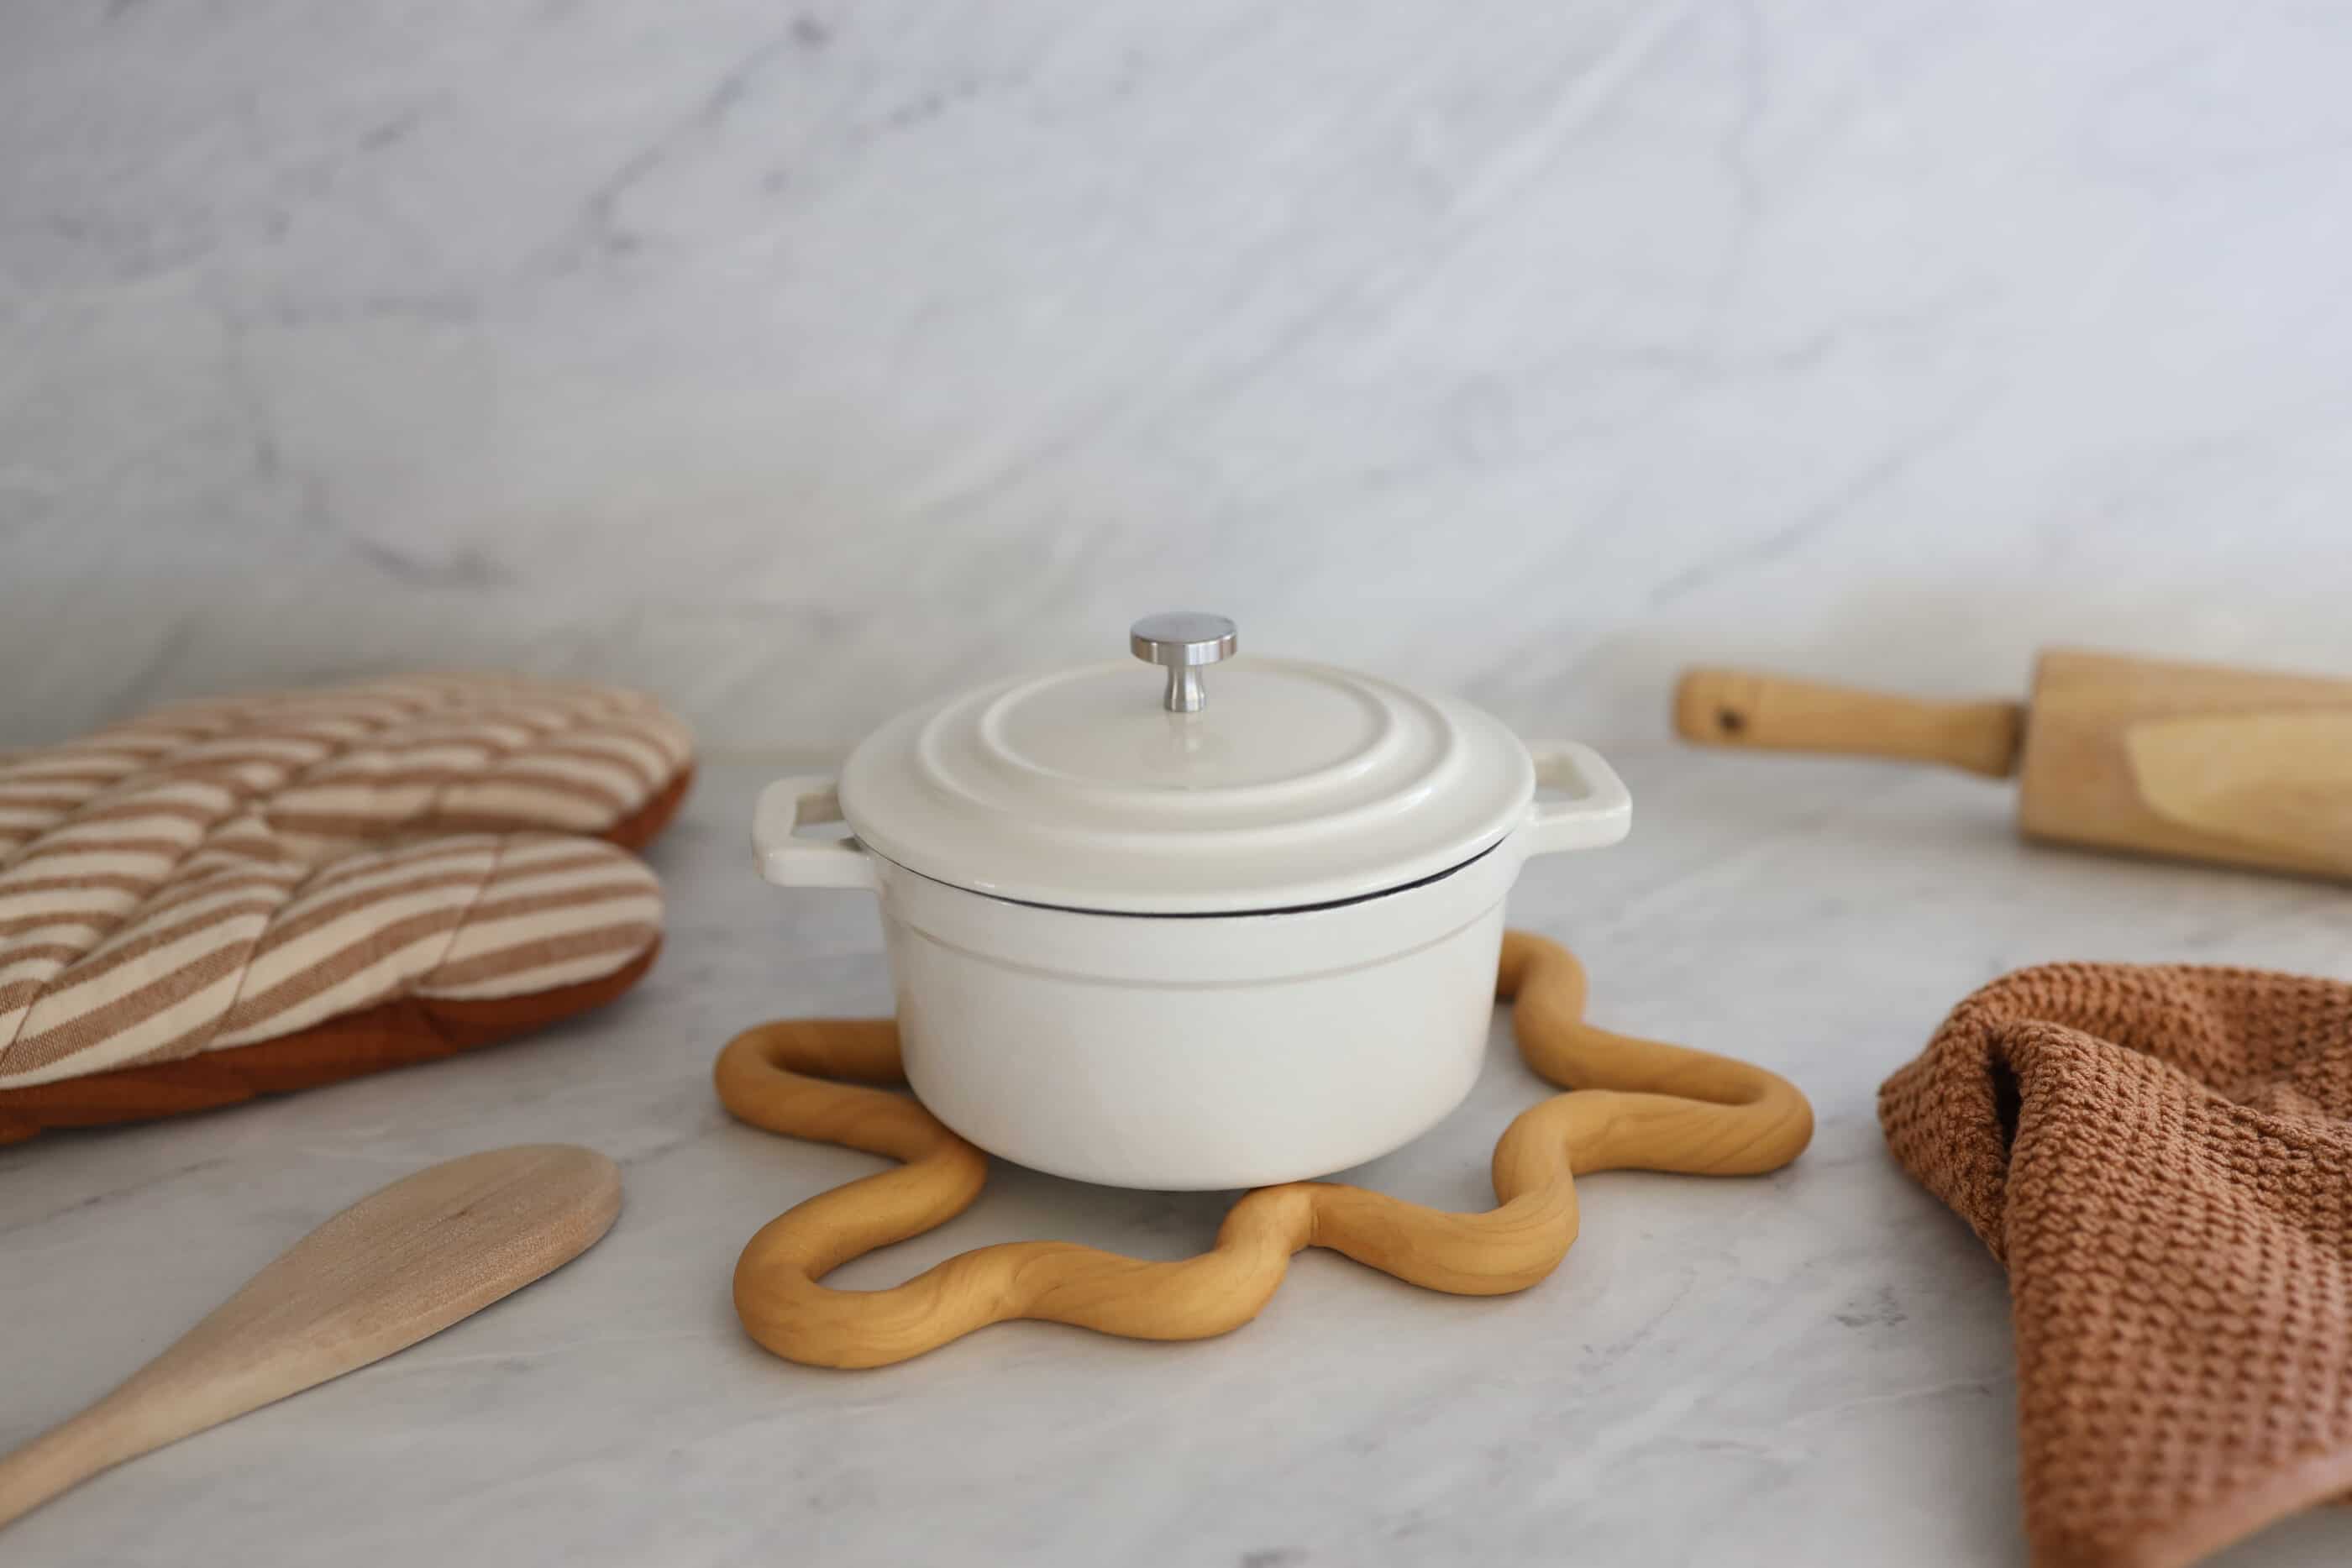
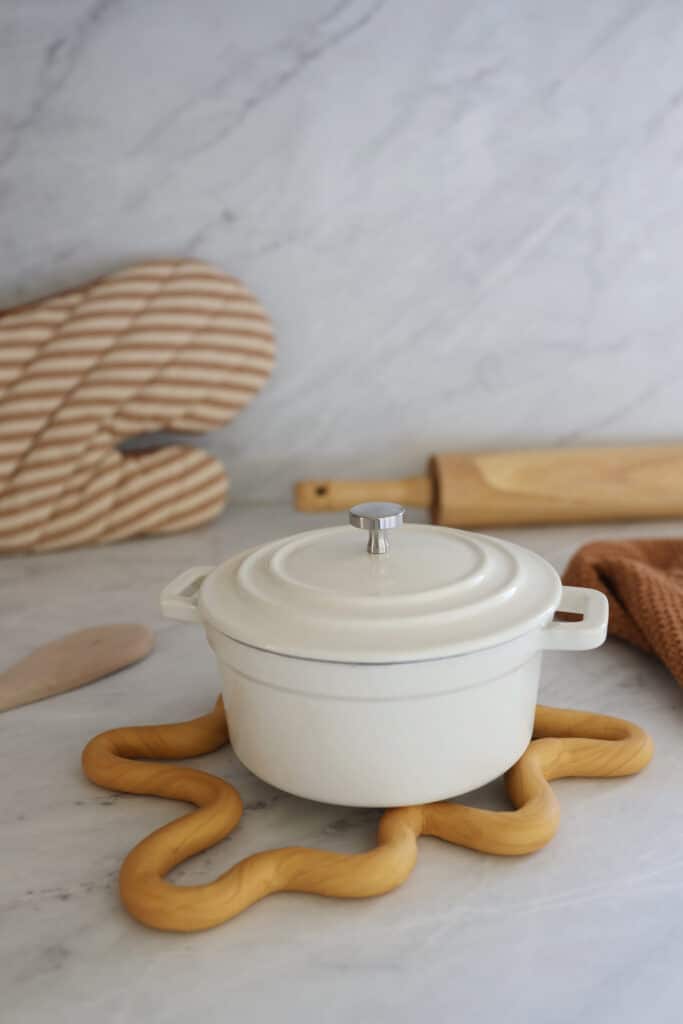
So, I created a clay trivet with an eye-catching wavy shape that is hardy enough to withstand the weight of casseroles, pies, or even a Dutch oven full of soup. It’s easy to make, and makes a great gift as well. Whether you’re setting up a buffet or serving family-style dishes, this trivet will not only protect your table but also add a pop of pretty.
Steps
Step
1
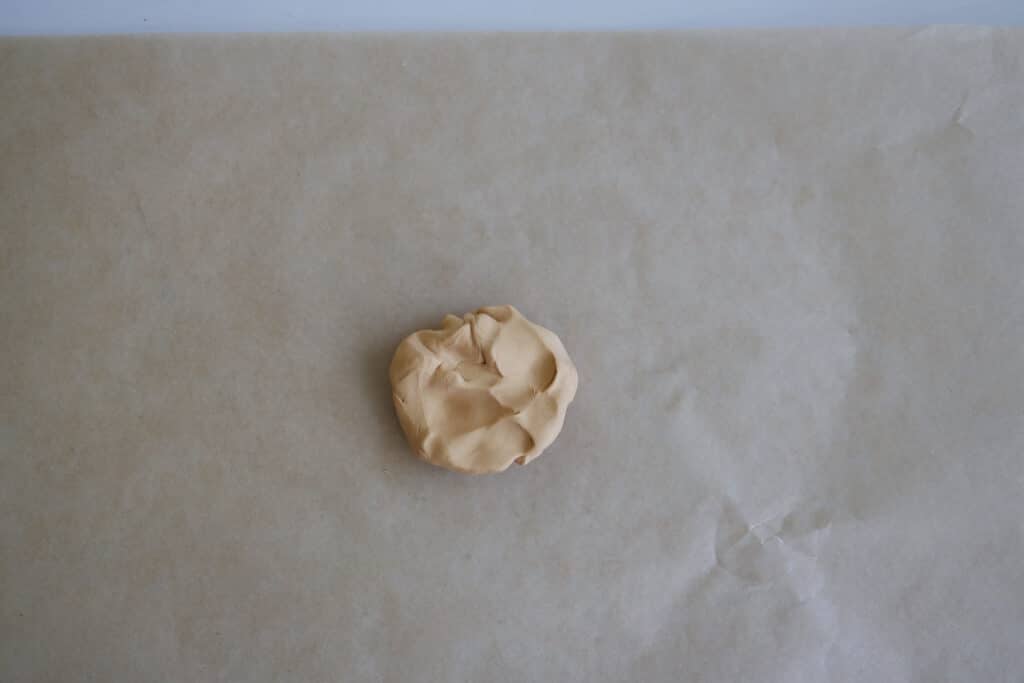
Preheat the oven to 250 degrees Fahrenheit. Place a sheet of parchment paper down to protect your work surface. Work a 2-ounce piece of clay between your hands for a few minutes to warm it up and make it more malleable.
Step
2
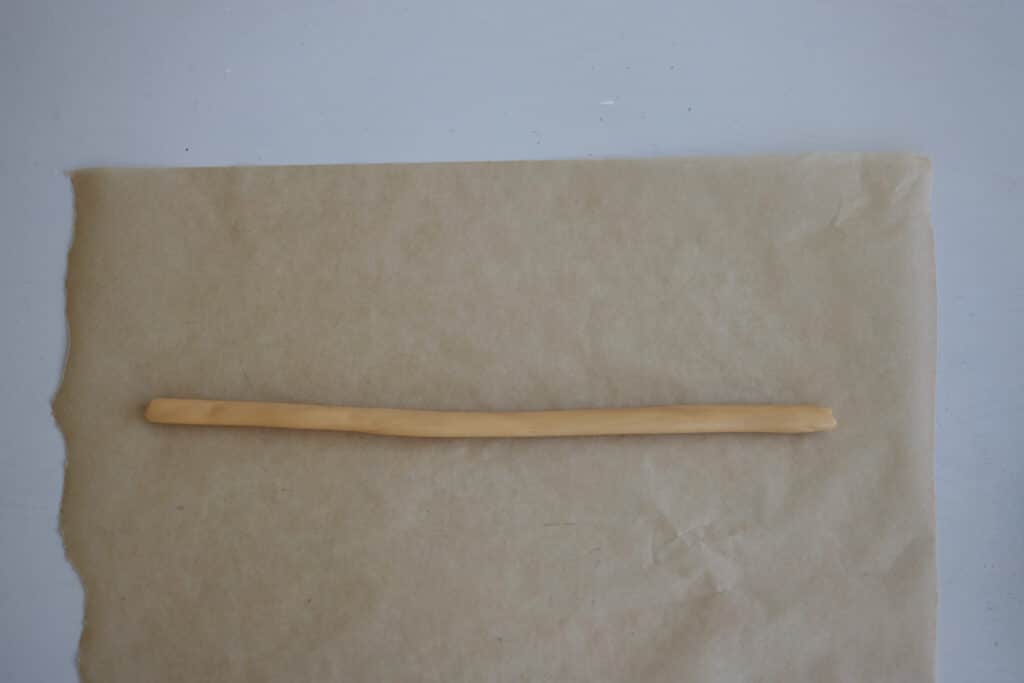
Roll the clay into a log that is approximately ½-inch in diameter and 16 inches long.
Step
3
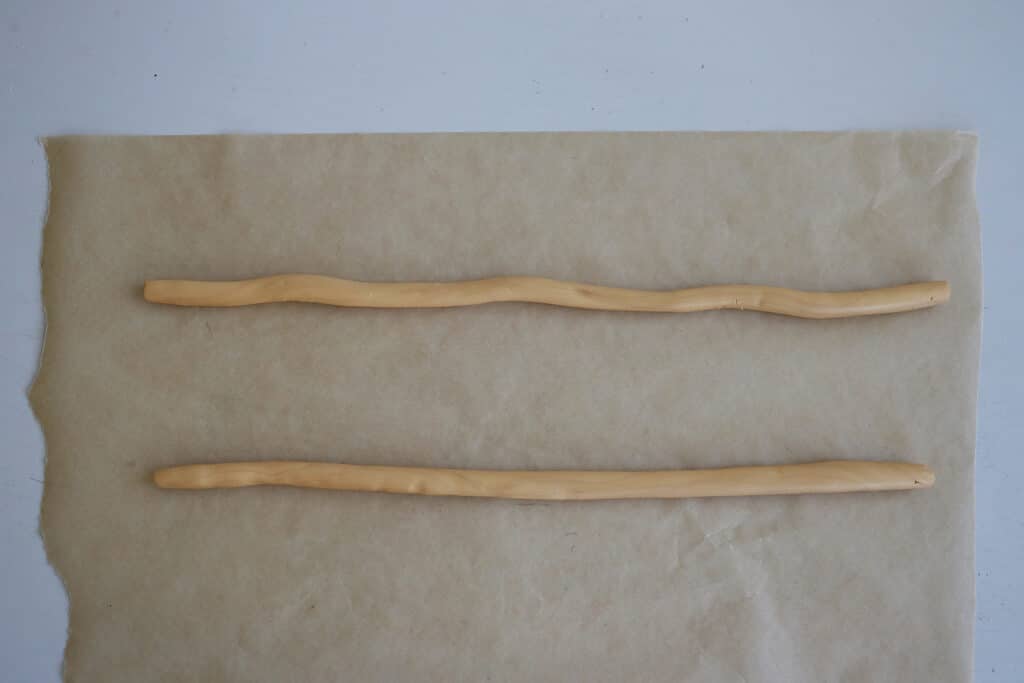
Repeat the first two steps to create a second log of clay.
Step
4
Form the first log into a loose wavy shape with three waves.
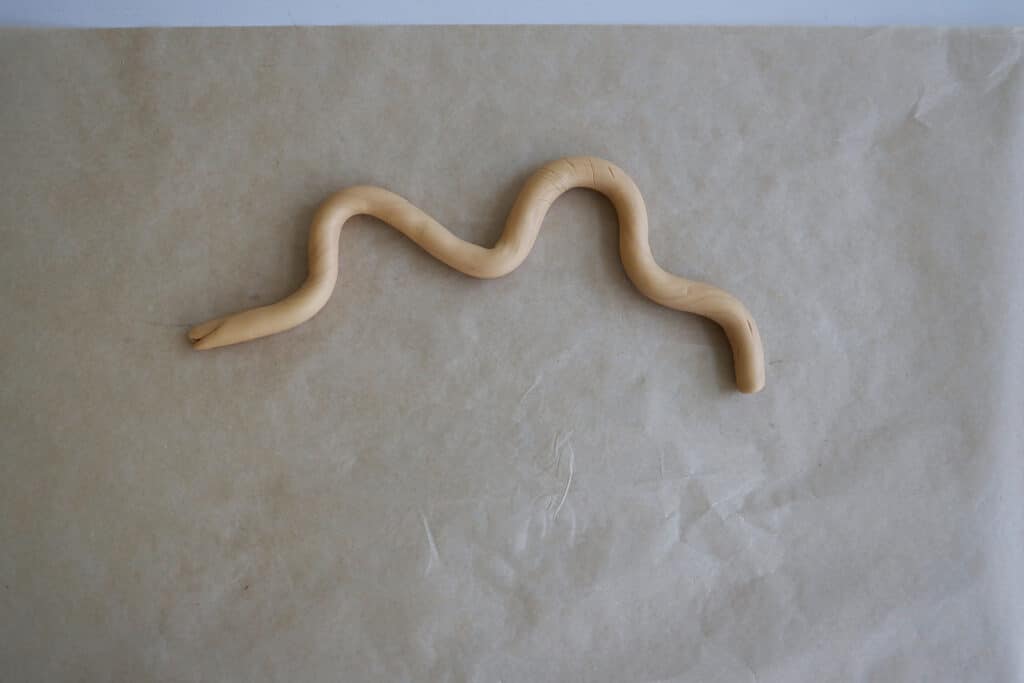
Step
5
Form the second log into a tighter wavy shape with four waves.

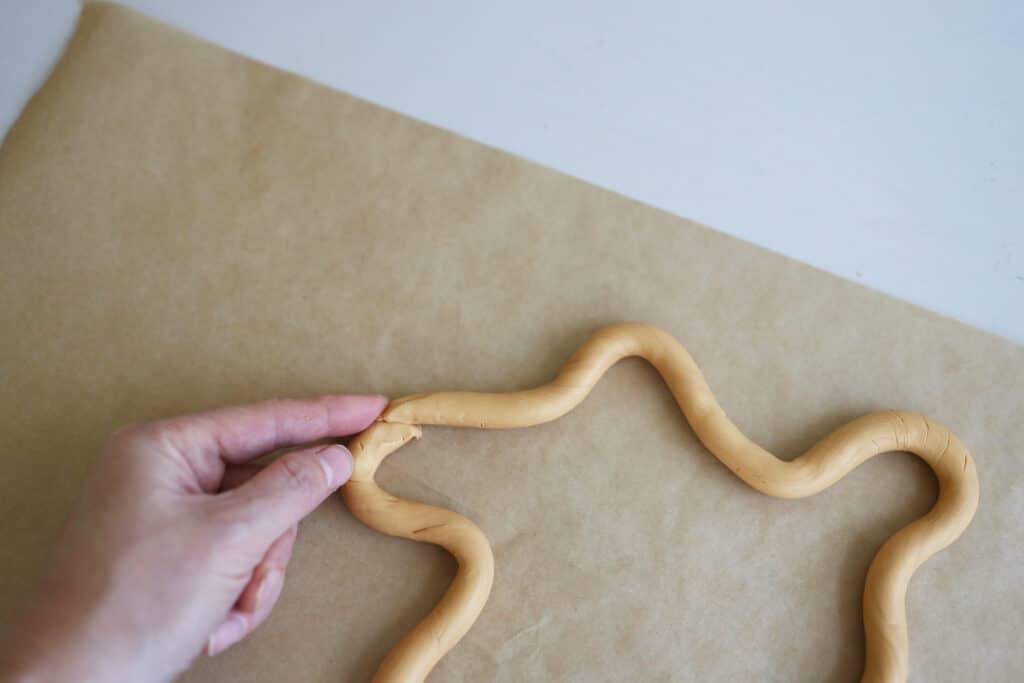
Step
6
Join the ends of the two wave pieces together, and then pinch and smooth the clay to combine them into one piece. You’ll want to make sure the width of the trivet is able to accommodate the size of a large pan or casserole dish.
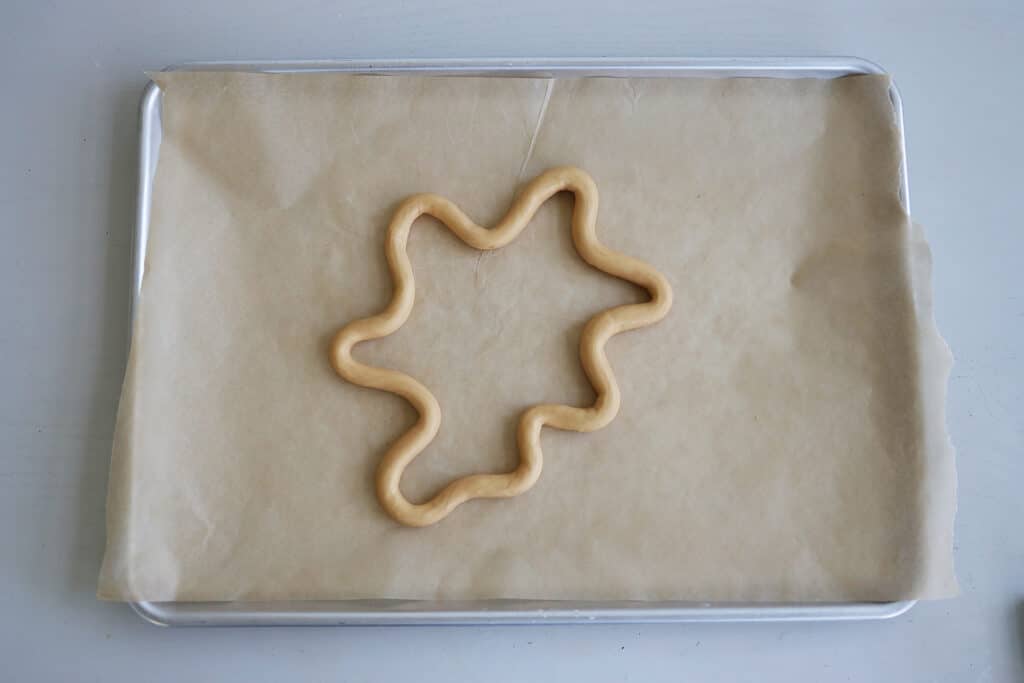
Step
7
Once you’re happy with the shape, pick up the parchment paper with the trivet still on it and carefully place it on a baking sheet. Bake for 20 minutes at 250 degrees Fahrenheit, and let cool.
Step
8
Once your trivet has completely cooled, it’s ready for action in the kitchen!
More Stories...

The space is decked out in Semihandmade Moss Quarterline and Tahoe.

House flippers and mom-daughter duo Lacey and Audrey Soslow created the kitchen of their (buyers’) dreams.

Malene Barnett teamed up with designer Leyden Lewis to create a space representative of her work.
Comments (1)
Just asking which type of clay did you use?