It’s a busy world we live in, and keeping yourself (and/or your family) organized can feel like a Herculean task at times. Creating a command center in a high-traffic area, like the kitchen, will set you up for success.
Enter: the chalkboard organizer. Not just for classrooms, chalkboards offer an erasable surface that can be customized with various lists, calendars, notes, or memos—and easily changed. But what if you don’t like the standard black or green color options? Not to worry, with one simple ingredient, you can easily customize your own chalkboard paint in any color you want.
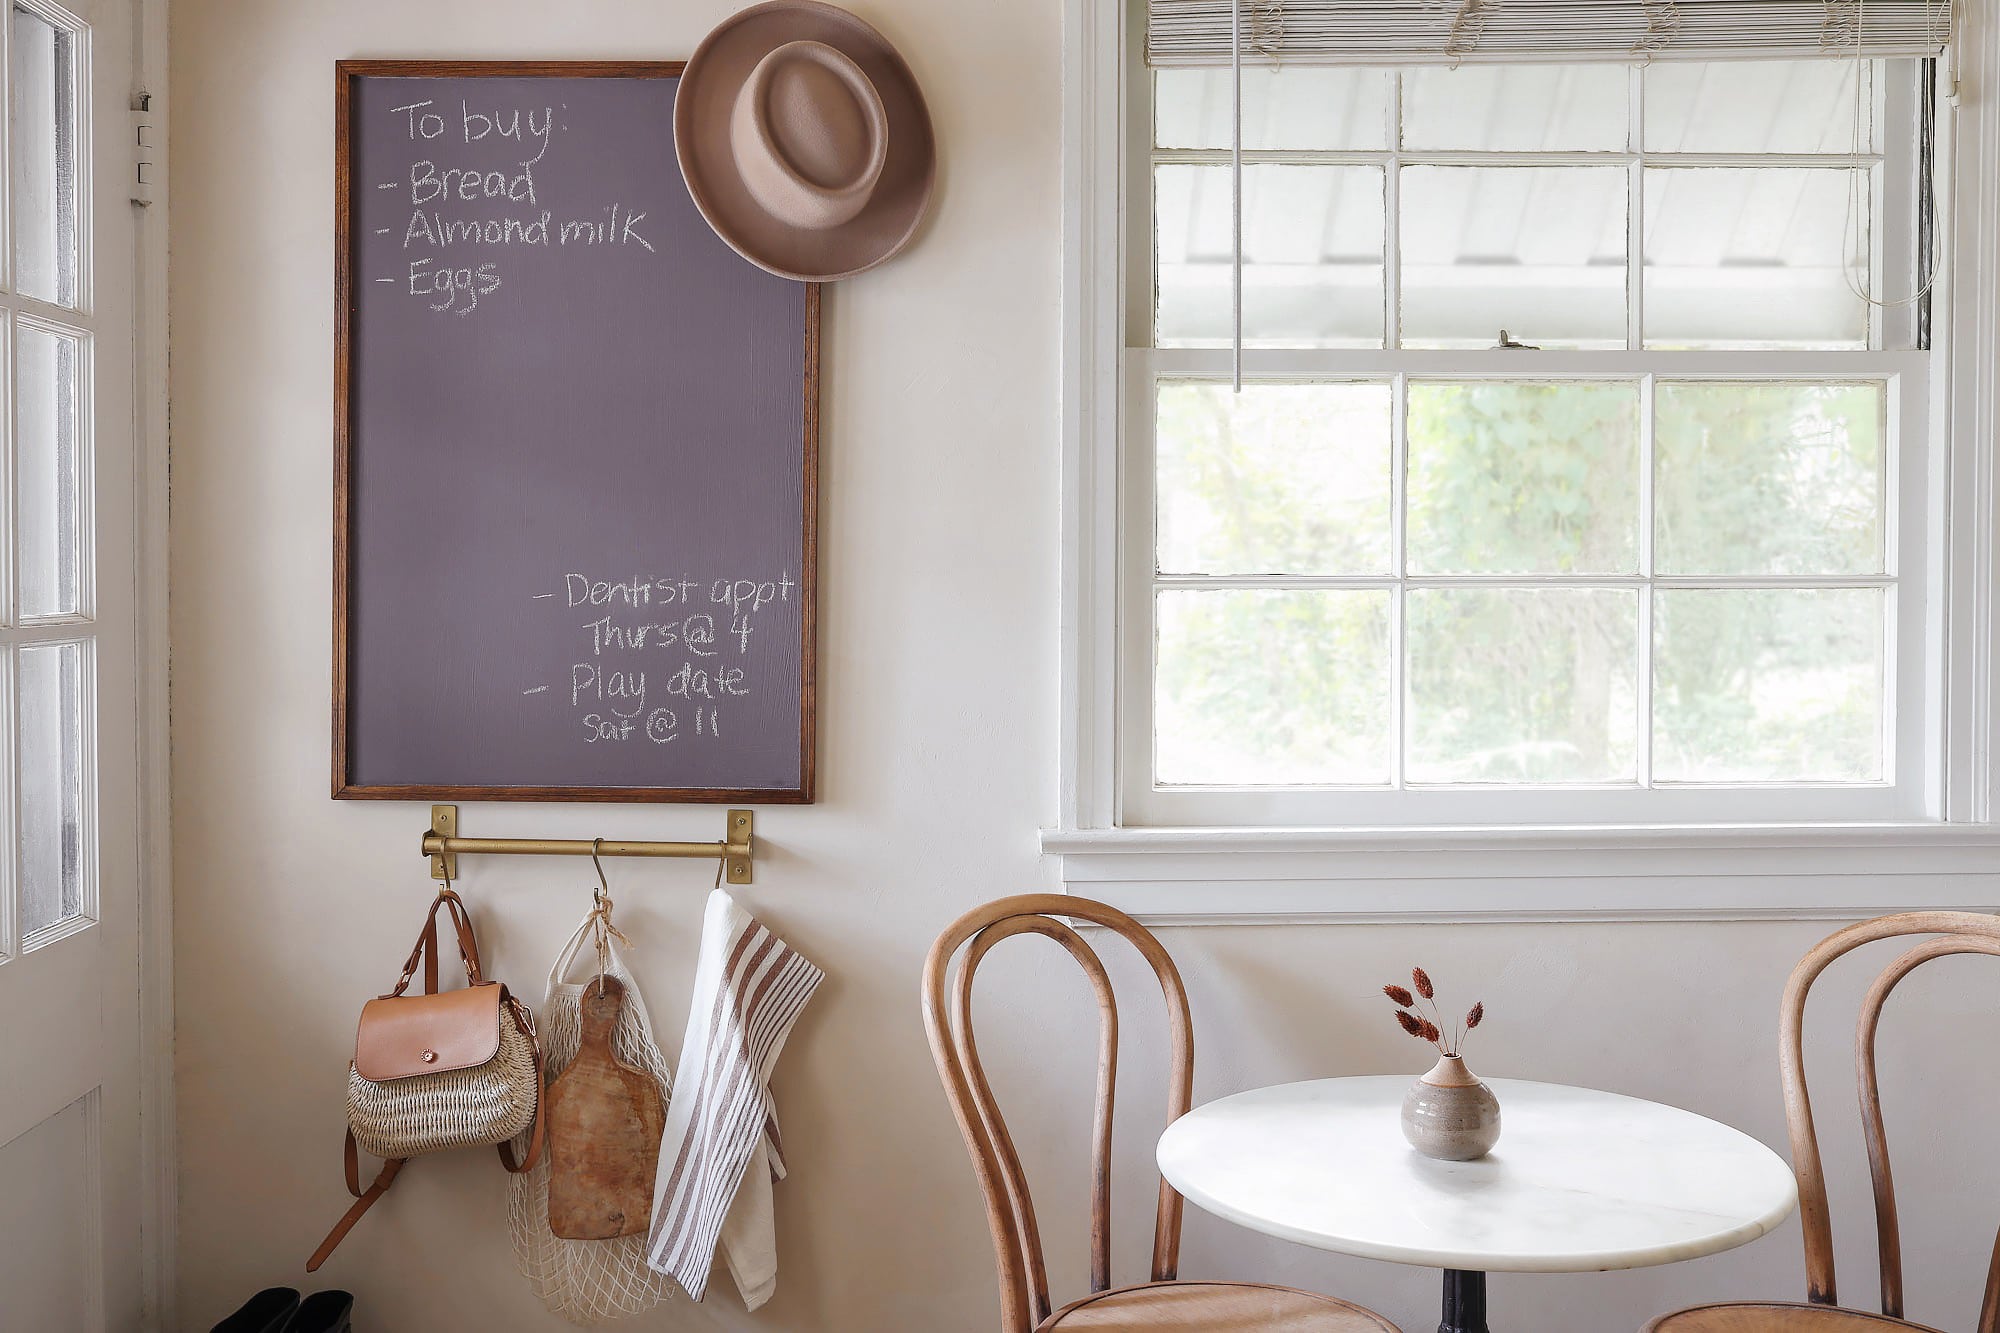
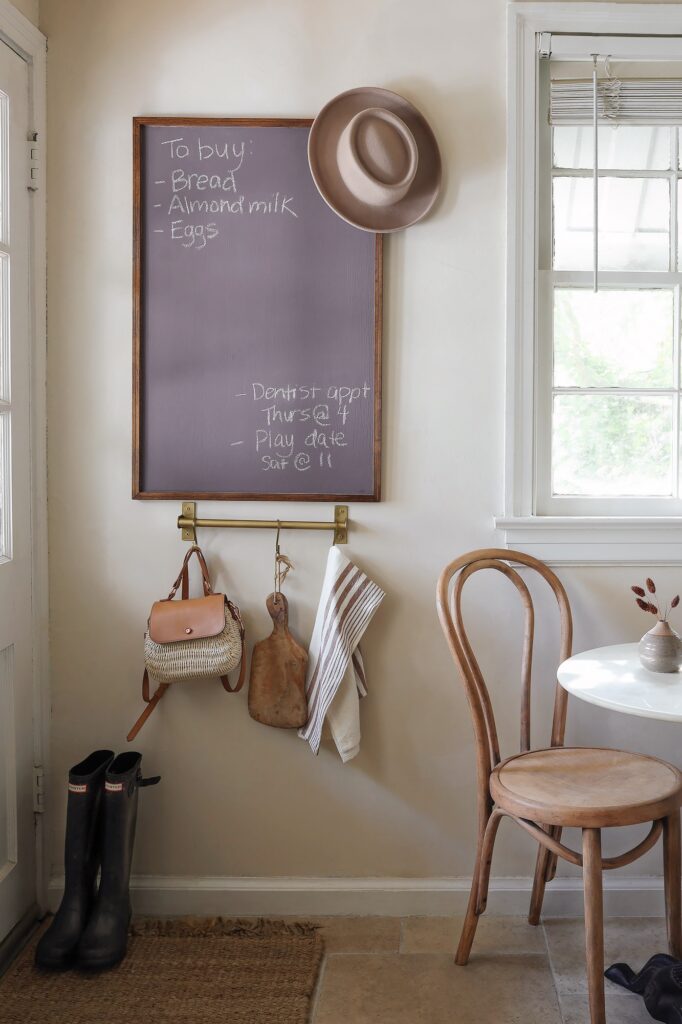
I happened to have an old black chalkboard that I decided to repaint with a moody plum color, but you don’t necessarily have to use an existing chalkboard. Any flat surface will do—an old picture frame or mirror, a scrap piece of plywood, or even a wall or cabinet. Paired with a hanging rack rail, I now have a central place in my kitchen to hang items like my purse and reusable bags, as well as keep track of shopping lists, tasks, and appointments.
Ready to get organized?
Steps
Step
1
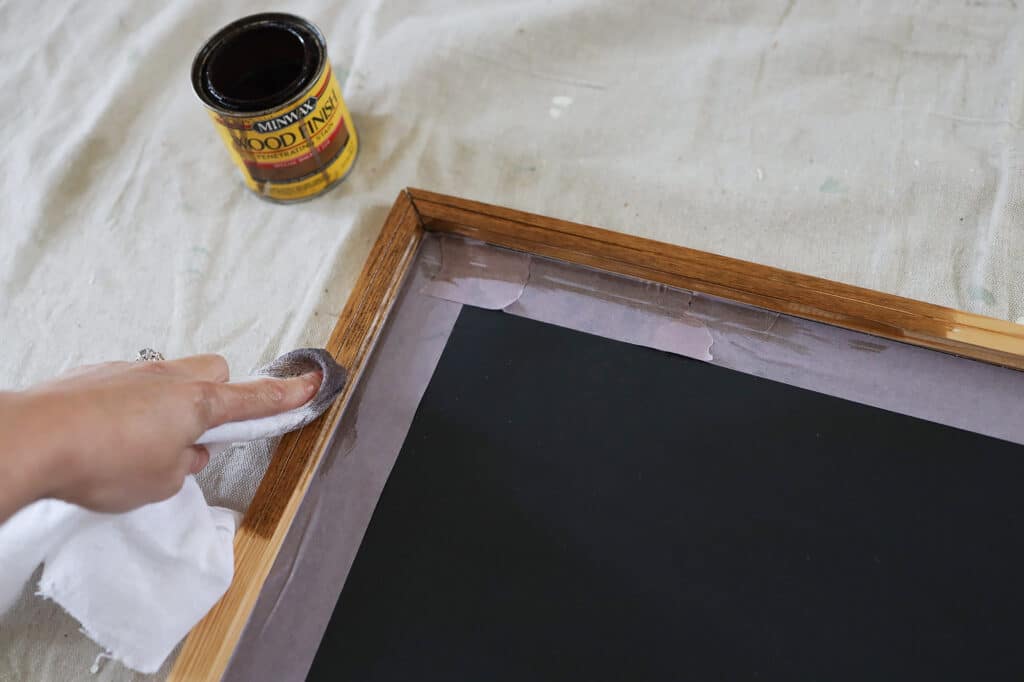
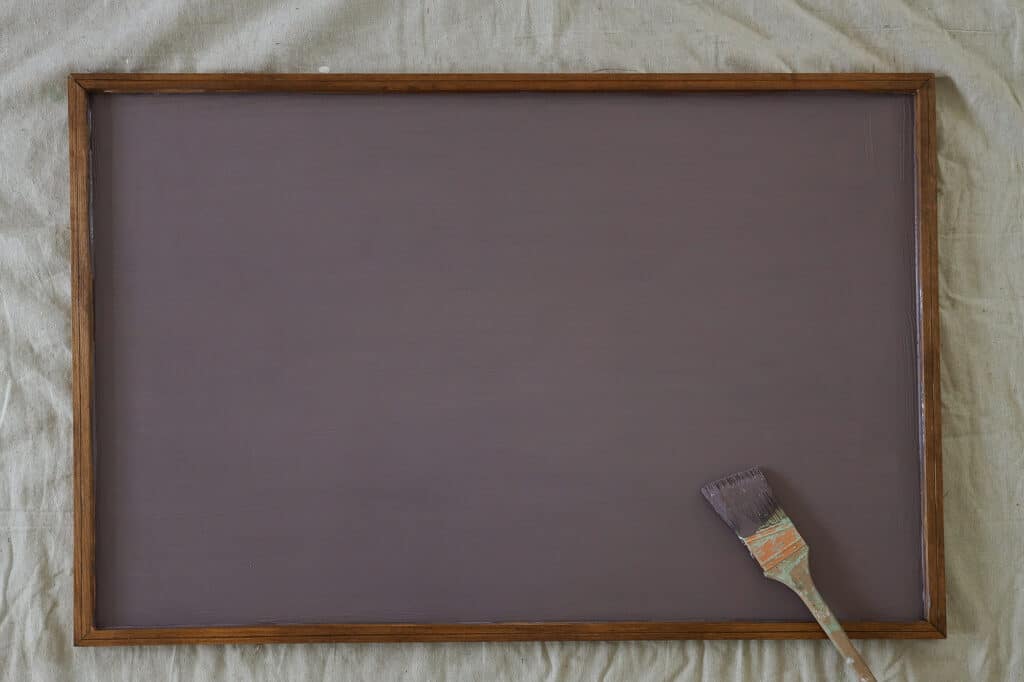
Since my old chalkboard had a frame around it, I decided to stain it a different color (feel free to skip this step or paint it instead of staining). I started by taping off around the edges of the chalkboard, and then used a soft rag to wipe a coat of wood stain onto the frame. I used a stain color called “Special Walnut.” Let dry for an hour, and then remove the tape.
Step
2
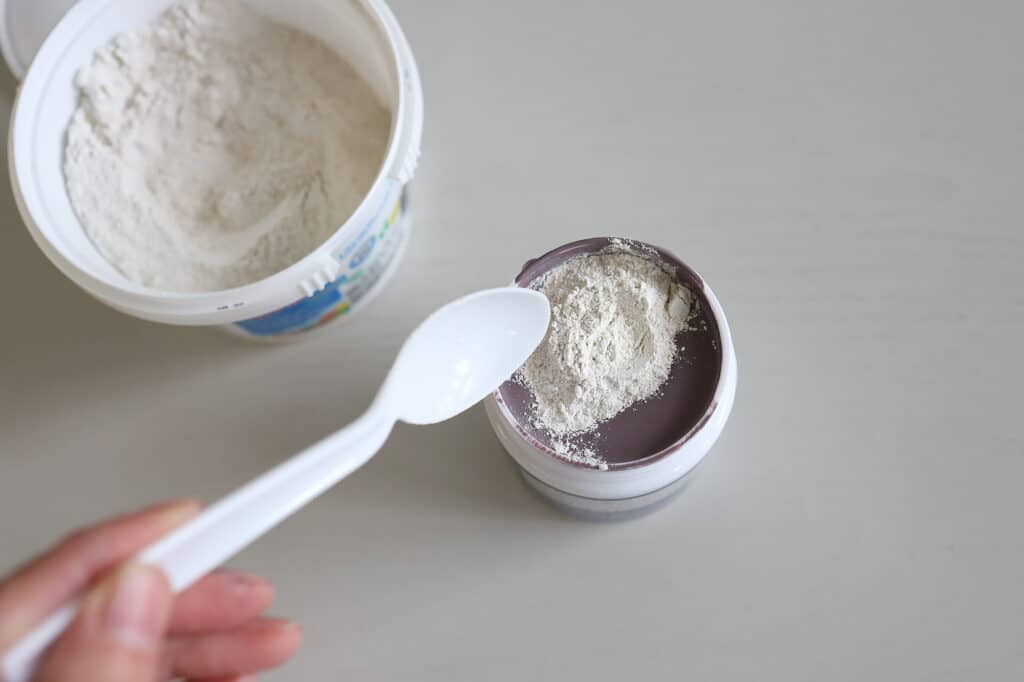
To create your custom chalkboard paint, mix 1 cup of any water-based paint (like latex or acrylic) with 2 tablespoons of unsanded grout. I found that using an 8-ounce paint sample was a great strategy because I could have it tinted to any color that I wanted, and I didn’t have to pour it into a separate measuring cup. I simply added the grout right into the sample pot and stirred. Be sure to stir until all of the lumps dissolve.
Step
3
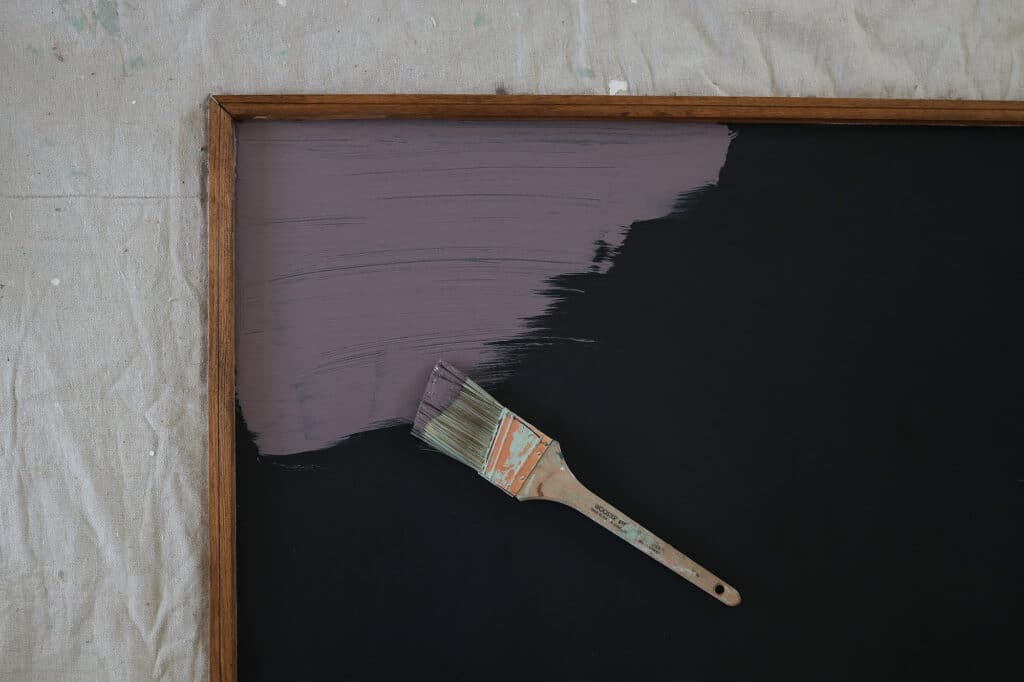
Lightly sand the surface that you’re painting, and wipe away any sanding dust. Then, paint an even coat of your chalkboard paint with either a paint brush or roller. Let dry for two to three hours. Note: If you’re using an old picture frame or mirror, you can either paint directly on the glass, or paint the backing piece.
Step
4
Once the first coat is dry, paint a second coat to ensure full coverage. Let dry overnight.
Step
5
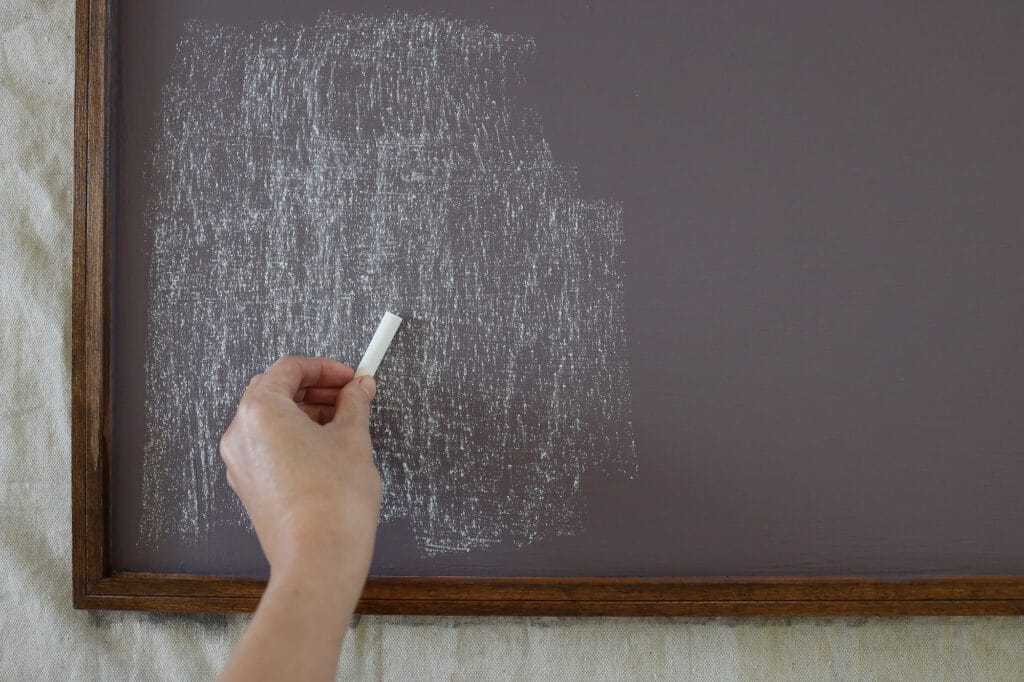
Now that your chalkboard is dry, you’ll need to prime the surface before using it. Priming helps eliminate any “ghosting” where you can still see chalk marks after erasing them. Simply turn a piece of chalk on its side and rub it all over the chalkboard until it’s completely coated in chalk.
Step
6
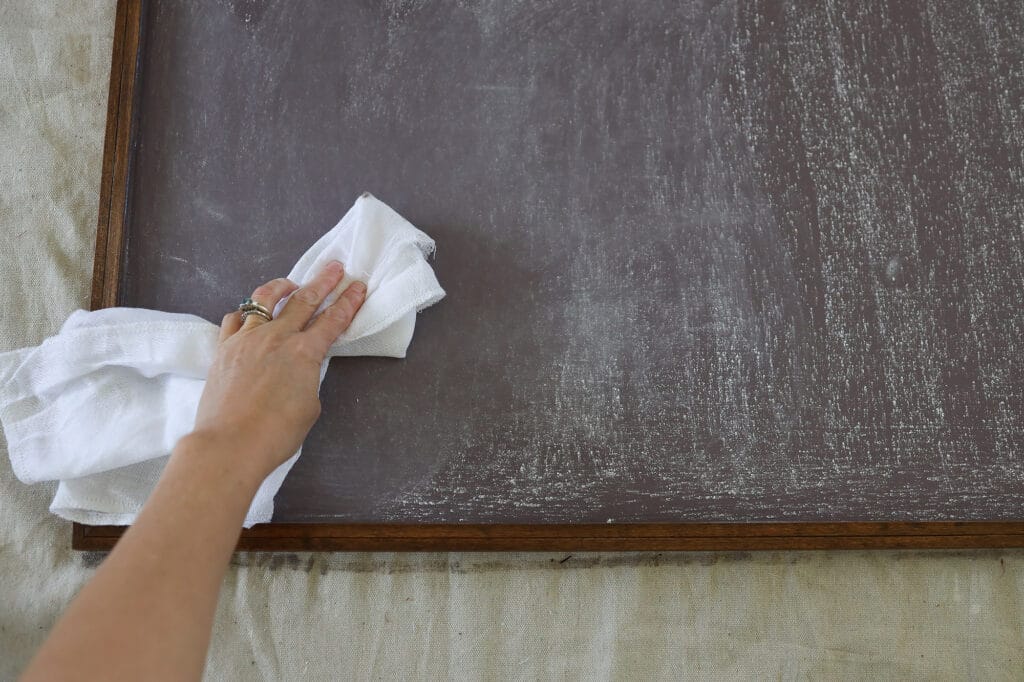
Use a soft cloth to thoroughly wipe away the chalk. Your chalkboard is now primed and ready for use.
Step
7
Hang the chalkboard in a high-traffic area—like the kitchen, mudroom, or entryway—and mount a hanging rack rail directly underneath it. You’re all set to get and stay organized!
More Stories...

The space is decked out in Semihandmade Moss Quarterline and Tahoe.

House flippers and mom-daughter duo Lacey and Audrey Soslow created the kitchen of their (buyers’) dreams.

Malene Barnett teamed up with designer Leyden Lewis to create a space representative of her work.