To say that Jenna LeBlanc has a knack for elevating budget decor finds is an understatement.
The creative behind Jenna Sue Design counts an impressive Samsung-inspired frame TV, feather chandelier, and an electric fireplace among her many creative DIYs. She even custom-designed her Tampa, Florida home from scratch.
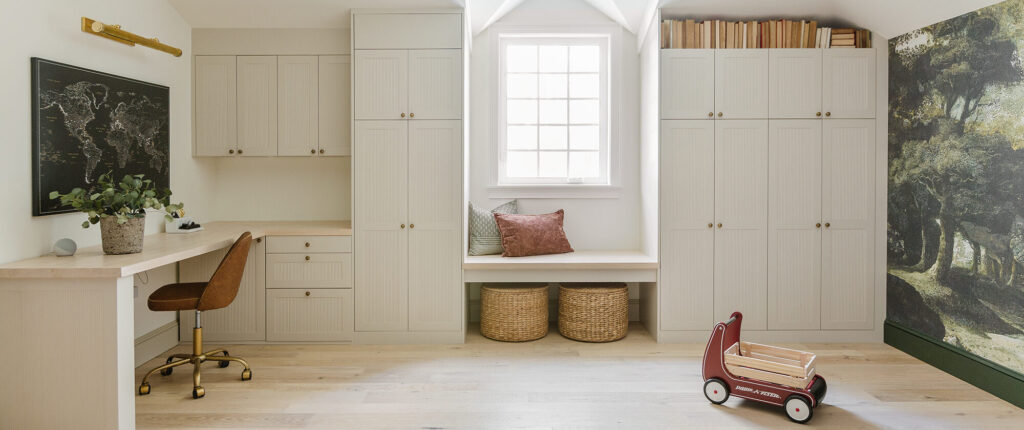
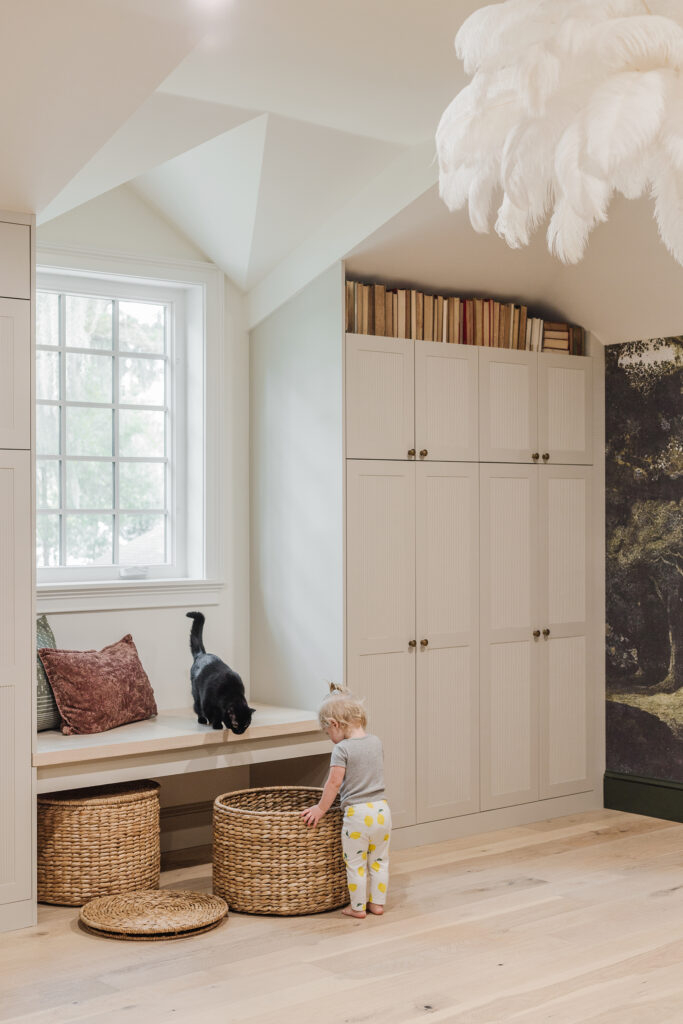
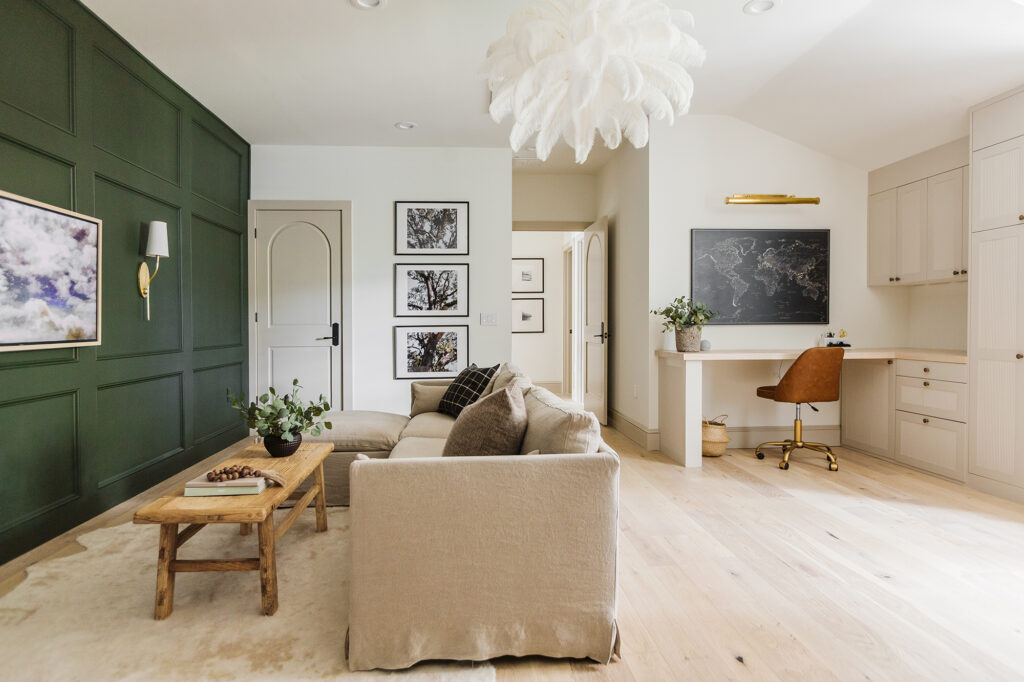
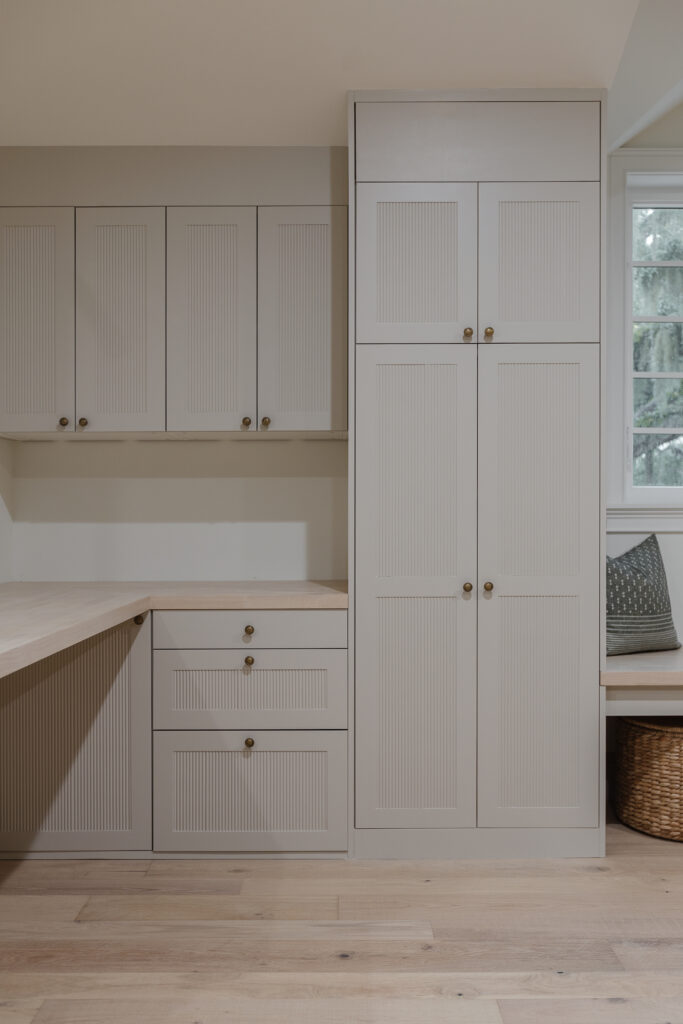
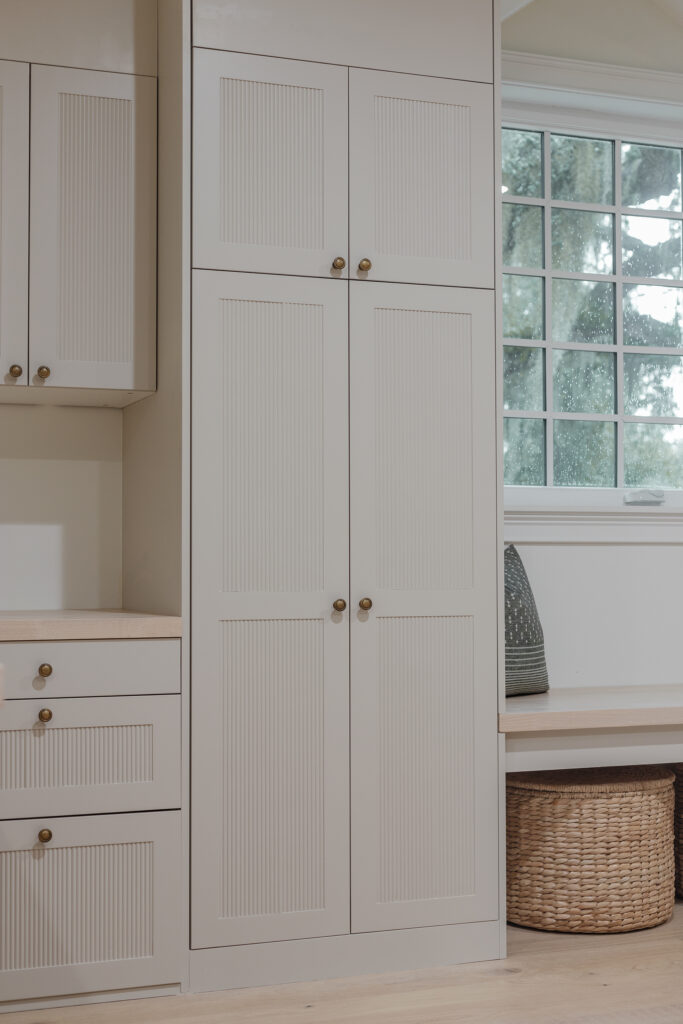
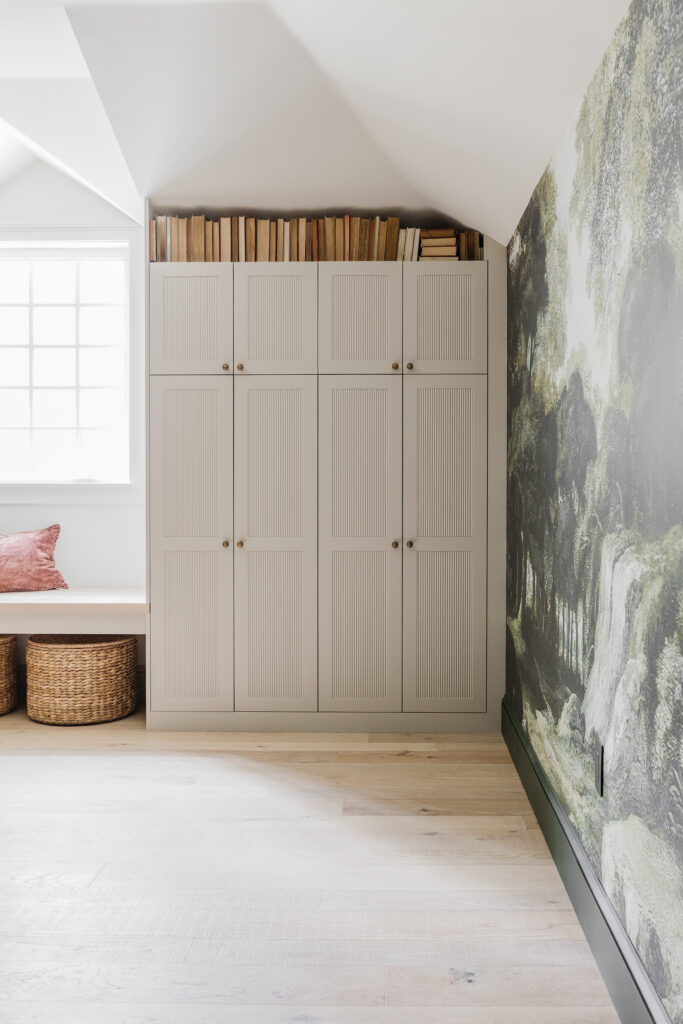
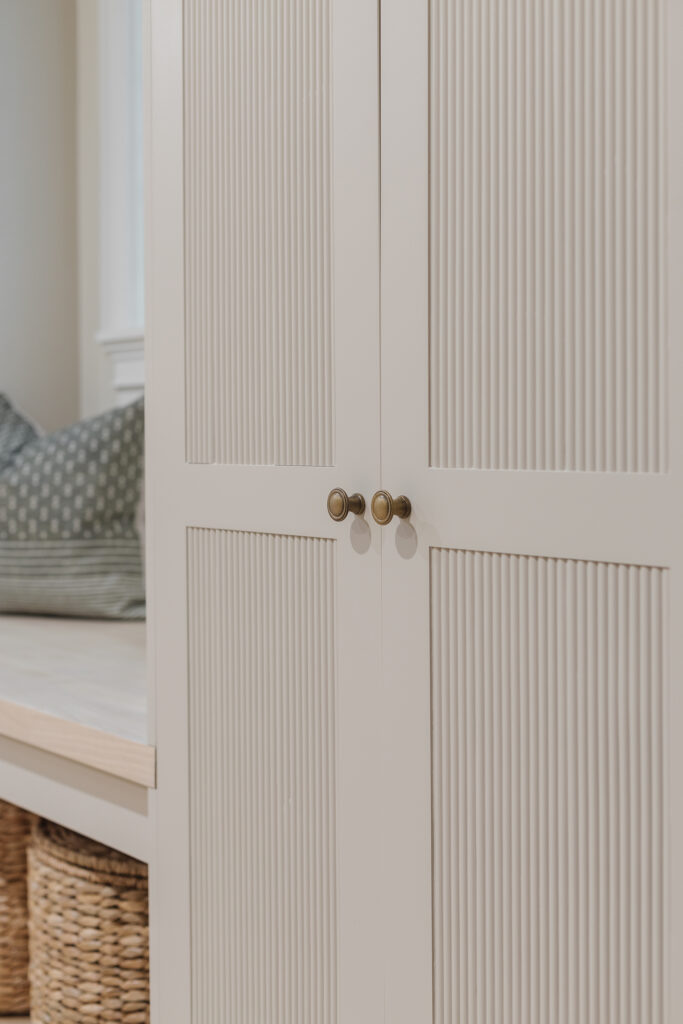
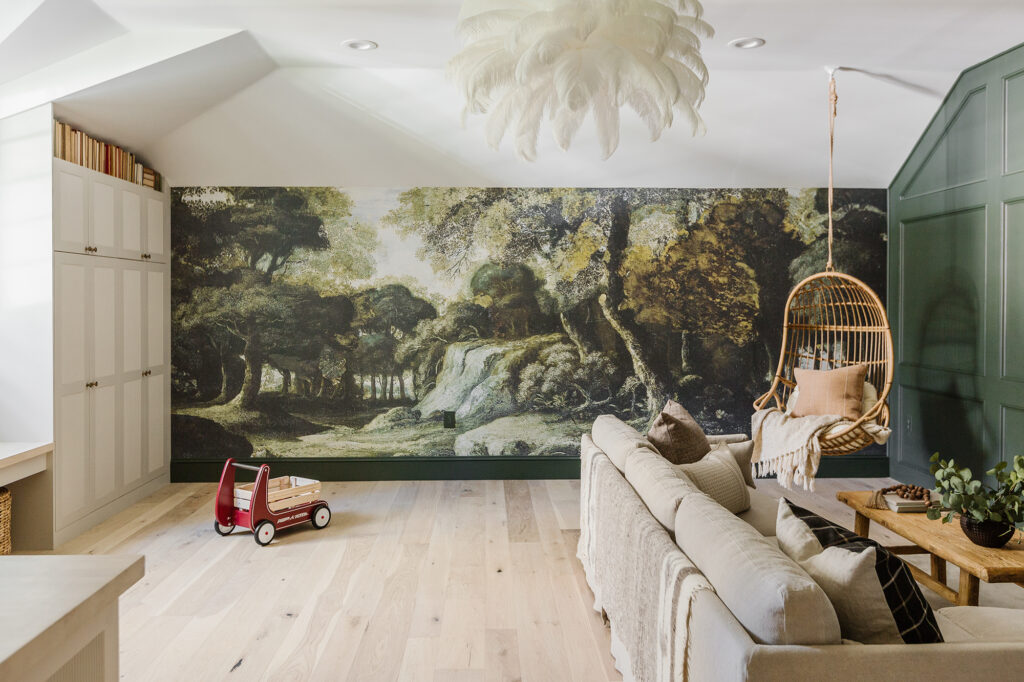
But the designer’s recent playroom reveal may take the cake, particularly the floor-to-ceiling cabinets. “The fluting detail really makes them feel custom and high-end,” says LeBlanc. She and her husband Lucas tackled the project over the course of six months, adding the fluted paneling at the very last minute. “I had just finished a fluted dresser DIY and I had a piece of leftover trim and realized we could add it to the cabinets,” she shares. “We had to paint the doors twice, but it was worth it!”
While the two didn’t even consider getting a quote from a contractor, LeBlanc estimates that they saved a few thousand dollars by going the DIY route. The fluted trim itself is only $25 per panel. “This was definitely one of our more involved projects, but I think it’s my favorite IKEA hack yet,” she shares. Below, find her full fluted cabinet DIY, from mock-up to the final coat of paint.
Steps
Step
1
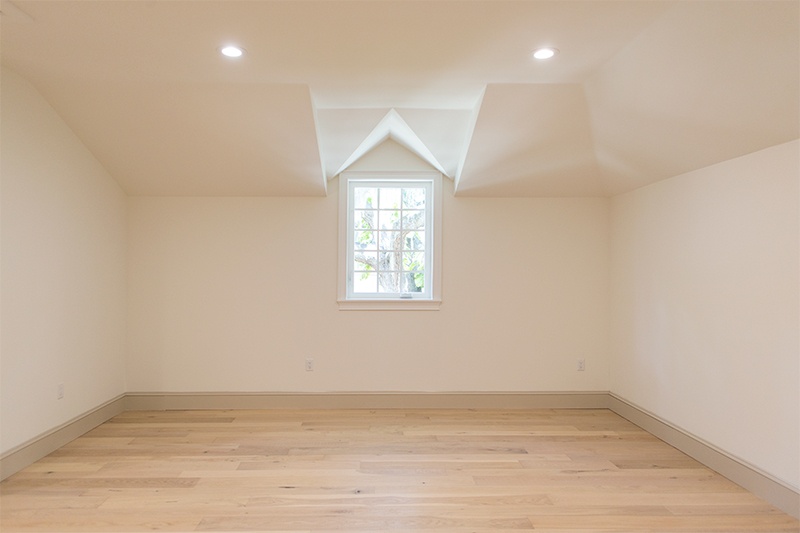
Mockup a plan for your chosen space. I used Photoshop and IKEA’s kitchen planner. Assemble the IKEA Sektion cabinets per the instructions.
Step
2
Using 2x4s and 3” wood screws, build a supportive floor frame for the cabinets. Cut the frame to the exact length and width of the base cabinets, and make sure the frame is perfectly level using plastic shims and your level of choice. Be sure to leave space between the frames and cabinets for any floor-to-ceiling paneling you want to add. Attach the frame to the wall and floor using three-inch screws.
Step
3
Do a test fit with the cabinets, and make any necessary leveling adjustments to the frame. Use the IKEA suspension rails to hang any upper cabinetry, and once everything is level, secure all cabinets to the wall using their supplied brackets. Anchor tall cabinetry using a self-drilling drywall anchor.
Step
4
With the cabinets in place, use a combination of screws, bolts, and barrel nuts to secure the cabinets to each other and pull everything tight.
Step
5
To achieve the custom, built-in look, measure and cut 2×4 blocks to fill the space between the cabinets and the wall. Measure and cut the supplied Semihandmade MDF panels and filler pieces to cover these gaps. Using the appropriate saw, cut any additional filler pieces needed to fill in any additional gaps and cover any exposed wood. For tricky pieces, you can create a cardboard template before cutting the wood. It’s essentially one big puzzle, and you just have to take it one piece at a time. Do lots of test fitting and detail sanding.
Step
6
Before you move onto painting, attach the fluted paneling to the DIY Shaker doors. Measure and test-fit the trim in each door, and use a table saw to cut each piece to scale. Repeat this process for all doors until you have all of the trim pieces perfectly cut and fitted. Next, attach the panels to each door using liquid nails. Wedge some thick paper between any end gaps to ensure the trim stays pushed together. Let them dry overnight, then caulk between the paneling to fill any gaps. This is tedious: use Q-tips, sponges, and your own nails to perfect the look.
Step
7
Once the filler pieces are perfectly fitted and the cabinet paneling is 100% dry, it’s time to paint! Always paint before installation to avoid the hassle of painting around walls, trim, and cabinet boxes. We used a velour roller to paint the paneling and filler pieces to achieve a smooth, paint spray-esque finish. Let them dry for a minimum of two days.
Step
8
To paint the DIY Shaker doors, use a paint sprayer (we have a Wagner 0529085 FLEXiO 3000 HVLP), sturdy hangers, and eye hooks to make the process as painless as possible. Screw two eye hooks into the bottom of each door, and hang each one on individual hangers. Lightly sand and wipe down each door to remove any dust or residue. Create a makeshift “paint booth” using drop cloths and a rope, and paint each door one at a time using the sprayer. Turn the hanger as necessary to get every angle. Hang each piece on a dry rack and let them dry overnight. Gently sand each door with a 220 grit sanding block, and repeat the painting process for coat number two. Let the finished product dry for a minimum of two days.
Step
9
Once all of your pieces are completely cured, attach the trim and paneling to the base using a nail gun. Fill any exposed holes with wood putty, and attach the Semihandmade doors to the cabinets per the instructions. Attach your chosen hardware (I used these knobs from GlideRite).
Step
10
Sand everything smooth, apply any necessary touch-up paint and caulk the seam between the trim and the walls. Let everything set and enjoy your new cabinets!
To read more about Jenna Sue Design’s playroom design, visit her blog.
More Stories...

The space is decked out in Semihandmade Moss Quarterline and Tahoe.

House flippers and mom-daughter duo Lacey and Audrey Soslow created the kitchen of their (buyers’) dreams.

Malene Barnett teamed up with designer Leyden Lewis to create a space representative of her work.
Comments (3)
What is the paint color and brand please? They are very beautiful. Thank you.
Can they recommend a paint that works well with talkative sprayer? I have it too and am having some challenges!
What is the painting in the background?
1 Trackback or Pingback