Despite the heat and humidity of where I live in Florida, my family and I have been leaning heavily into outdoor activities this summer.
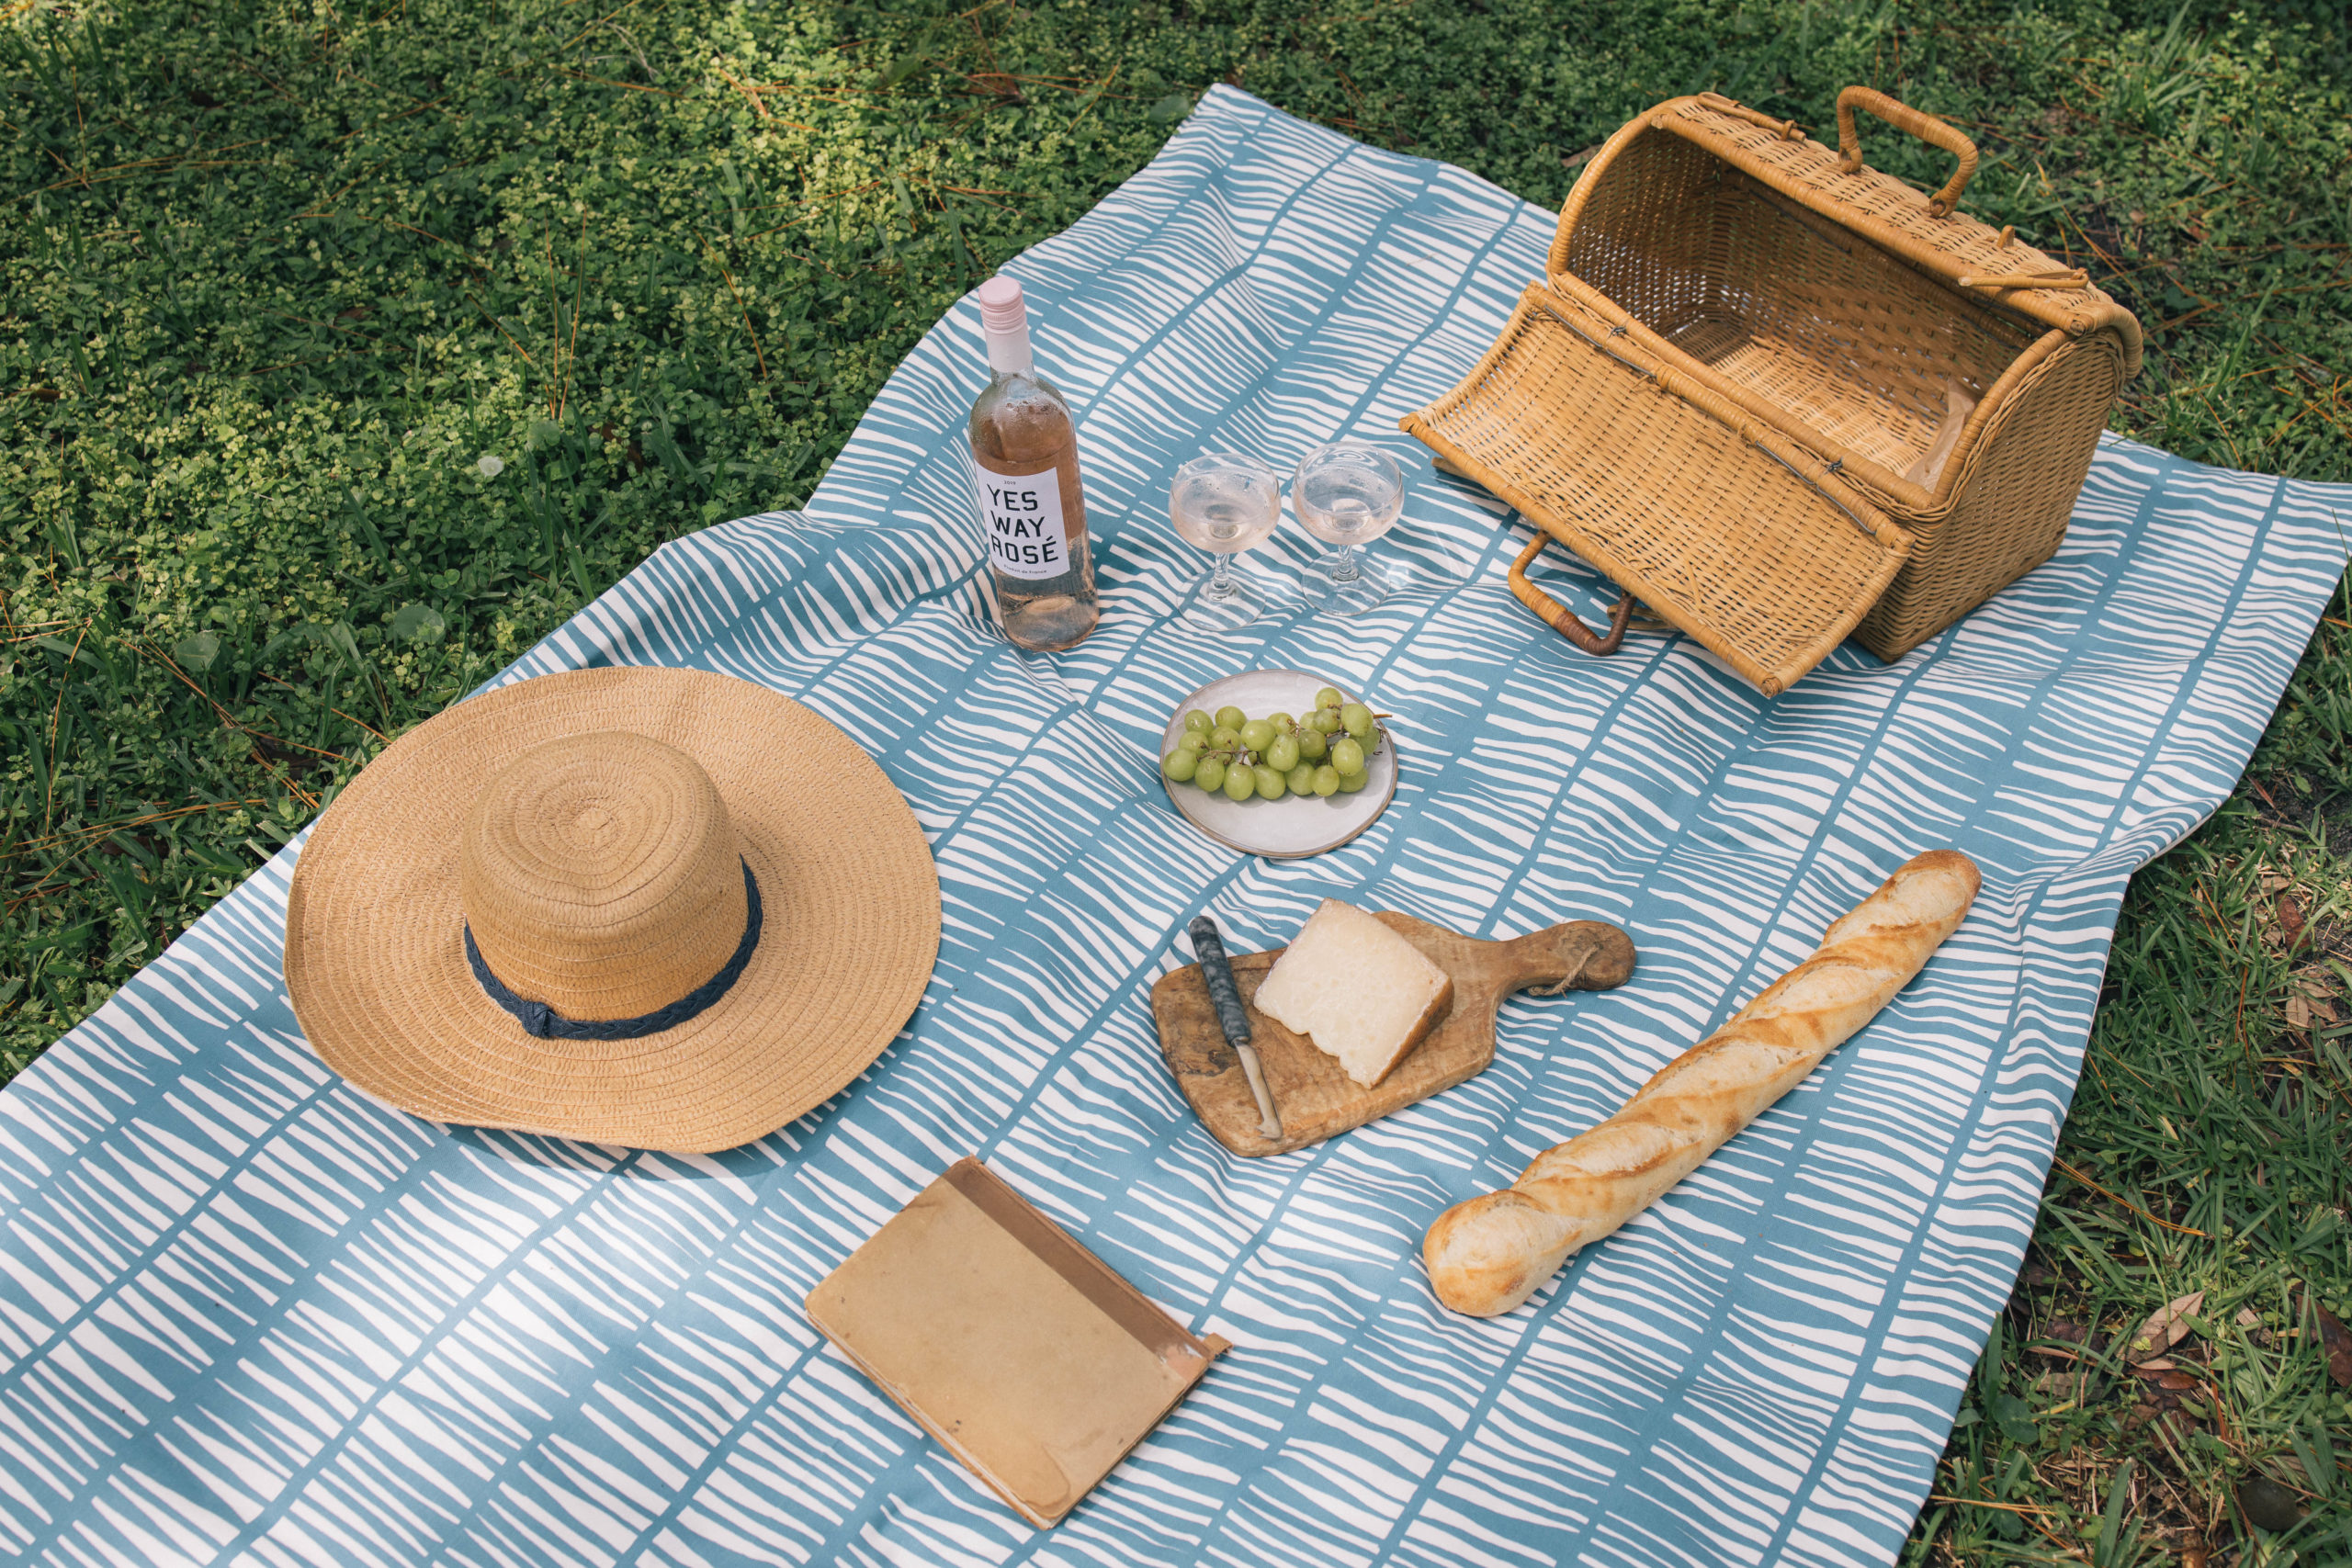
Beach days, pool days, nature walks, gardening—we’ve ventured outside at nearly every opportunity to stave off any bouts of cabin fever. It’s been the silver lining of quarantine to spend so much time with my husband and our twins, making memories together in the sun and fresh air. If there’s one constant among our various excursions, it’s that we always pack a picnic. But the only issue we’ve encountered is, well, soggy picnic blankets.
So I took to finding a DIY solution and came up with a picnic blanket that’s Instagram-ready on the top and waterproof on the bottom. It’s a simple sewing project, even for beginners, and I promise that it’ll keep your picnics dry and dreamy.
Steps
Step
1
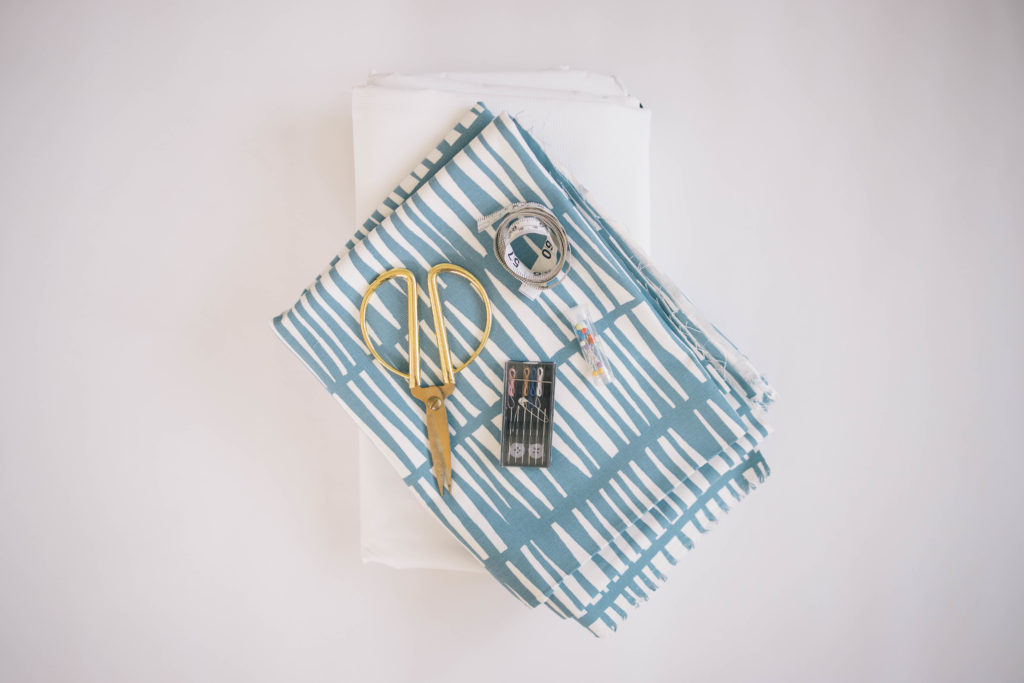
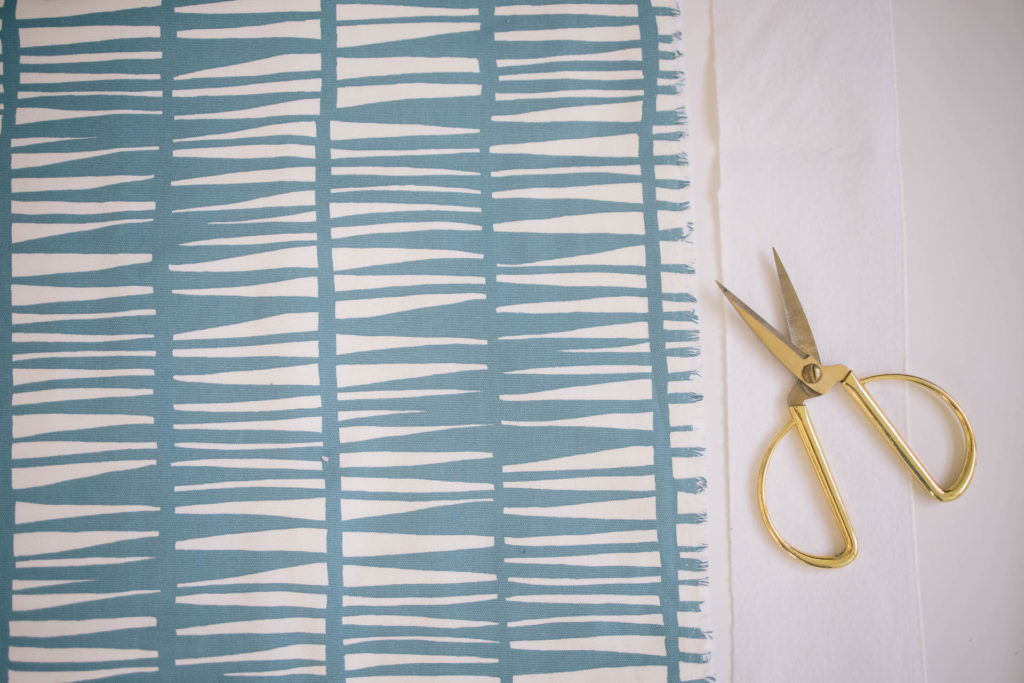
Measure and mark the desired dimensions of your picnic blanket on the cotton and vinyl fabrics, and then cut them to size with scissors. I made my picnic blanket 52-inches wide by 68-inches long, which fits two adults and two kids comfortably.
Step
2
Place the right sides of the two fabric pieces together, and pin them in place with straight pins.

Step
3
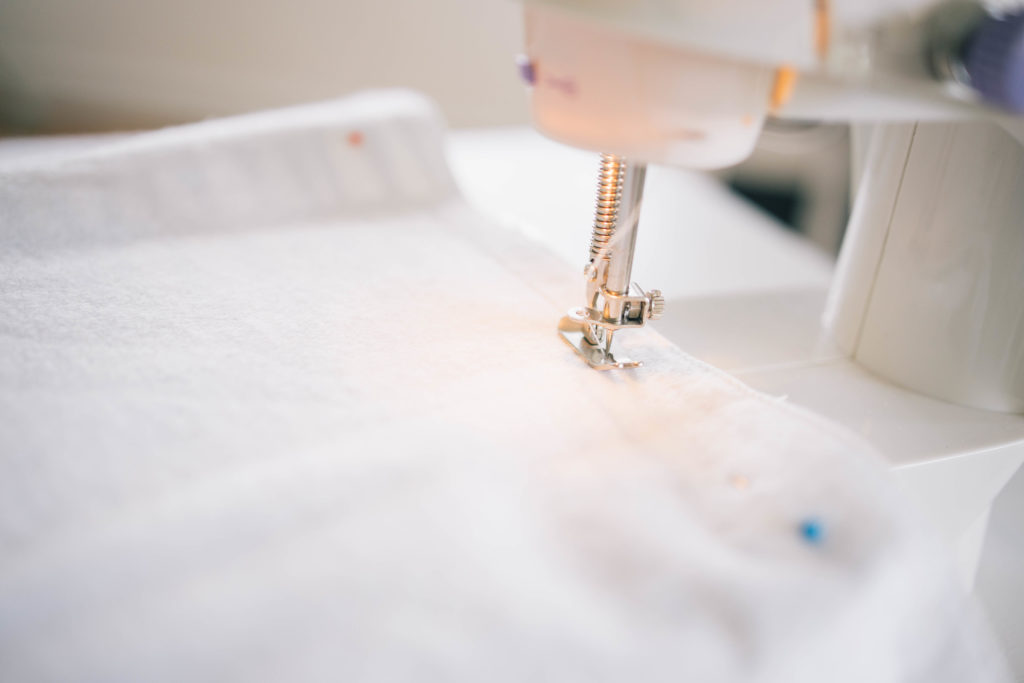
Sew around the edges, leaving a one-fourth-inch seam allowance. Be sure to leave at least a five-inch opening on one of the sides.
Step
4
Using the five-inch opening you left unsewn, turn the fabric right-side out. Push the corners out, too, so that the blanket is flat.
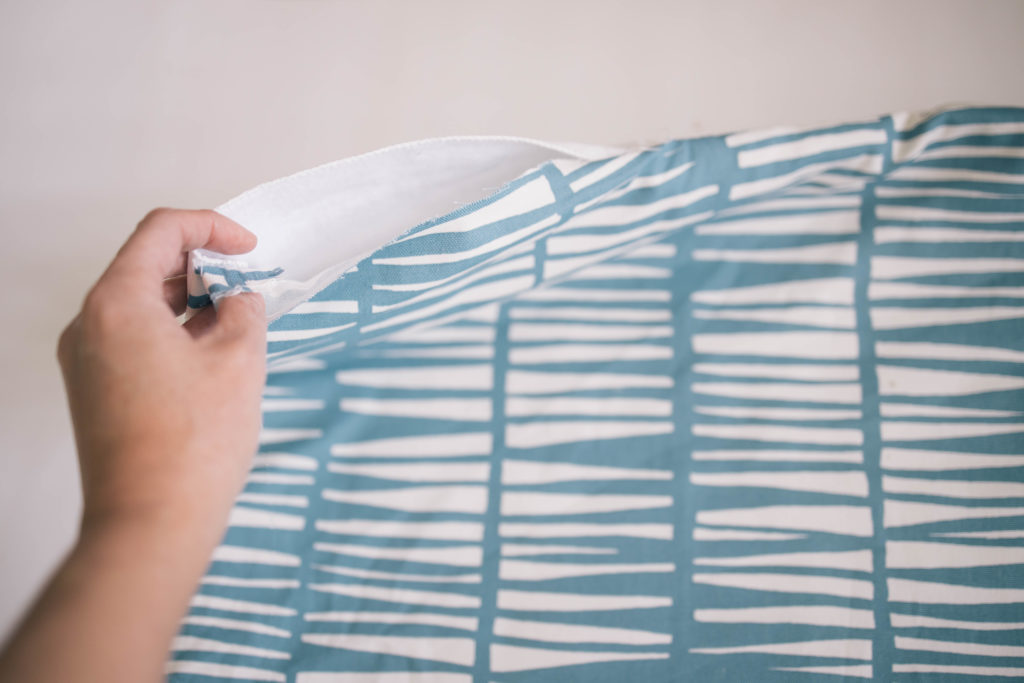
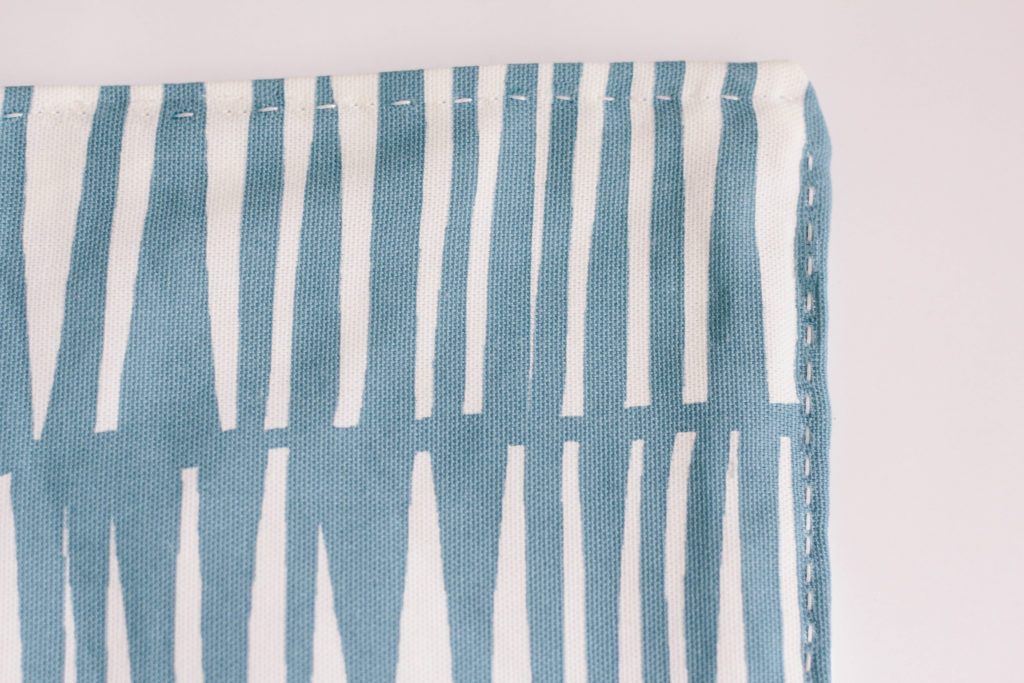
Step
5
Fold in the raw edges of the five-inch opening, and topstitch it closed. Continue topstitching around all the edges of the blanket to give it a more finished look. Your pretty, waterproof blanket is now ready for a picnic!
If you buy something through these links, we’ll probably earn an affiliate commission—don’t worry, it won’t cost extra. We promise to only recommend items we’d buy ourselves!
More Stories...

The space is decked out in Semihandmade Moss Quarterline and Tahoe.

House flippers and mom-daughter duo Lacey and Audrey Soslow created the kitchen of their (buyers’) dreams.

Malene Barnett teamed up with designer Leyden Lewis to create a space representative of her work.