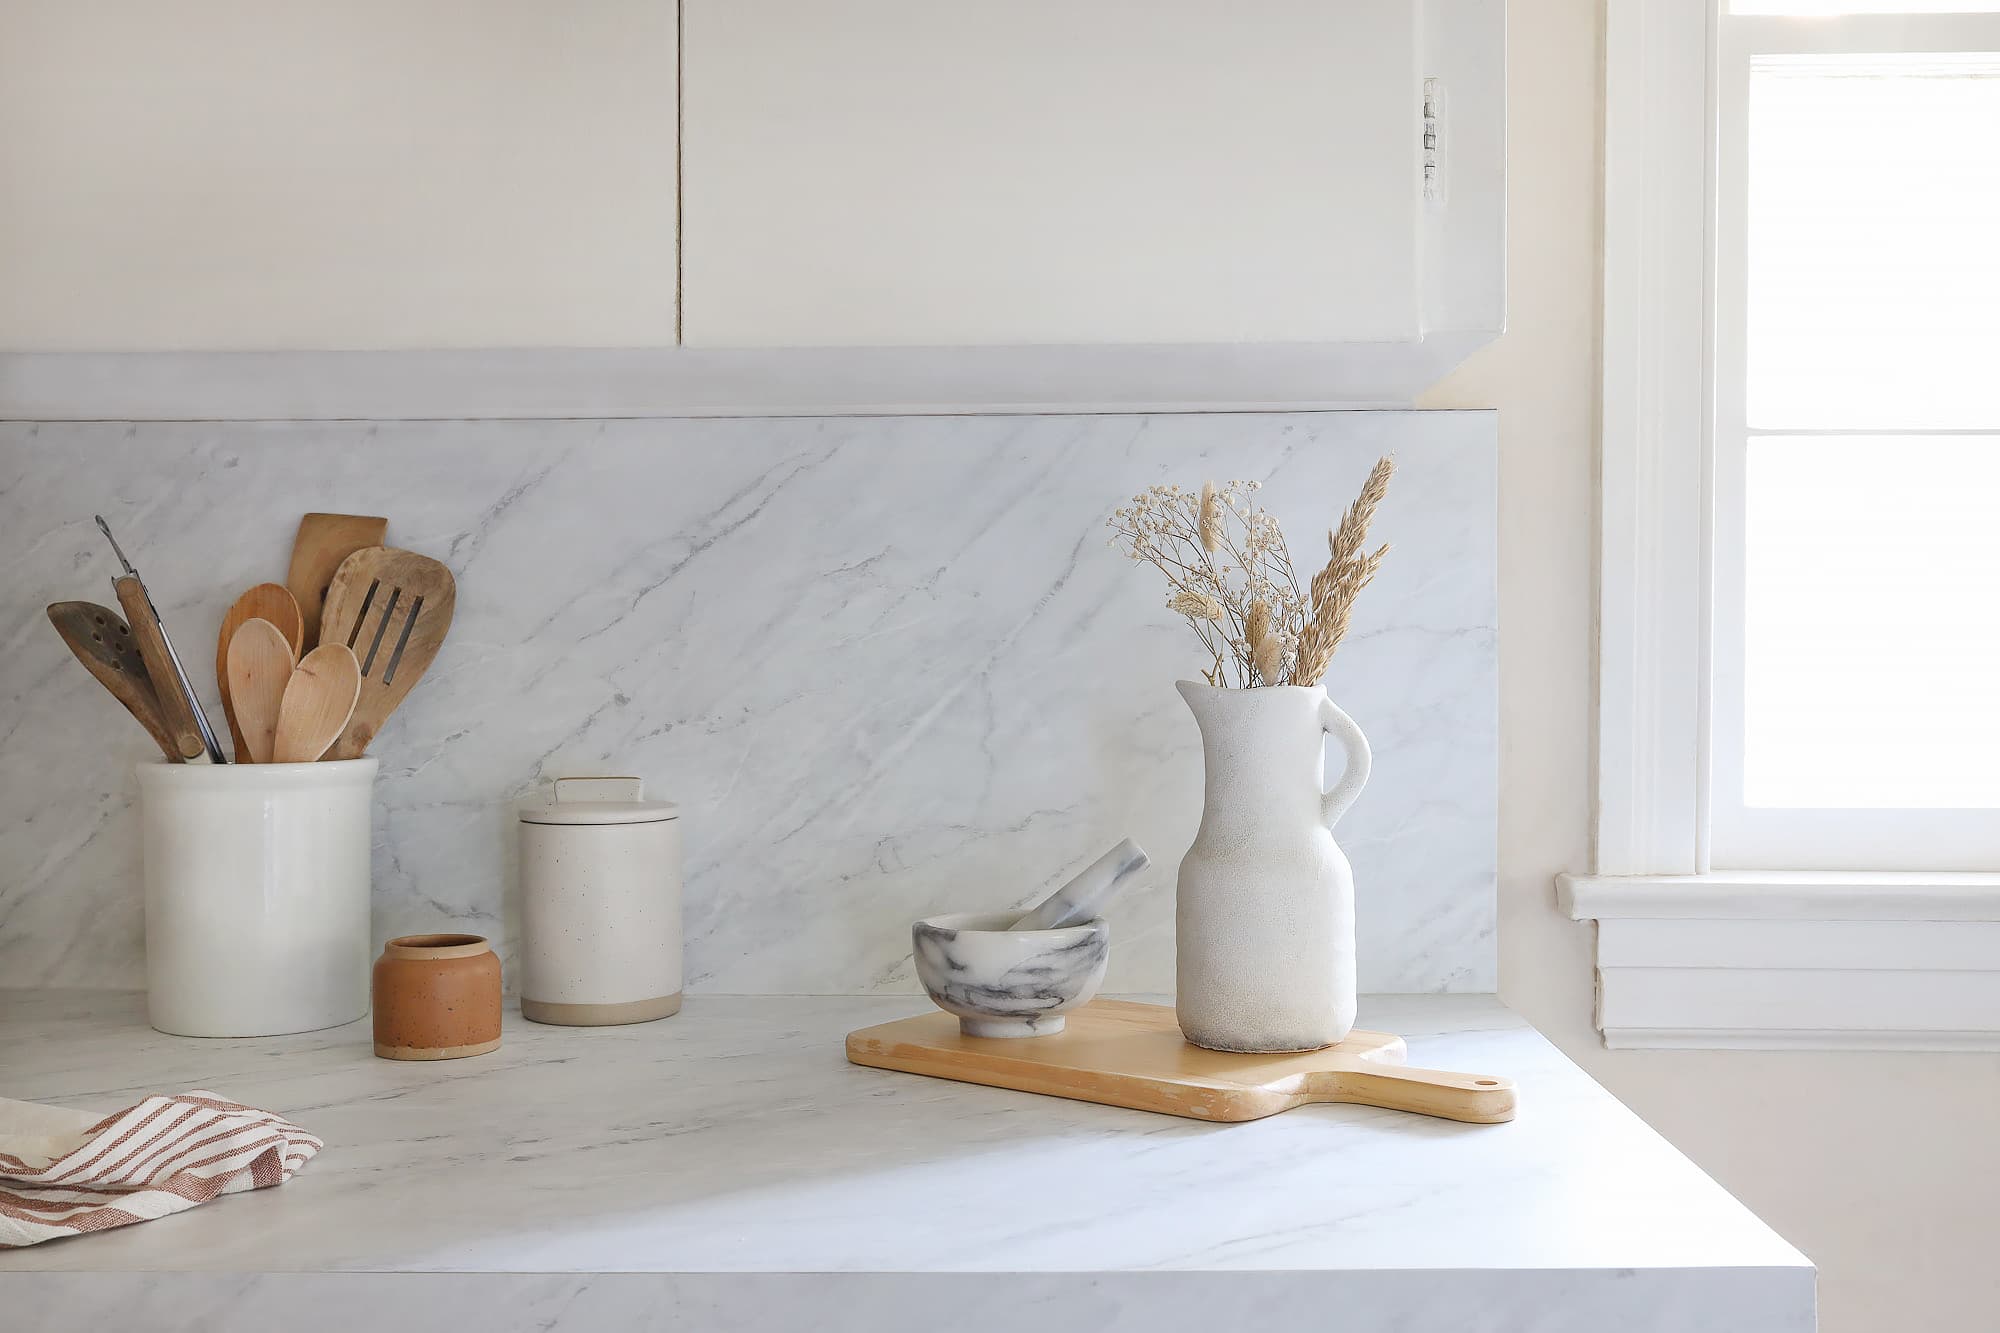
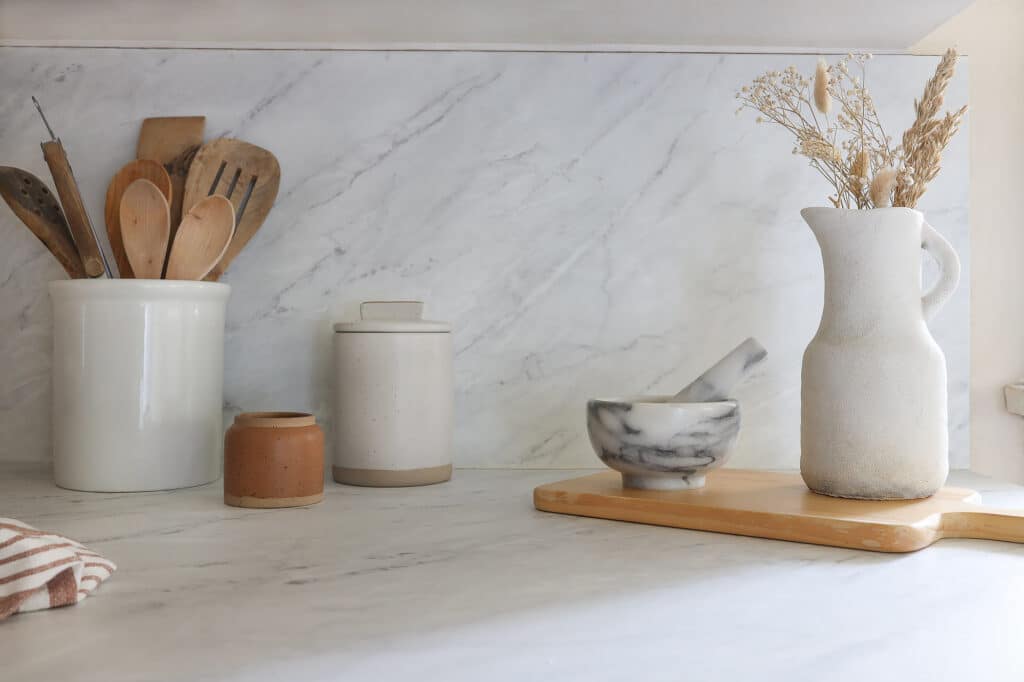
Marble countertops are classic for a reason—they make a gorgeous design statement and add a luxury feel to any kitchen. Learn how to fake the look for less.
I love a marble countertop, but alas they are pricey. Though my laminate counters had seen better days, replacing them with real stone was just not in the budget for my rental kitchen refresh. So, I turned to the next best option: contact paper. You can still get the look of marble at a fraction of the price, and you can always remove it when you move. I love a renter-friendly DIY!
While it takes a bit of time and patience to install, it’s worth it when you consider the significant savings. You may even end up with enough room left in the budget to splurge on a light fixture or new hardware.
Ready to upgrade your kitchen?
Steps
Step
1
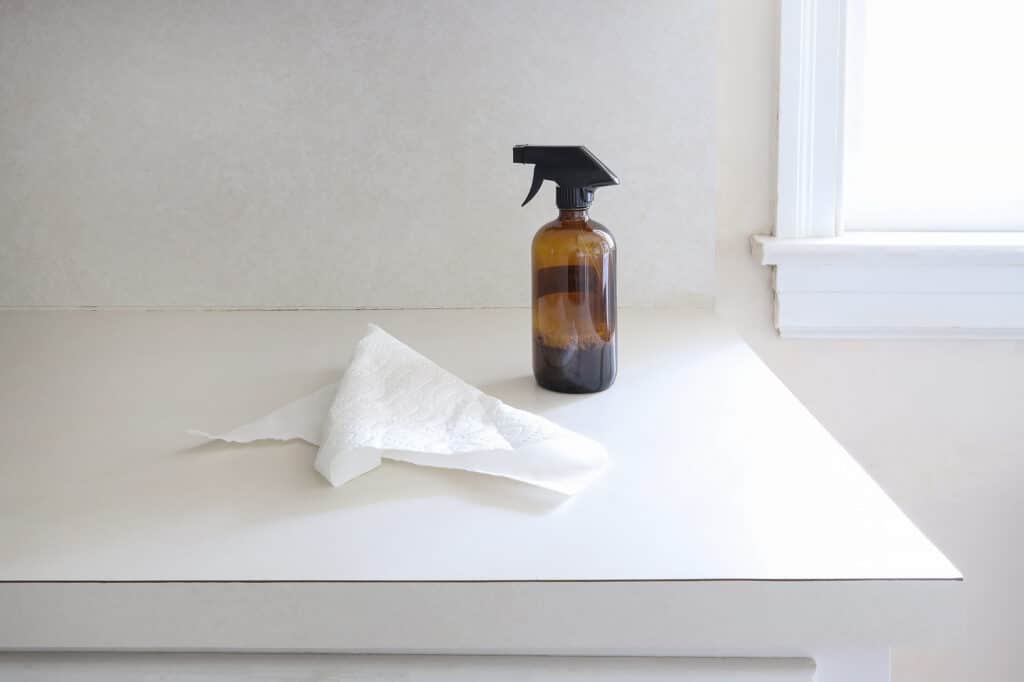
Clean the counters and any backsplash or trim thoroughly with a cleaner meant for degreasing (such as dish soap or window cleaner). You want to remove as much surface oil and grease as possible so the contact paper can adhere properly. Let the counters dry completely. You’ll also want to remove any outlet covers at this time too.
Step
2
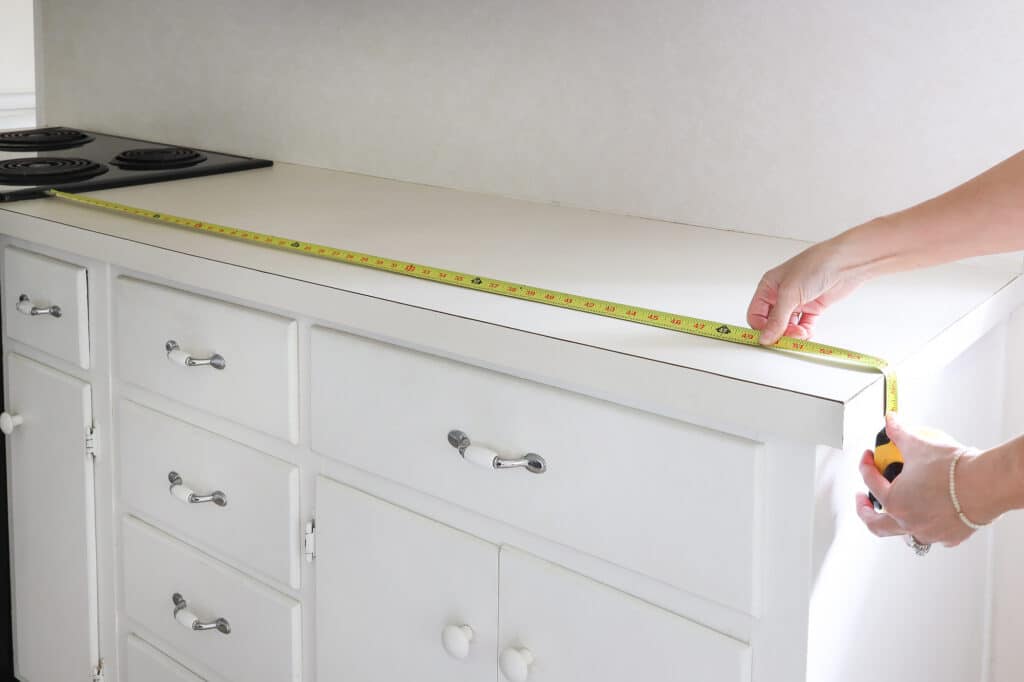
Measure the length and width of your counter, making sure to wrap the tape measure over the side edge of your counter to include it in your measurement.
Step
3
Cut a piece of contact paper to the same dimensions of your counter. If possible, you’ll want to install it in one long seamless piece as opposed to several smaller ones. For this reason, I bought the 9.8-foot rolls versus the 6.5-foot ones.

Step
4
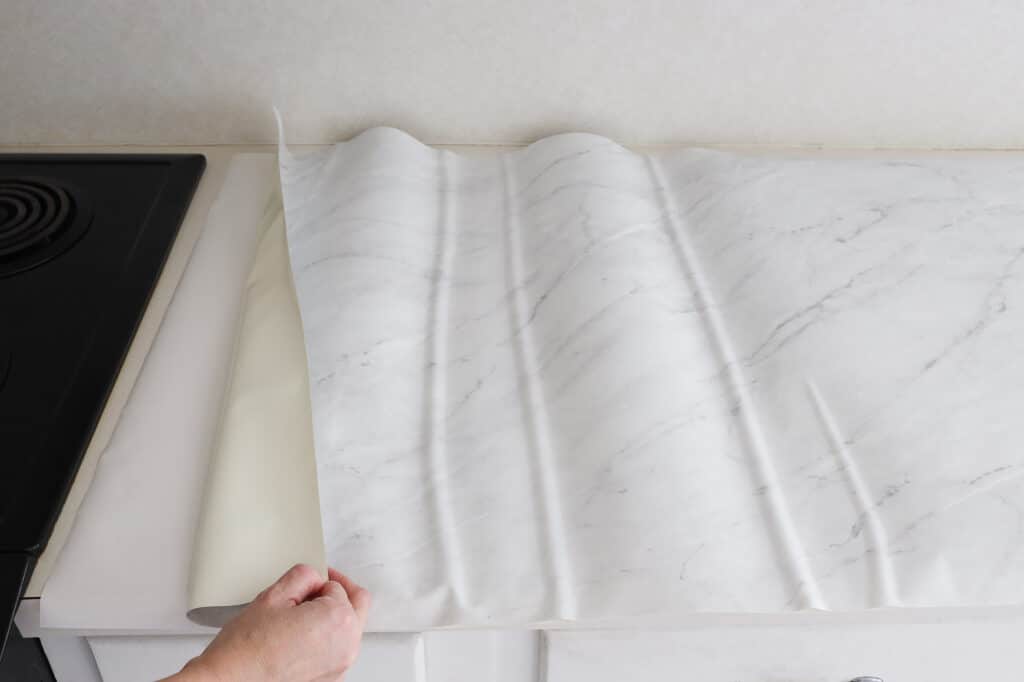
Peel back only the first two inches of the adhesive liner on the back of the contact paper.
Step
5
Carefully line up the exposed contact paper with the edge of your counter, and press it firmly in place. You’ll want to make sure the contact paper is lined up as straight as possible along the edge. If not, peel it up and start over—don’t worry, the paper can withstand peeling and re-sticking as needed.
Step
6
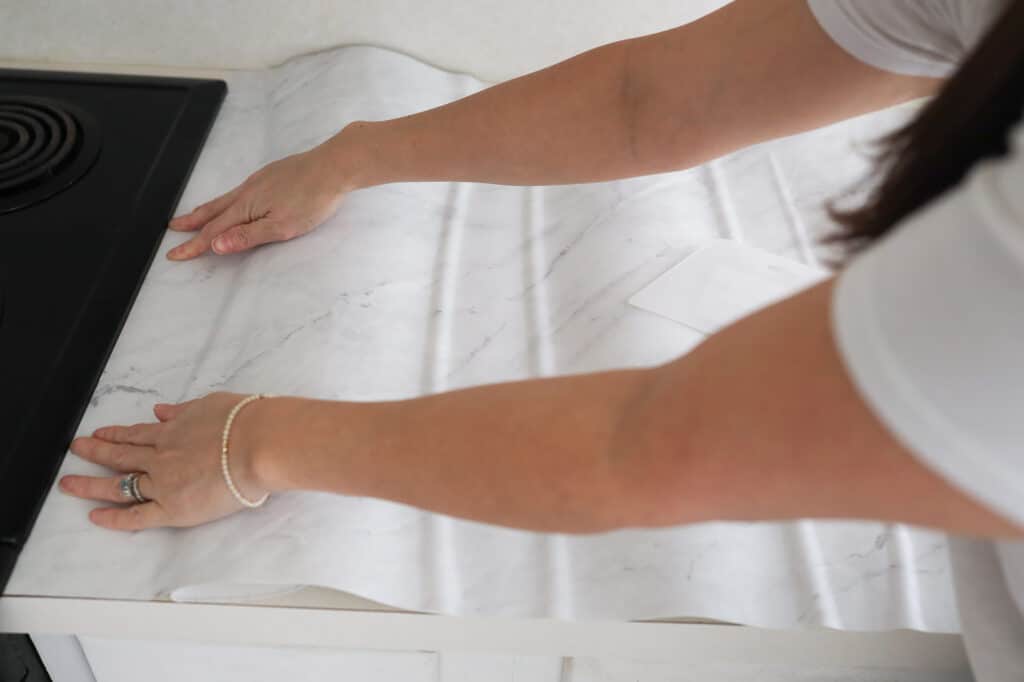
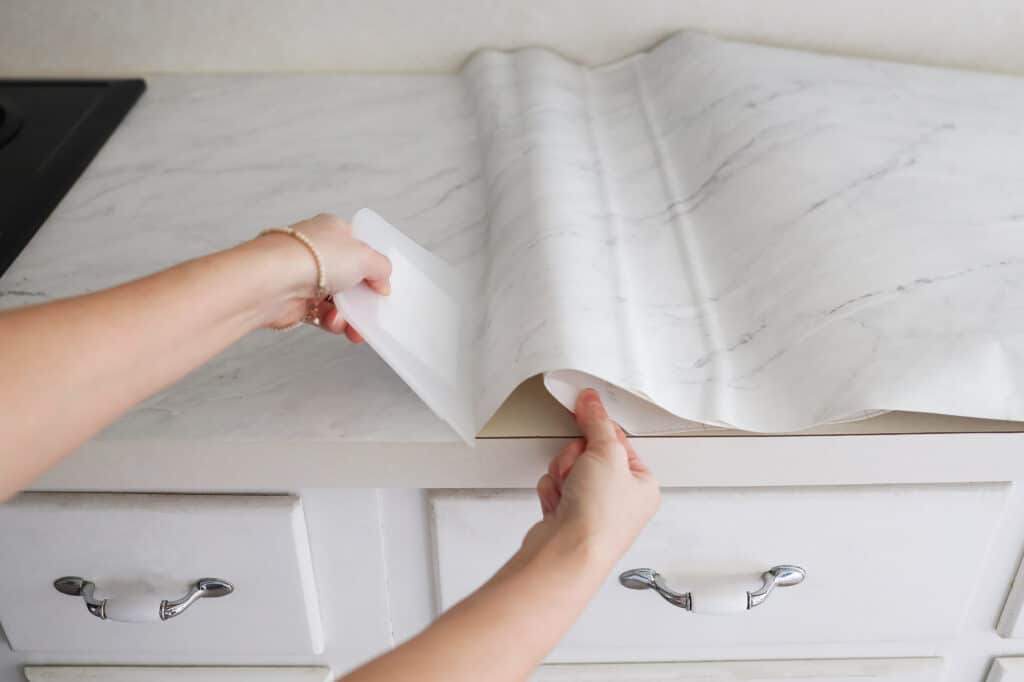
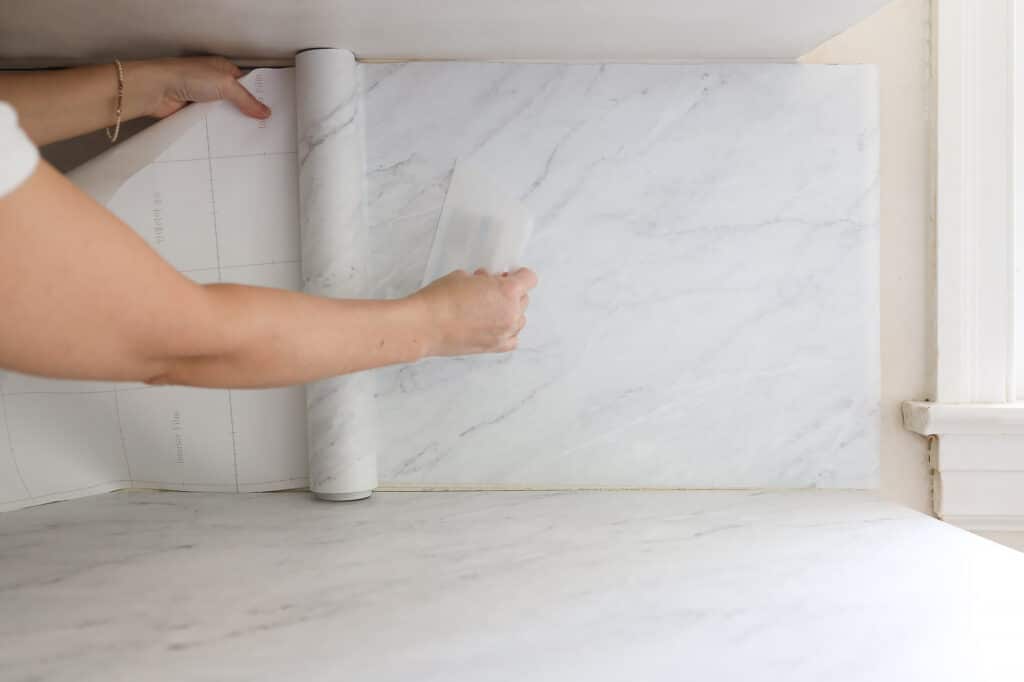
Place one hand underneath the contact paper and peel back another inch of the adhesive liner, while at the same time pressing the contact paper to the counter with the smoothing tool in the other hand. Continue across the entire counter in this manner, working one inch at a time, until you get to the other edge.
Tip: The smoothing tool, coupled with working in small increments, is the secret sauce to avoid air bubbles. Trust me, I did half of the kitchen without it and can attest this one tool made a HUGE difference. If you do happen to get a few small air bubbles, it’s no big deal. Simply prick the center of the bubble with the tip of an X-acto knife and smooth it out with the smoothing tool. If you get any large air bubbles or creases, it’s best to peel that portion of the paper back up and re-stick it.
Step
7
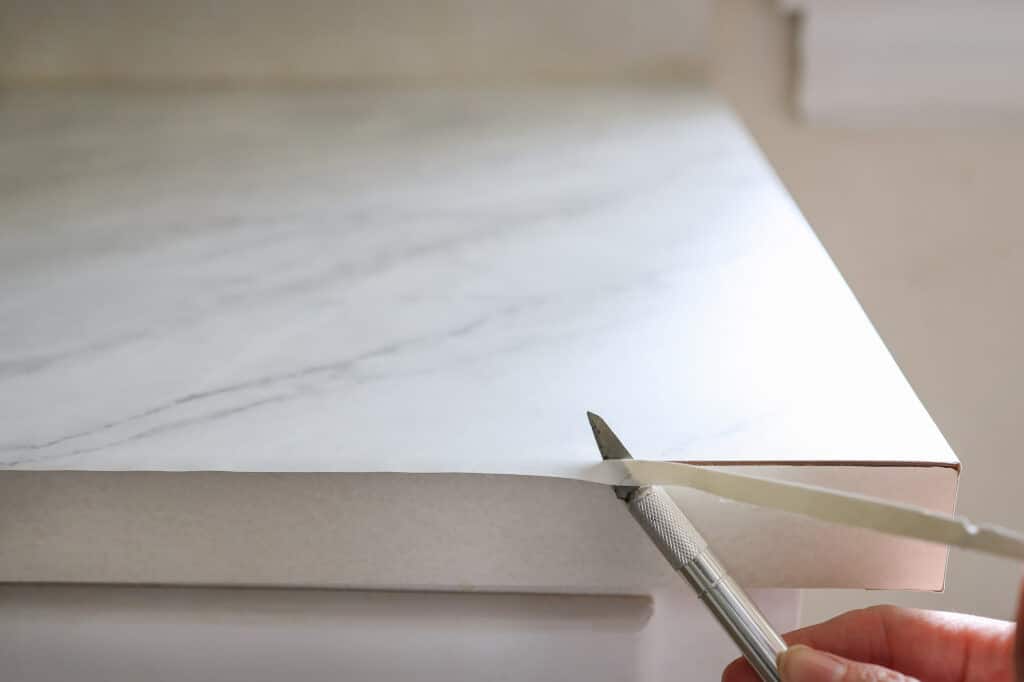
After you’ve smoothed the contact paper across the counter, heat the end for a few seconds with a hair dryer set on low, and wrap the paper over the side edge of the counter. (The heat makes it more malleable.) Continue wrapping the paper underneath the counter, and press it in place. Run the smoothing tool over the side edge to create crisp lines.

Step
8
If you have any excess contact paper hanging over the front edge of the counter, trim it off with an X-acto knife.
Step
9
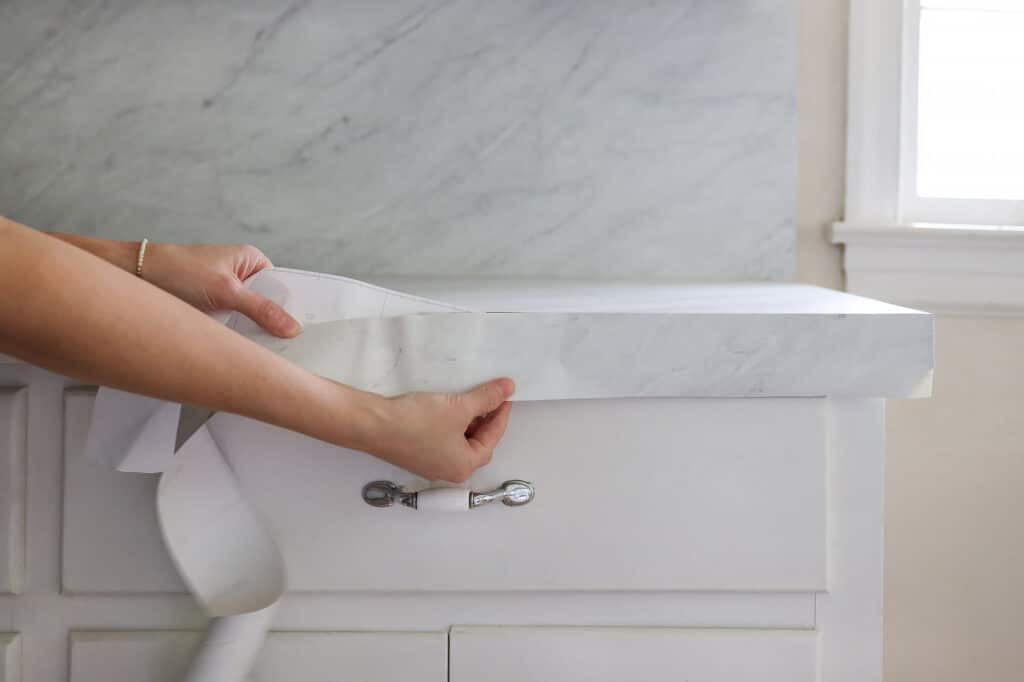
To cover the front edge of your counter, cut a long strip of contact paper to the same dimensions, adding an extra inch to the width so that you can wrap it underneath the counter. Peel back an inch of the adhesive liner, and carefully line it up at one end. Make sure the seam lines up precisely with the contact paper you installed on the top of the counter. Continue peeling the liner one inch at a time and smoothing it with the smoothing tool. Once the entire front edge is covered, heat the contact paper slightly with the hair dryer, wrap it underneath the counter, and press it in place. It’s also helpful to heat the seam where the front edge meets the top of the counter, and press them together for a more seamless look.
Step
10
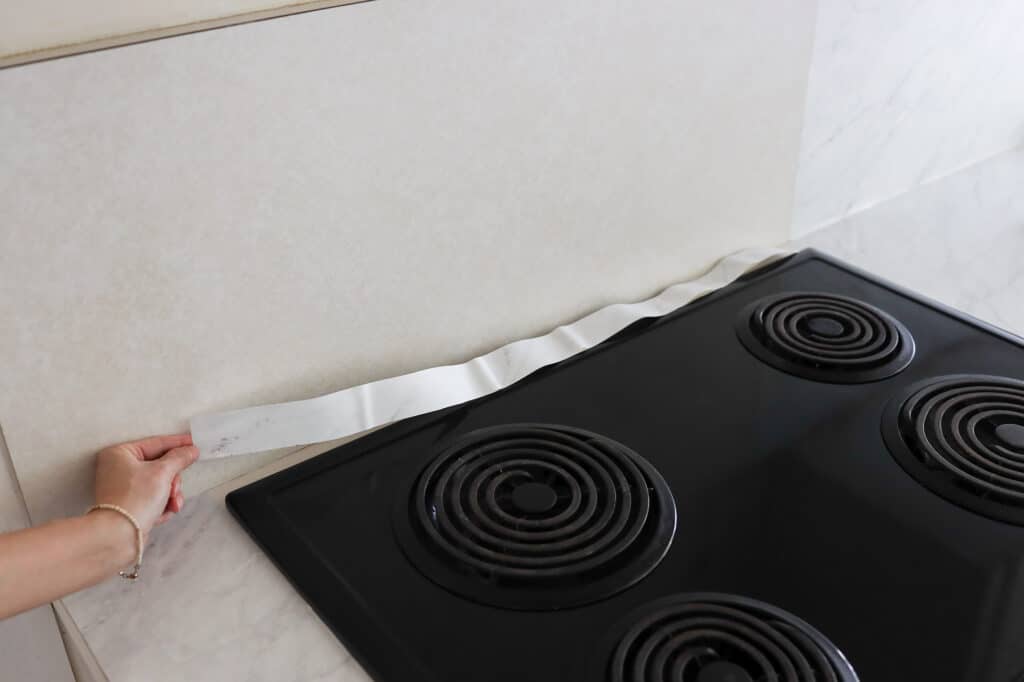
When you get to tricky areas, such as around the sink or stove, it’s easier to install two separate pieces on each side of the appliance, and then a long strip behind it. It’s also best to line up the seams versus overlapping them. Heat the seams slightly with the hair dryer and press them together.
Step
11
If you have a backsplash or splash trim, cover it with contact paper using the same technique as the counter.
Step
12
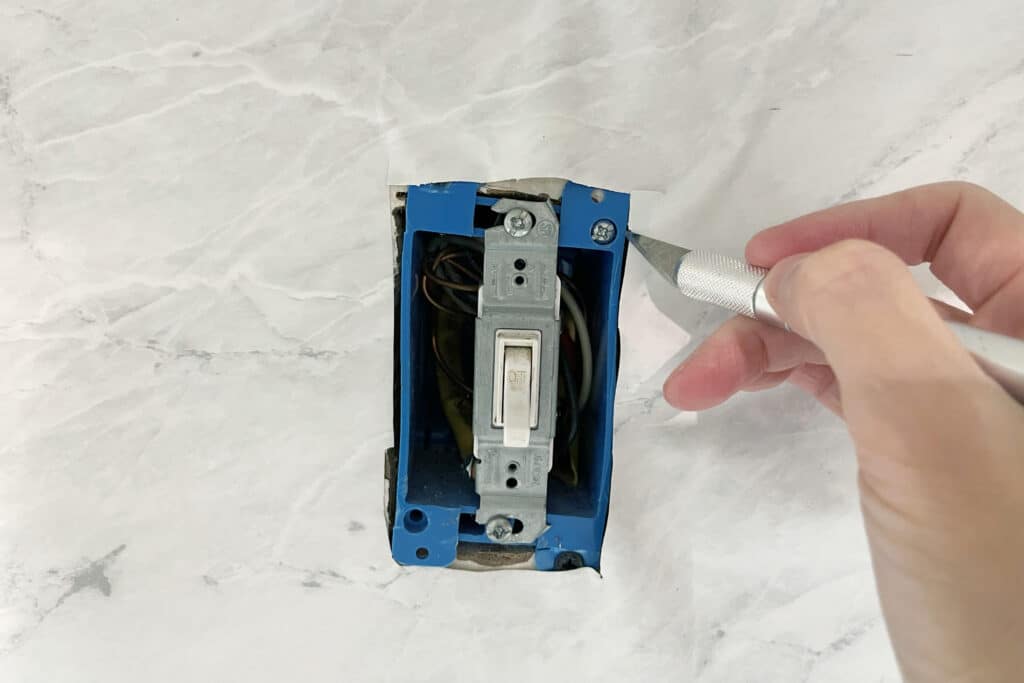
For any outlets on the backsplash, I found it was easier to install the contact paper right over top of them. Once you’ve covered the outlet, stop rolling and carefully cut around the outlet holes with an X-acto knife to remove the paper. Smooth the contact paper around the outlet, and then continue rolling the paper across the rest of the backsplash. Put the outlet covers back on once the entire backsplash is covered.
Step
13
Once you’re finished installing the contact paper on your counters, the finishing touch that makes them look more convincing is to caulk the seams, such as where the counter meets the backsplash or around the edges of the sink. This will also help seal out any water or moisture from getting under the contact paper. Simply pipe a waterproof silicone sealant along the seams, and wipe away any excess. Let dry for 30 minutes.
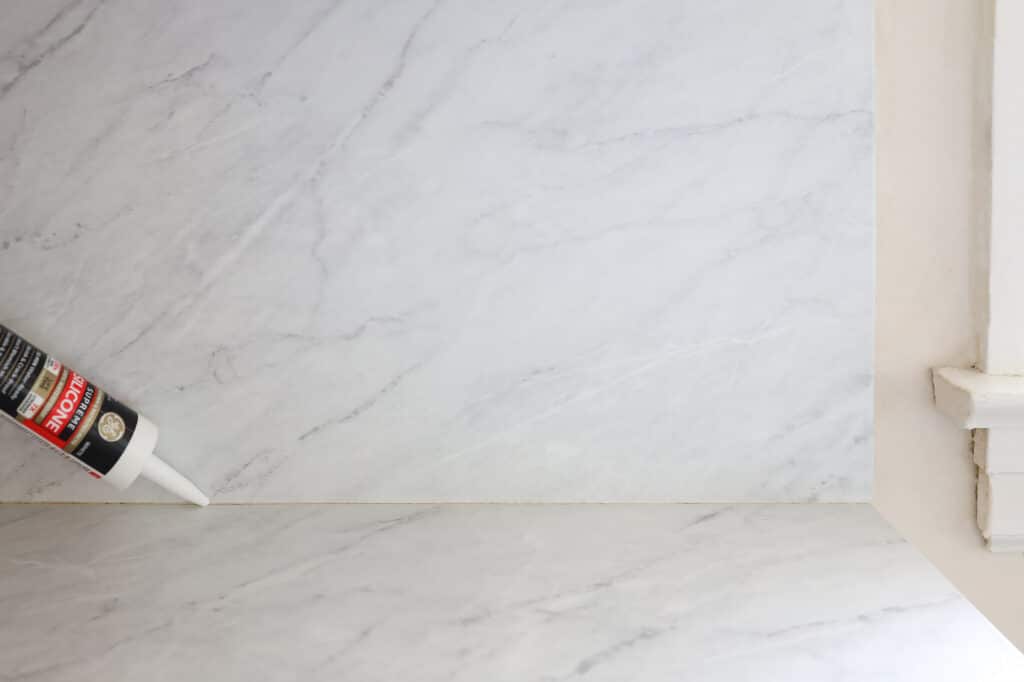
Step
14
Your gorgeous new counters are ready to use and enjoy!
More Stories...

The space is decked out in Semihandmade Moss Quarterline and Tahoe.

House flippers and mom-daughter duo Lacey and Audrey Soslow created the kitchen of their (buyers’) dreams.

Malene Barnett teamed up with designer Leyden Lewis to create a space representative of her work.