Whether you want to display your flatware collection, pots and pans, a vintage piece of art, or are in desperate need of additional storage, floating shelves are the way to go. And, when it comes to deciding on material, size, and installation, there are plenty of things to consider.
We sat down with our founder, John McDonald, to share why he loves floating shelves, how to install them yourself, and more.
Design and Photography by Aubrie Prick
Amp Up Storage With Floating Shelves
It’s no secret that designing a kitchen with fewer wall cabinets has become one of the most popular interior design trends over the last few years. It’s time to let go of upper cabinets in favor of floating shelves as a way to visually lighten a space, create clear sight lines, and seamlessly weave color and texture into even the simplest kitchen designs.
Semihandmade’s floating shelves come in a variety of wood options, including oak, maple and teak, as well as paintable options that allow you to match your cabinet color or add in an additional hue to the space. (We love a good DIY!). And, not only do floating shelves make up for storage lost in the removal of upper cabinets, they can be a clever way to save money during a renovation.
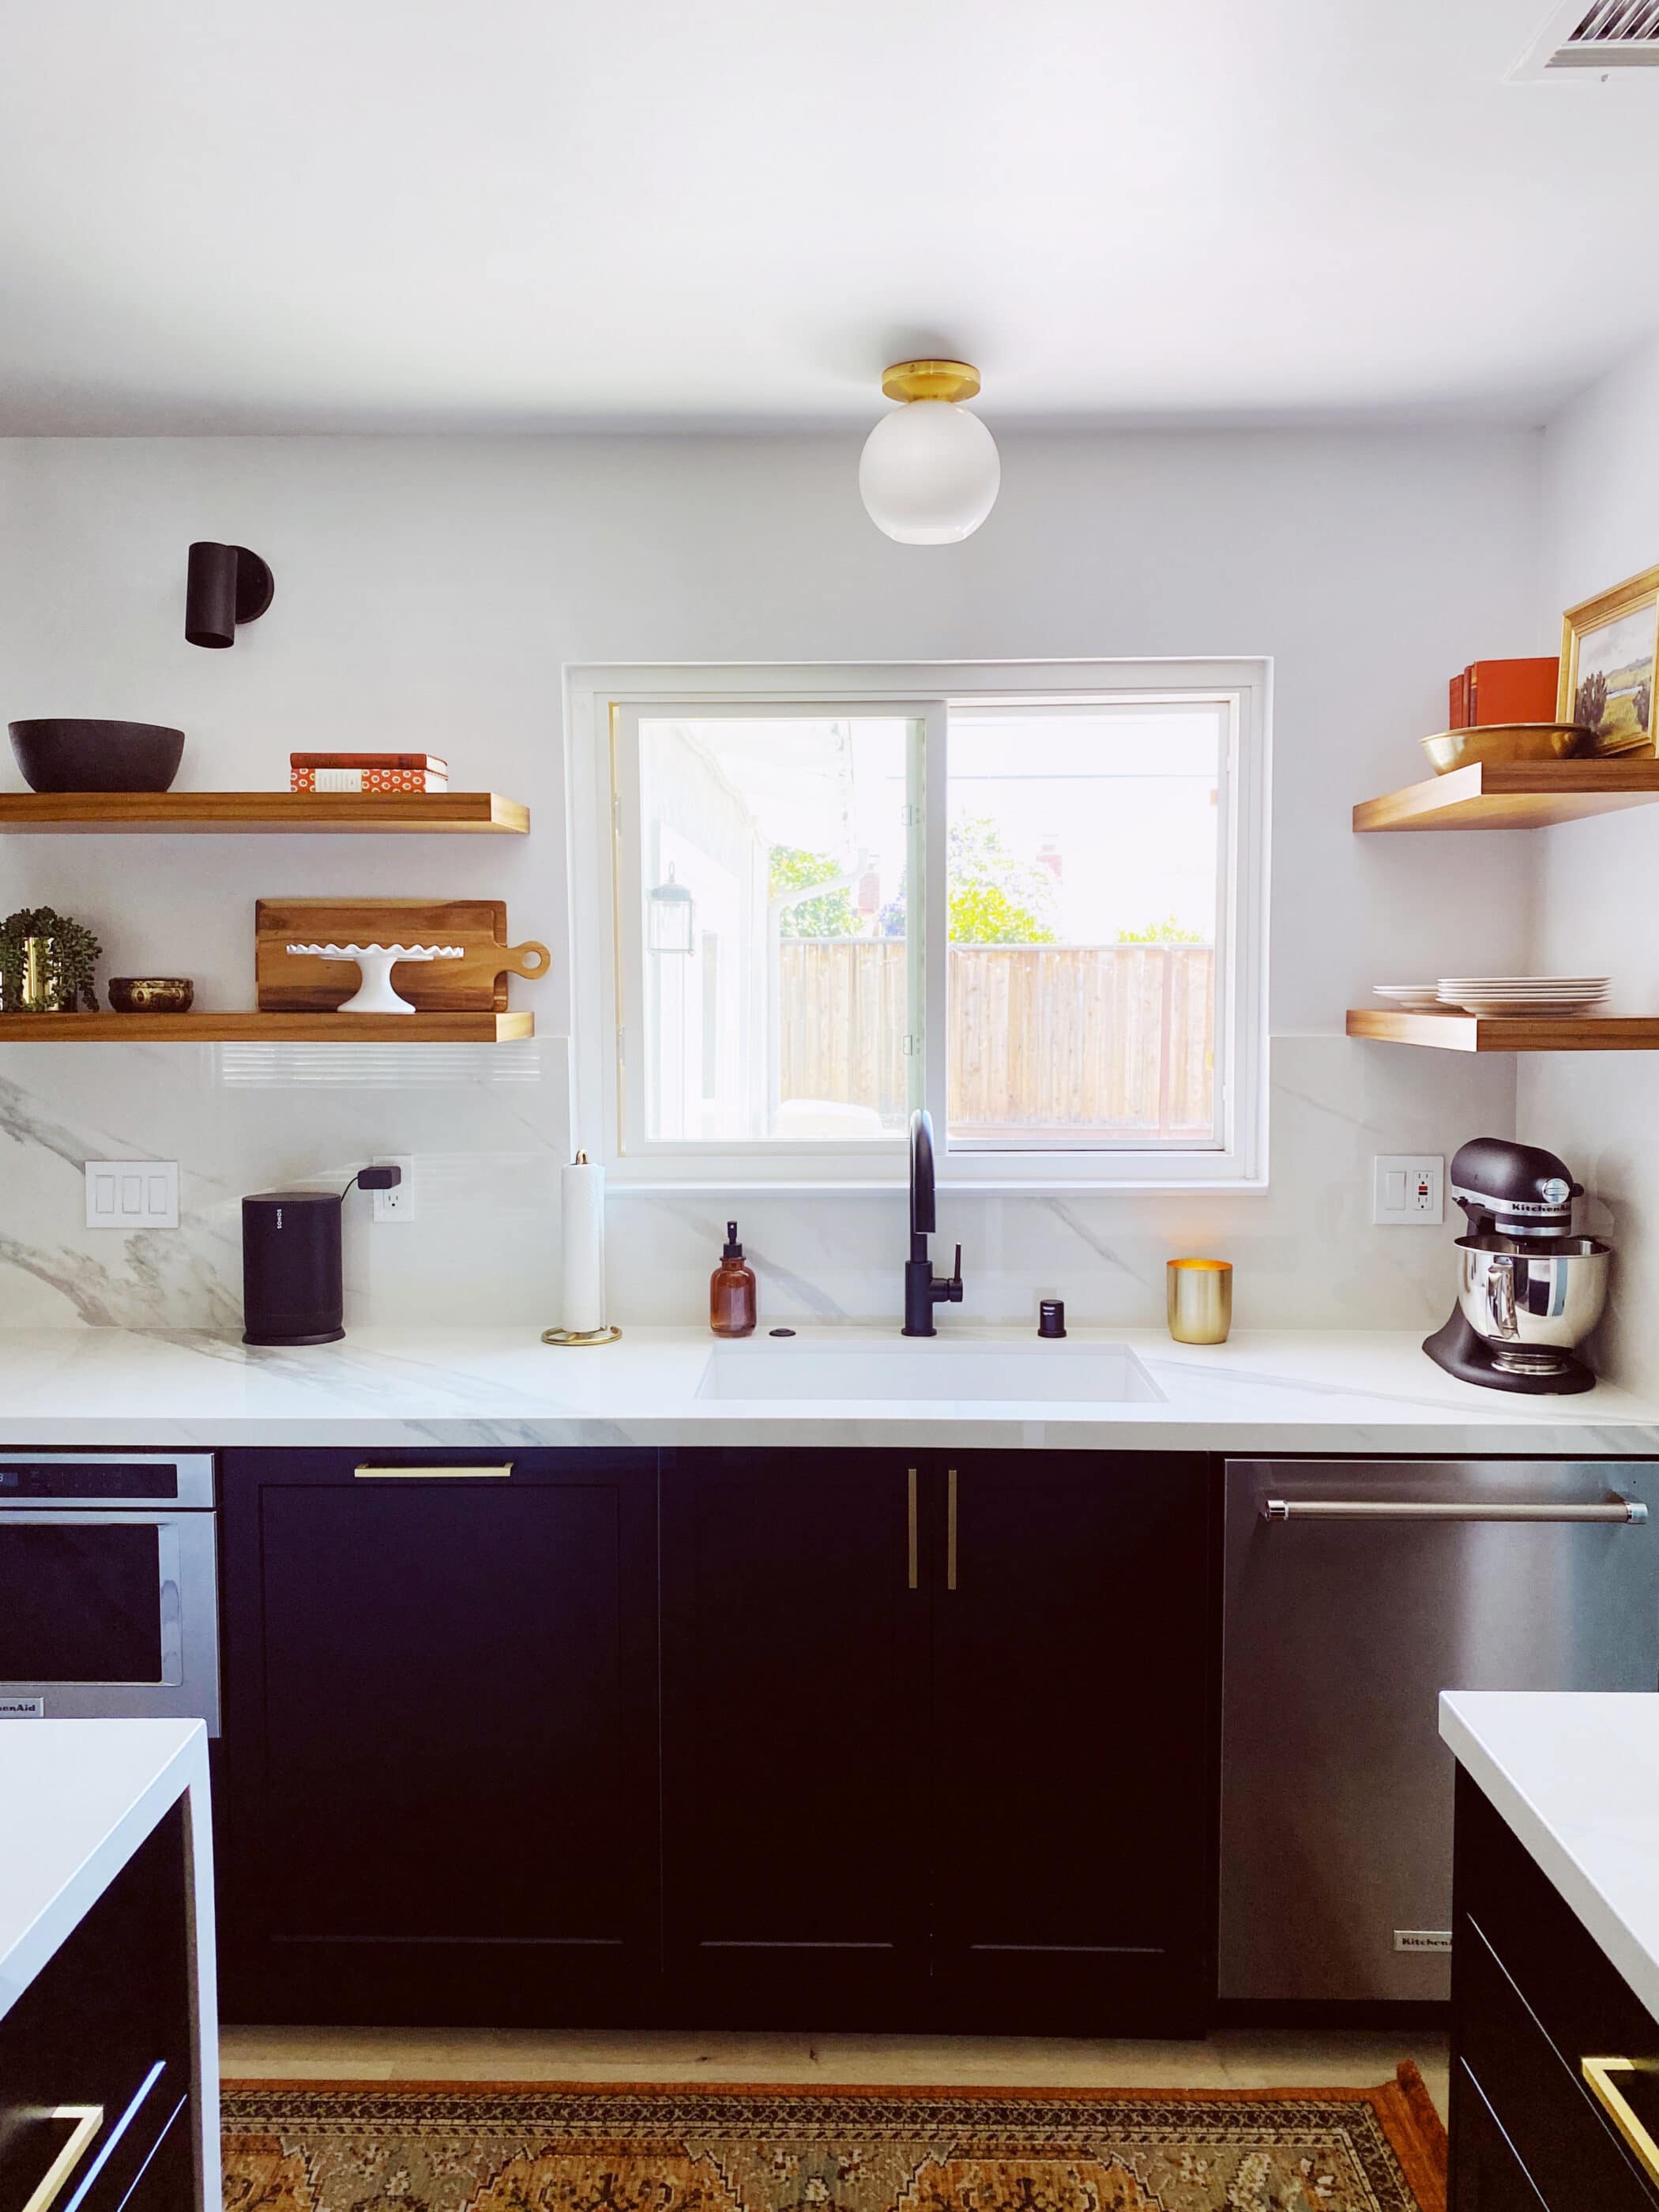
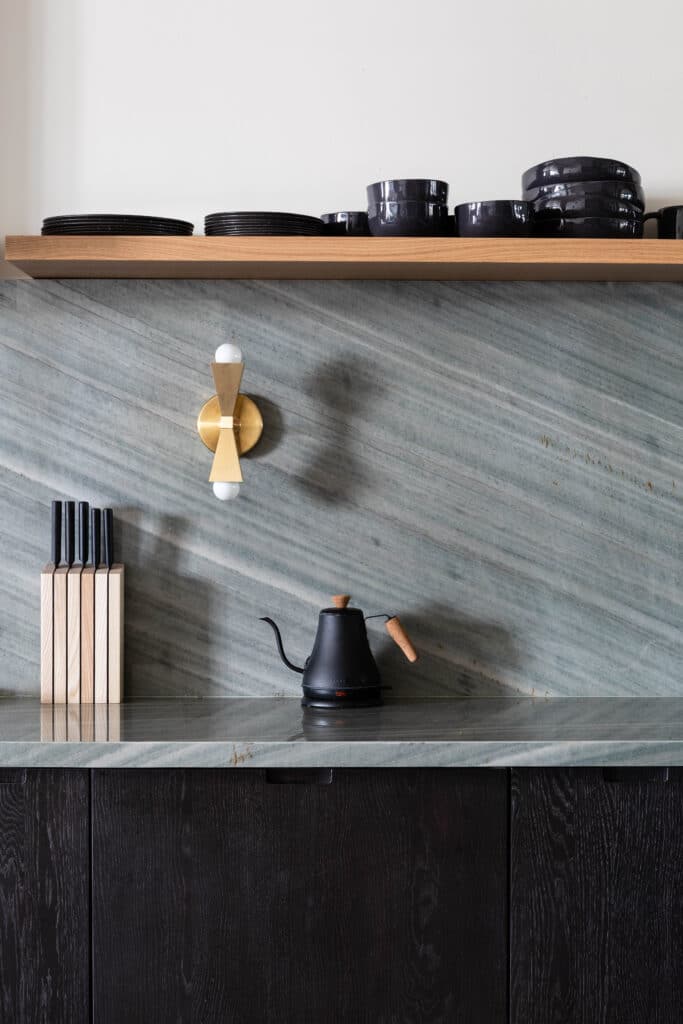
Design by Sarah Sherman Samuel; Photography by Zan Passante
Installation Made Easy
Installing floating shelves sounds simple, right? It can be, but it’s important to make sure you have the right tools to get a custom fit. Floating shelves can be purely decorative, but to get them to be functional and have the ability to hold anything from dishes to cookbooks to your favorite artwork, you’ll want to make sure your shelves are installed around your space’s studs.
If you choose to DIY, make sure you have the proper tools for installation. For example, Semihandmade’s floating shelves utilize a metal bracket that is inserted into the core of the shelf, as well as mounted to your wall studs. For installation, you’ll need a tape measure, level, stud finder, a drill, and drill bits specifically designed for use with metal materials. “Adhesive, such as clear latex caulking, is recommended for added strength,” McDonald adds.
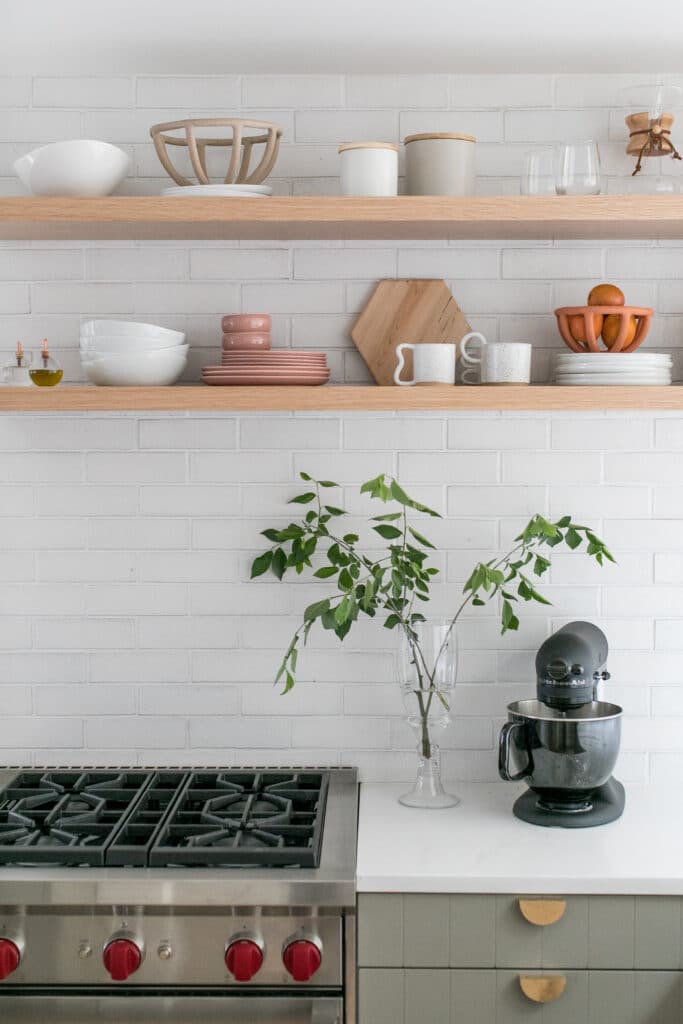
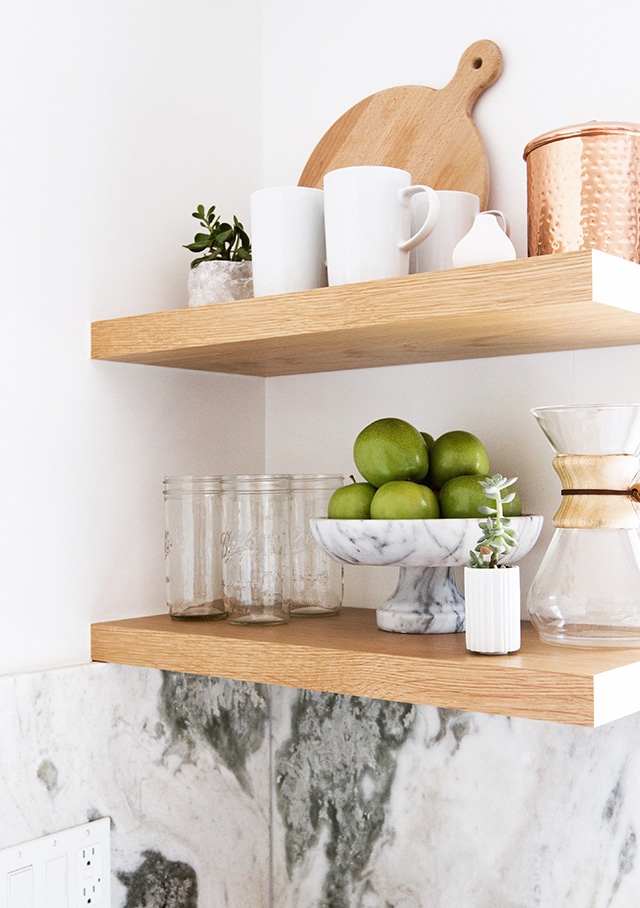
Design by Jessica Jones; Photography by Nicole Dianne Photography
The first step is choosing where you want your floating shelves to go. Use the level and mark off spots for the brackets. Next, use a stud finder and mark the stud locations on the bracket. Shelves need to be drilled into the center of the studs for strength. Attach the metal bracket to the wall and drill into the shelf to place the shelf onto the bracket. Finally, add caulking.
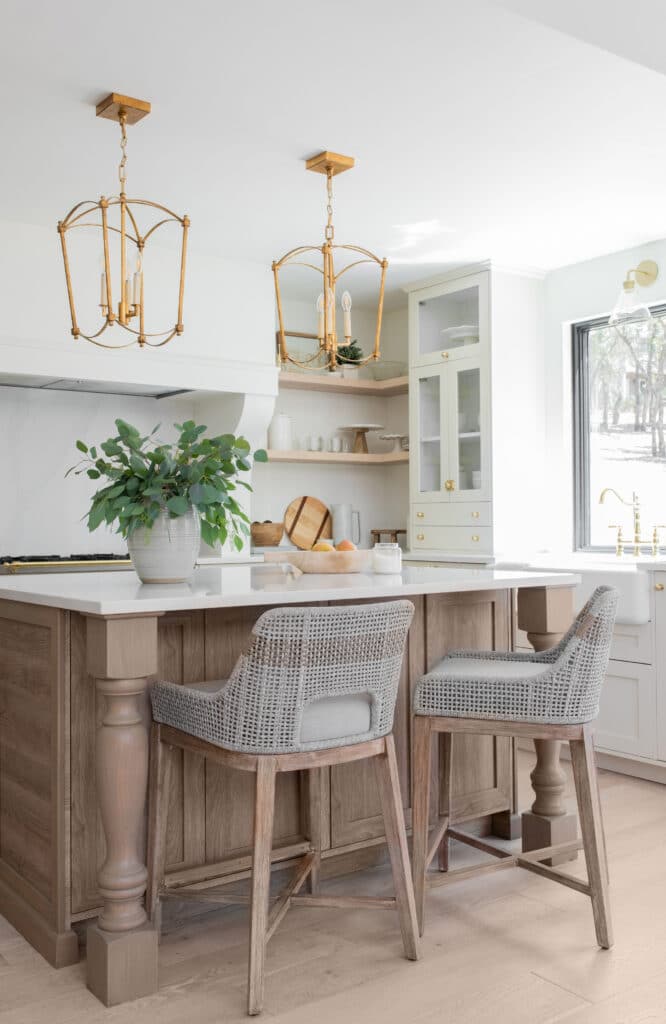
Design by Laetitia Wajnapel; Photography by Jess Isaac
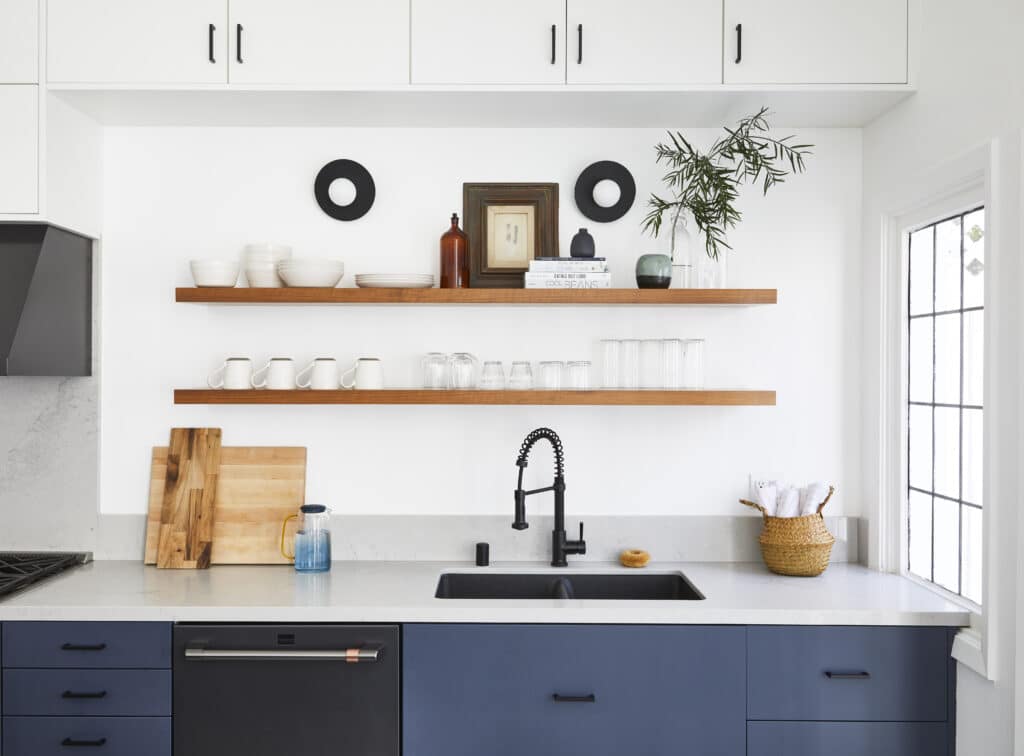
Design and Photography by Sarah Sherman Samuel
Built to Last
When it comes to floating shelves, weight capacity depends on proper installation. A high-quality floating shelf will come with a steel bracket inserted into the core to ensure proper weight distribution and stability. While installing floating shelves on your own can seem daunting, Semihandmade’s floating shelves can be easily installed over one weekend with the proper tools and right attitude. Our shelves range from 12-inches to 92-inches in length, 9-inches to 12-inches in depth, and 1.75 inches thick, and can work in a variety of spaces.
Design by Christa Martin; Photography by Sara Tramp
Embrace Your Creative Side
While floating shelves can be made from a range of materials, solid wood, plywood, metal, and plastic are the most common. The higher the quality of the material, the higher the price tag, but wood shelves are your best bet for kitchen storage as they have a long life span and are durable. “Semihandmade’s floating shelves are made from real wood veneers, and since they are a natural product photos show variation in coloring and grain pattern,” McDonald says.
Floating Shelves are a way to add surprising storage, personality, an additional material, color, and more. Ready to shop?
More Stories...

The space is decked out in Semihandmade Moss Quarterline and Tahoe.

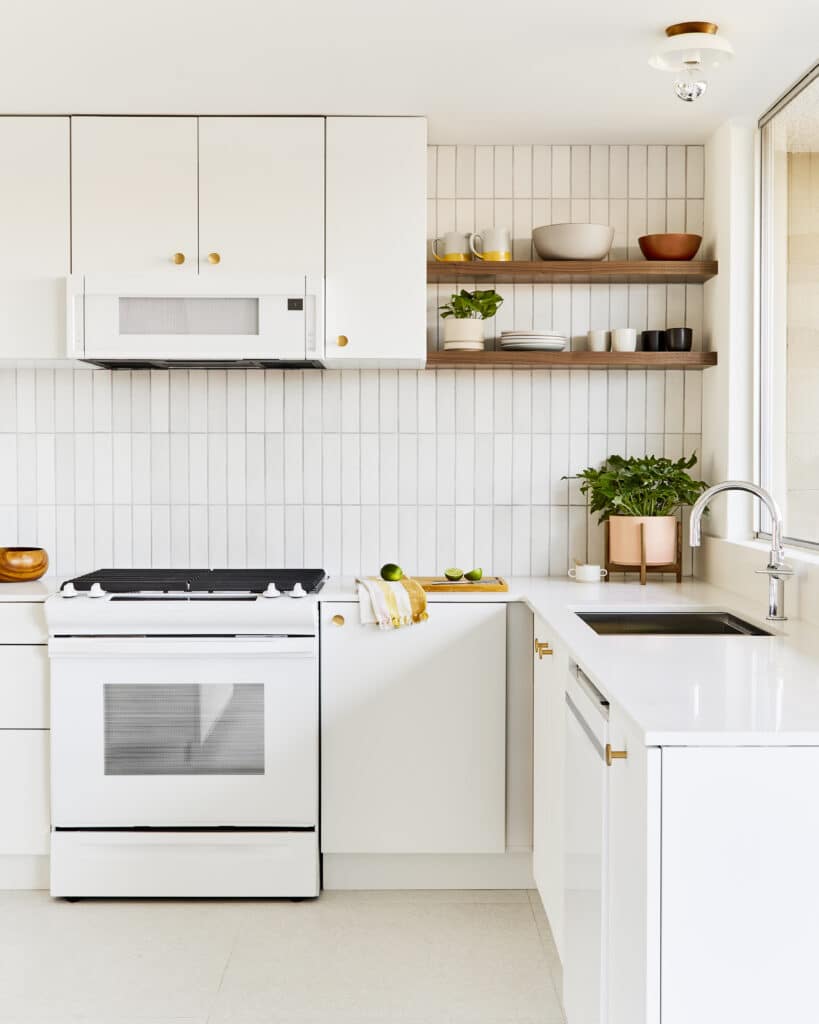
House flippers and mom-daughter duo Lacey and Audrey Soslow created the kitchen of their (buyers’) dreams.

Malene Barnett teamed up with designer Leyden Lewis to create a space representative of her work.