
Never underestimate the power of paint. It’s the fastest, easiest, and most affordable way to transform an uninspired space.
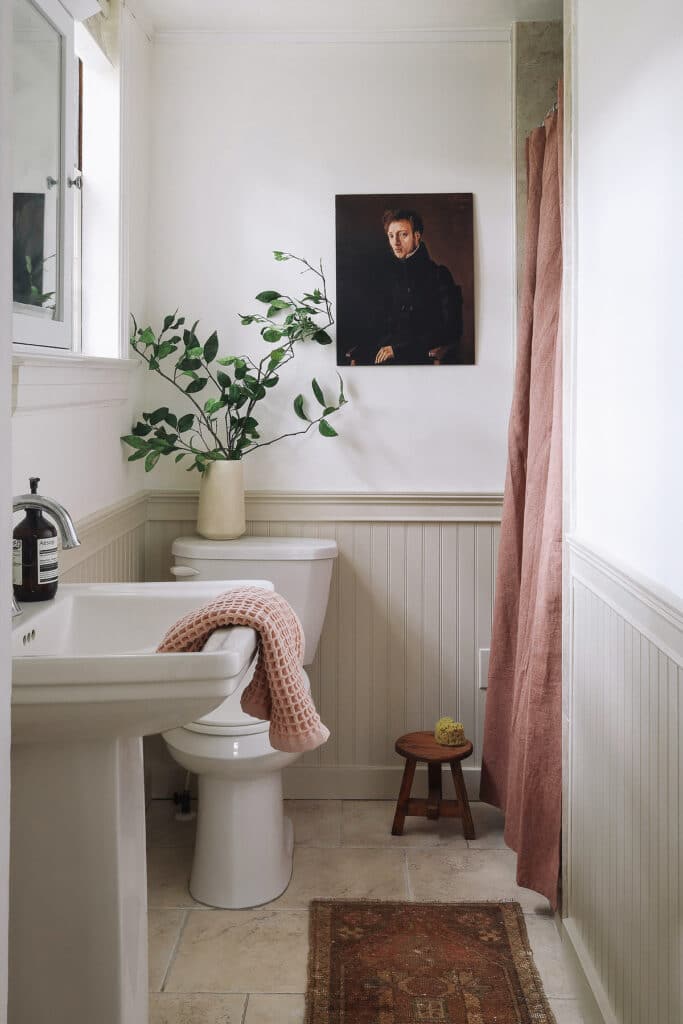
Take this little powder room, for instance. Its plain white walls and matching paneling were just begging for a makeover. Our limited time and budget meant that a gut renovation was out of the question. Instead, we turned to paint to warm up the lower half of the walls. But painting beadboard is not quite the same as covering plain drywall.
There is a unique method you should follow to get a flawless look. The same goes for picking the right finish, sheen, and base coat. Follow these seven steps in your own space to ensure your painted beadboard (whether it’s actual wood or veneer) turns out beautifully.
Before

After
Steps
Step
1
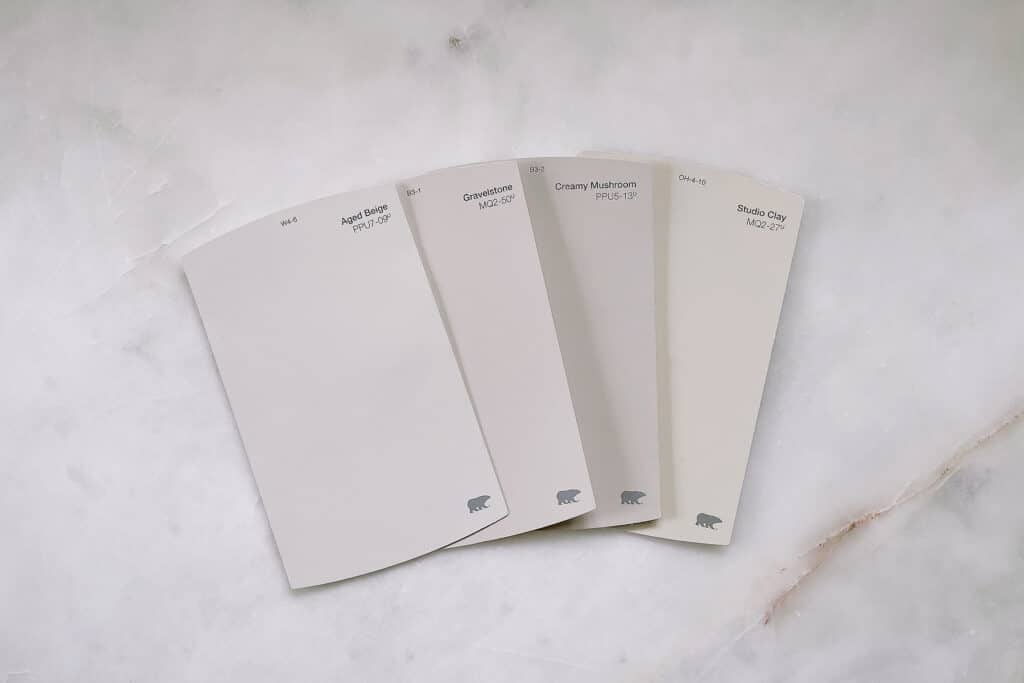
Choose interior enamel paint (often labeled as “door & trim” paint). It will dry to a harder finish than standard latex paint and is more durable against scuffs or scrapes, especially in high-traffic areas. As for sheen, though we love a good matte look, you’re better off choosing a satin or semi-gloss here, as it makes cleaning up smudges or splashes much easier. As for the color, that’s totally up to you! We chose a warm putty color called “Studio Clay” by Behr in their Scuff Defense Satin Enamel finish. Other great options are Sherwin Williams Emerald Urethane Trim Enamel, Benjamin Moore Advance Interior Paint, or any of your choosing from Backdrop.
Pro tip: Make the ceiling in your space look higher by choosing a darker color for the bottom portion of the wall and a lighter color for the top.
Step
2
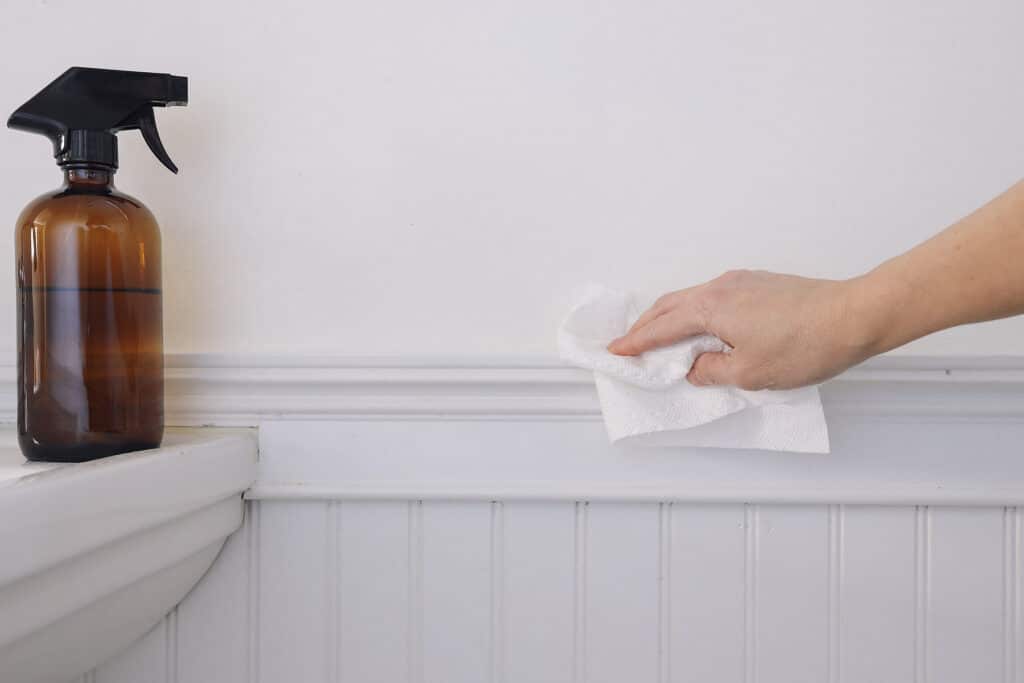
A nice clean surface will ensure better paint adhesion. Before getting started, place a drop cloth down to protect the floors, open a window or door to allow adequate ventilation, and put on a face mask. Start by thoroughly cleaning the beadboard with a household cleaner that is meant to degrease surfaces. Be sure to clean inside the small grooves of the paneling as well, where dust is likely to settle. Dry the surface completely.
Note: If you’re installing new beadboard paneling, it’s best to paint it before installing, since it’s more convenient to do it while it’s on a flat surface.
Step
3
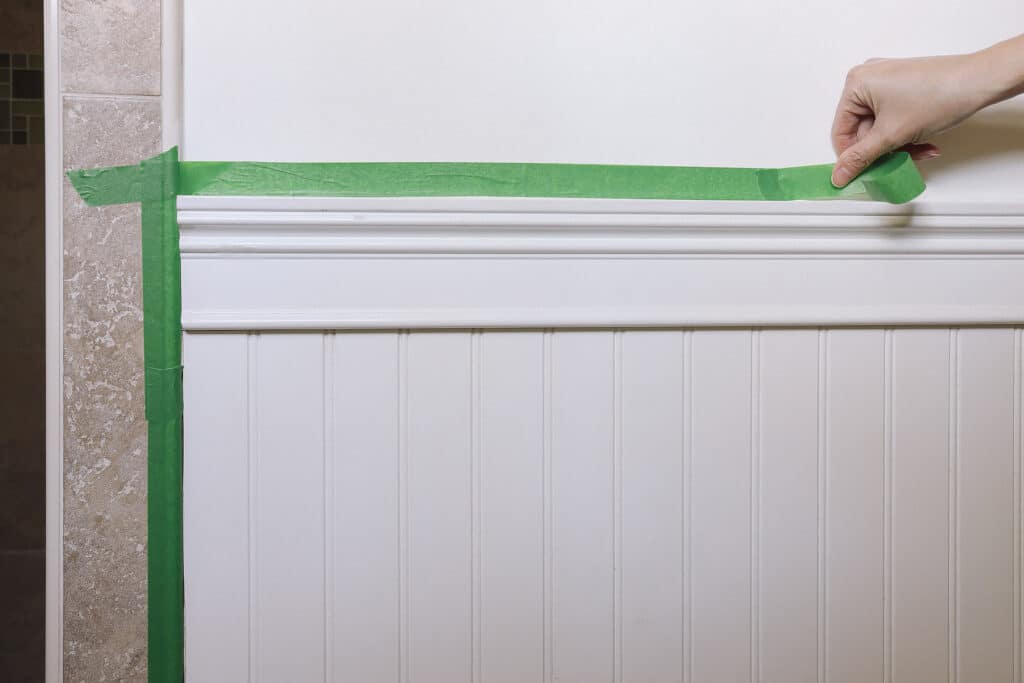
Tape off any areas around the beadboard that you don’t want painted. Press your finger firmly along the edges of the tape to ensure paint doesn’t seep under it.
Step
4
Even if your paint already has primer in it, we still recommend giving your beadboard a mold and mildew-resistant base coat, particularly in high-humidity or splash-prone areas like a bathroom or kitchen. Not only will it help lock out moisture, but it also ensures better adhesion without needing to sand (an unnecessarily tedious step). It’s also important to choose a primer that is labeled as “stain blocking,” especially if your beadboard is real wood since it will hide any knots that could bleed through the paint. We used Zinsser Bulls Eye 1-2-3 Primer since it does all of the above and dries within an hour.
Start by priming inside the grooves of the beadboard with a 2-inch angled sash paintbrush. Move the brush up and down for vertical paneling or side to side for horizontal paneling. If you plan to paint the trim and baseboards to match the beadboard, don’t forget to prime those as well.
Note: If your beadboard has any holes or defects that need filling, such as from old nails or hooks, you should fill those with wood putty before priming.
Step
5
Once all the grooves have been primed, paint a thin layer of primer on the rest of the surface with a paint roller. If you’re painting beadboard before it has been installed, prime both the front and back sides to protect them from moisture. Allow the primer to dry completely.
Step
6
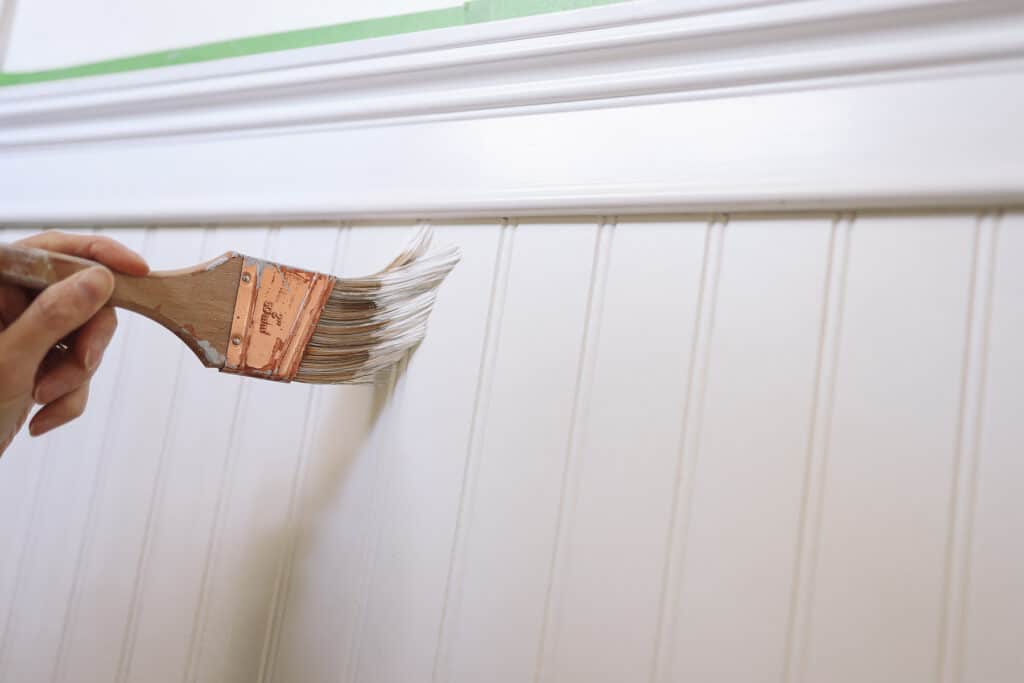
Once the primer is dry, first paint inside the grooves of the beadboard using the 2-inch angle sash brush, starting at the top and working down. Don’t be tempted to skip this step, as a paint roller alone won’t be able to push paint uniformly inside the grooves. Use paint sparingly here to avoid any drip marks. If you’re painting the trim and baseboard to match, go ahead and paint those as well.

Step
7
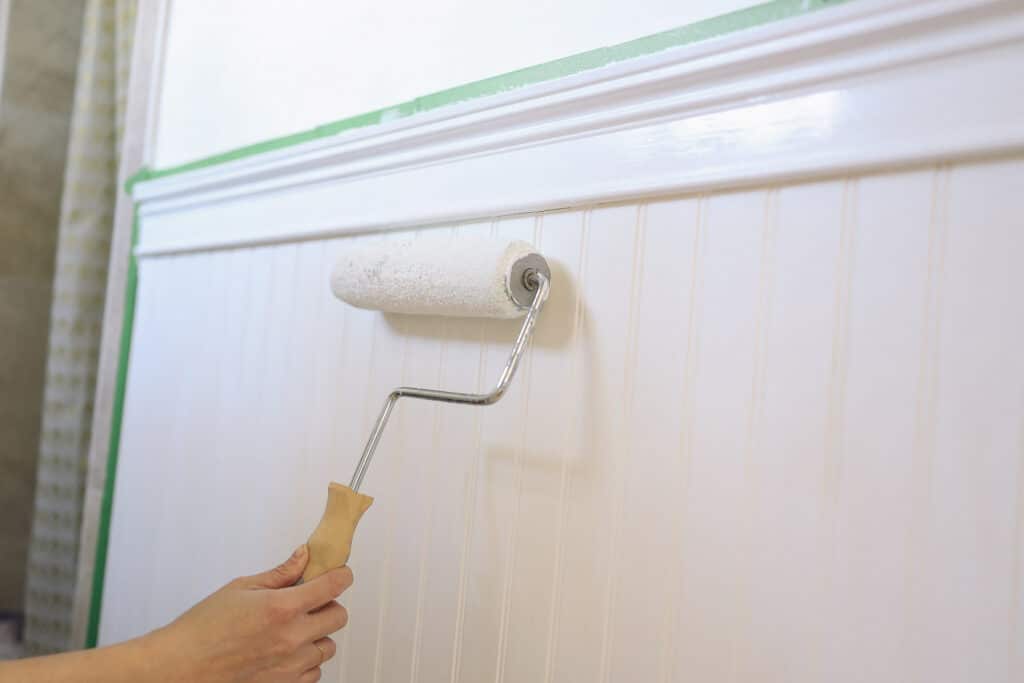
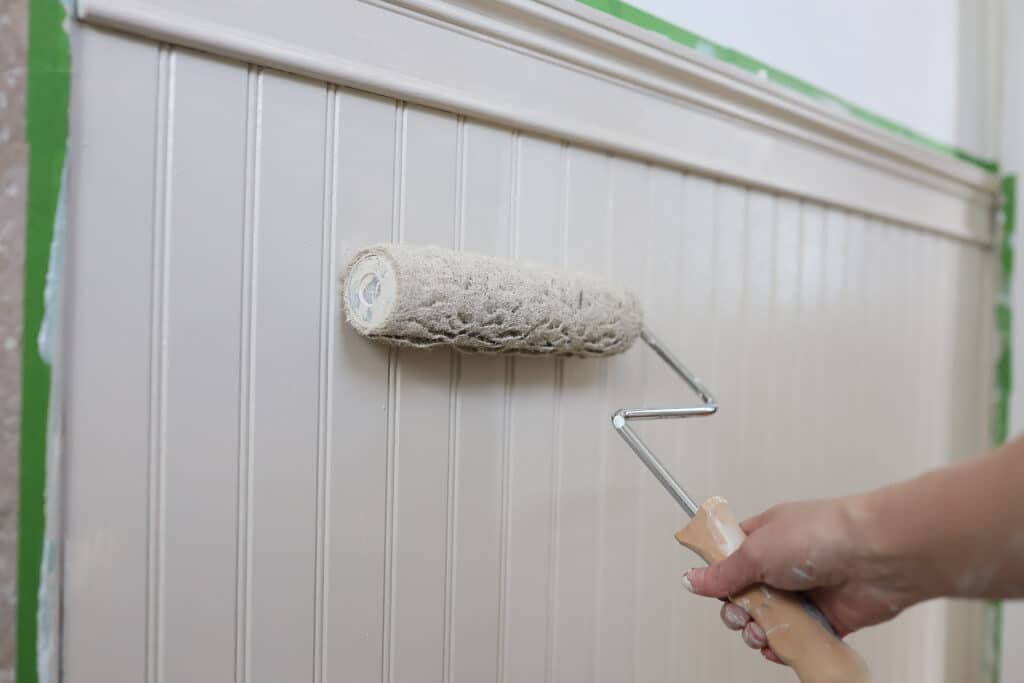
Once the grooves and trim have been painted, paint the flat part of the beadboard with a paint roller. Apply a thin layer of paint in two-foot sections at a time (this helps you keep a “wet edge” as you work). As long as you’re using a good quality roller (we love Purdy), you should get a nice smooth finish. However, if you notice any texture left by the roller, you can smooth it out by feathering it with your paintbrush—this is known as “back brushing.” Allow the first coat to dry, and then paint a second coat.
Step
8
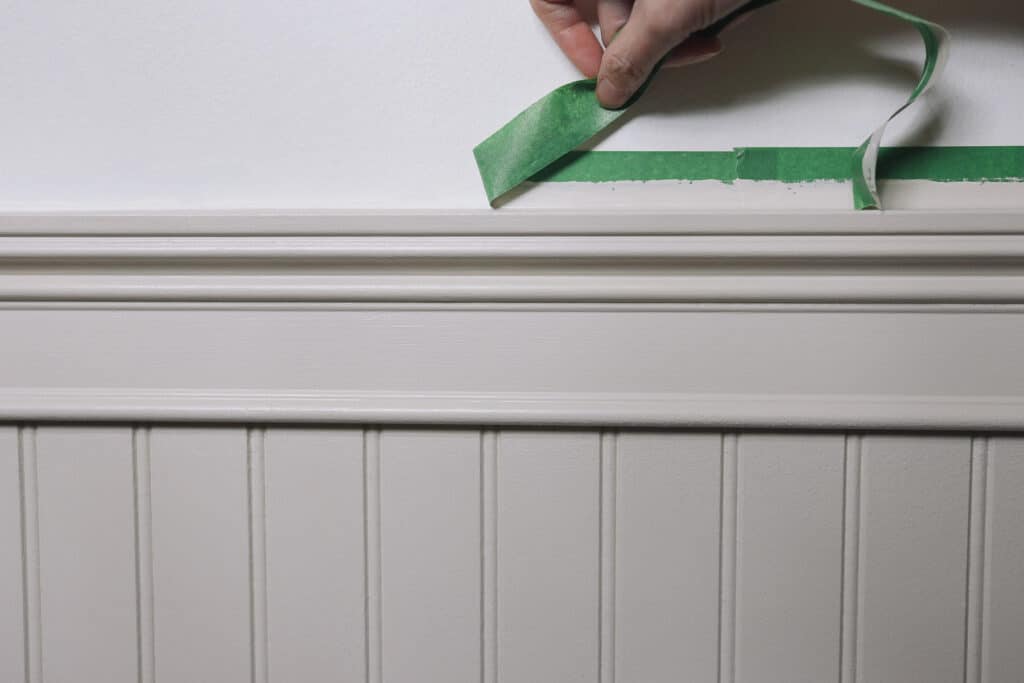
While the paint is still slightly tacky, slowly pull off the tape at a 45-degree angle.
Allow the paint to dry at least 24 hours before moving any items back into the room. It takes between two to four weeks for the paint to fully cure, depending on temperature and humidity. Enjoy your newly painted beadboard and have fun accessorizing your new space.
*If you purchase something using one of the links in this article, we may earn a commission (at no cost to you). Rest assured we only recommend products we’ve vetted and loved.
More Stories...

The space is decked out in Semihandmade Moss Quarterline and Tahoe.

House flippers and mom-daughter duo Lacey and Audrey Soslow created the kitchen of their (buyers’) dreams.

Malene Barnett teamed up with designer Leyden Lewis to create a space representative of her work.
Comments (4)
Hi! Where is this shower curtain from? Lovely space!
I love this! Thanks so much for the tips! We are paneling our ceiling in our 100 year old bungalow and it makes perfect sense to paint them before they are up. #yougeniuses
Hello, which color did you use for the beadboard and which one for the walls? Thank you
Hi. Article says Behr’s Studio Clay was used for the headboard.